How to Install CPP’s Classic Fit Premium Tilt Steering Column for 1955 and 1956 Chevys
For the past couple years, CPP has been building on it’s all new line of Premium Tilt Steering Columns. There are already dozens of universal configurations available from floor shift and column shift options to various finishes and lengths. More recently, the push from the CPP R&D department is to design direct bolt-in versions of the Premium Columns for popular classic car and truck applications.
Check out the whole list of available tilt steering columns here
One of the latest to hit the shelf is the Classic Fit Premium Columns for 1955 and 1956 Chevy cars. Like the other offerings, these Tri-Five tilt steering columns are available in both floor and column shift plus chrome or satin black finishes.
Related Story: New Classic Fit Premium Steering Columns for 1957 Chevy
The Tri-Five Chevy is an iconic platform in the classic car world. People have built them for everything from gasser-style drag racers to low riders and, of course, restomods. They’ve been around for almost 70 years at this point and but it doesn’t look like these old bowties are going anywhere. As such, these new columns offer a huge improvement in the steering department.
CPP’s Tri-Five Tilt Steering Columns are a great upgrade to a worn out factory steering column or an update for a car with an older aftermarket column. The 5-way tilt head offers plenty of adjustment to dial in the perfect driving position and the overall quality of the columns are unmatched for the price.
In the video above, Jason Scudellari walks you thought the complete installation process of CPP’s Tri-Five tilt steering column from start to finish. He shows what all comes in the case and how you can dress up a column to match the interior of your ’55 or ’56 Chevy. For those that would prefer pictures and words, check out the step-by-step instructions below.
Installation Instructions
Optional: We suggest picking up a new rag joint (#CP59084) and floor plate kit (#CP11200) when installing your new Classic Fit Premium Steering Column.
Preparing the Column to Install
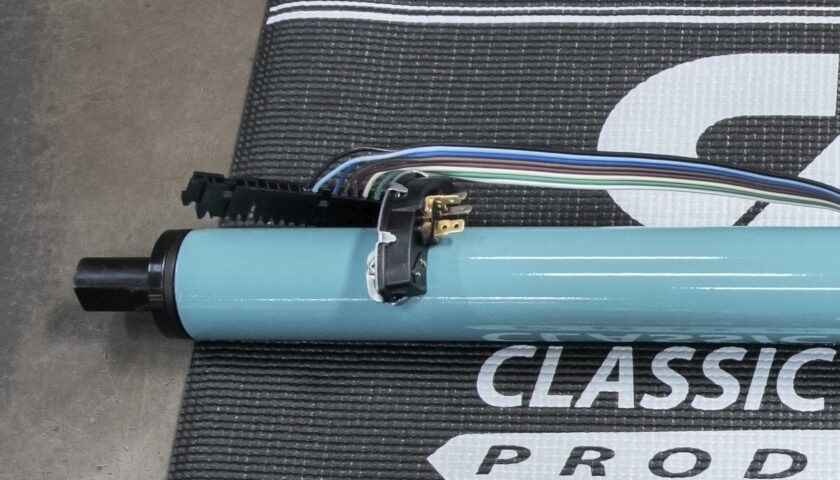
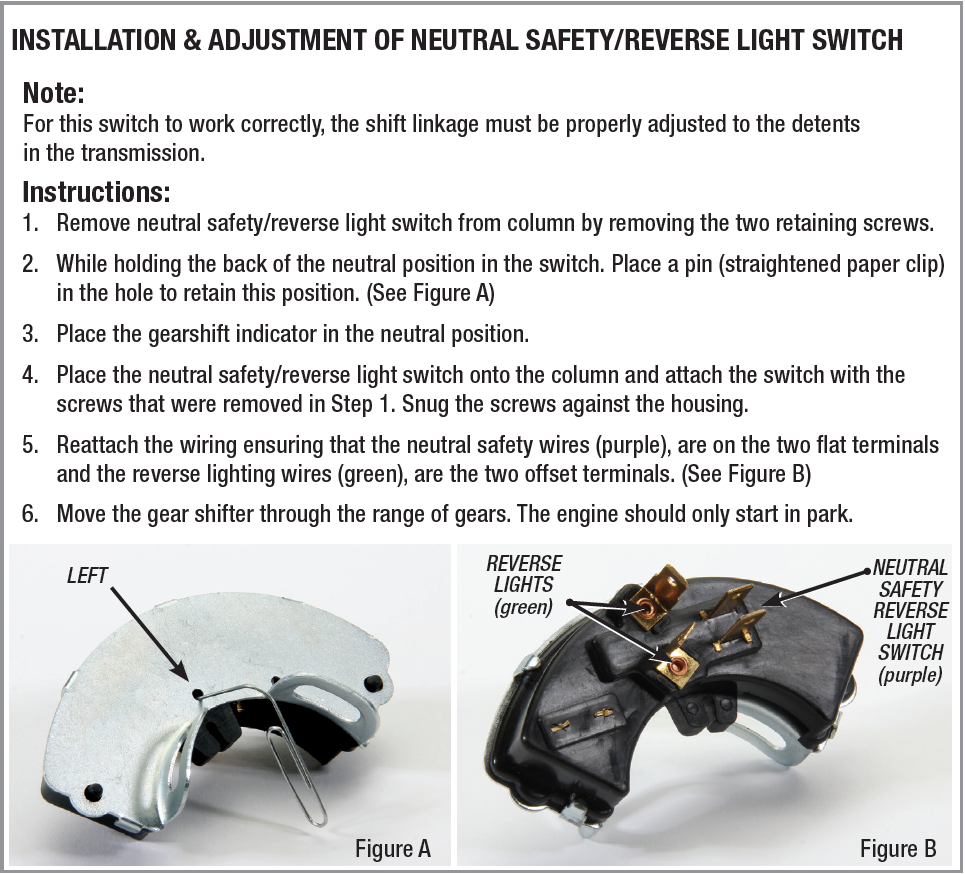
1. Begin by installing the neutral safety/reverse light switch using the provided hardware
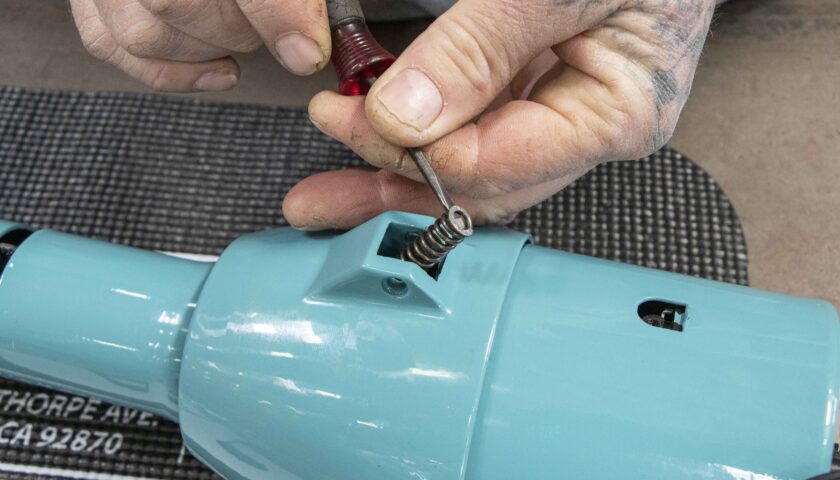
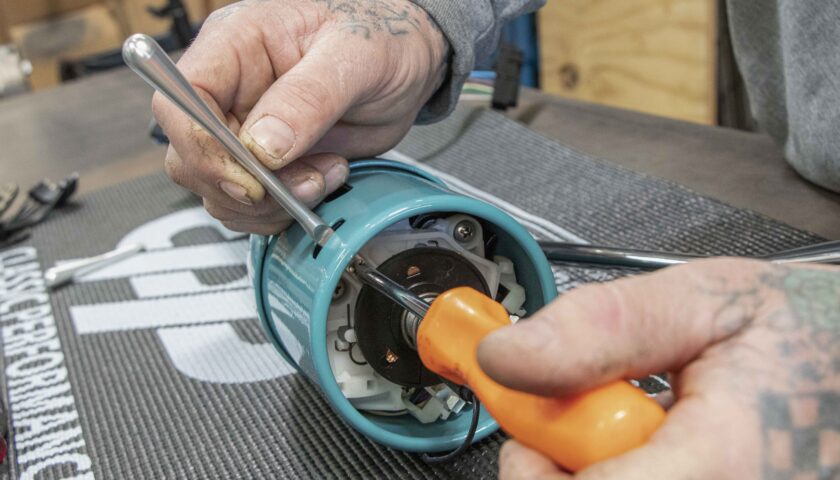
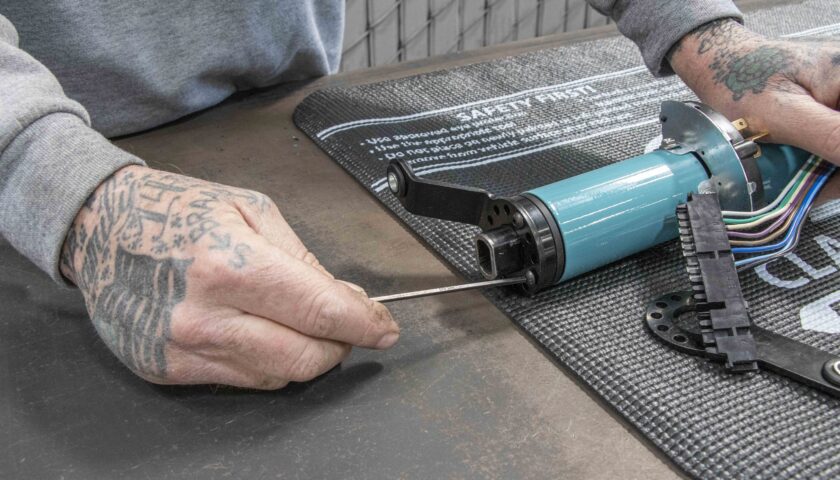
2. Next install the shift lever detent spring. Wedge the spring over the tip of a small flathead screwdriver and fit it in the head of the column.
3. Then lower the shifter down into the recess in the column and push against the spring until the shift lever can drop down into place.

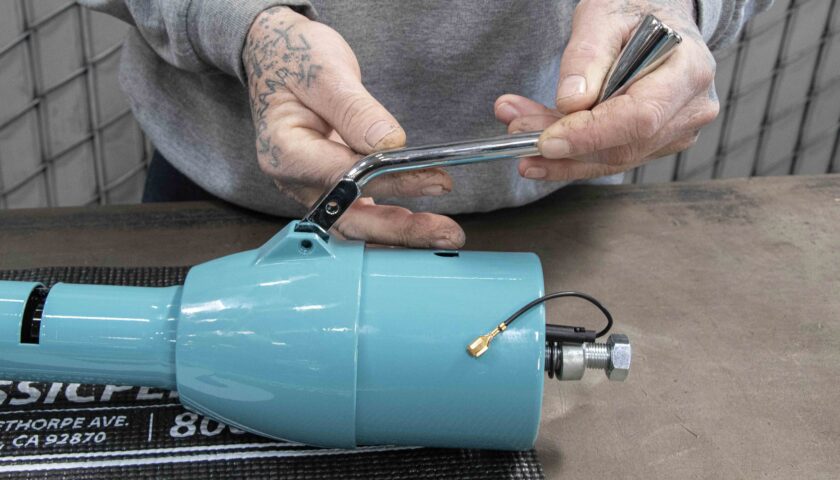
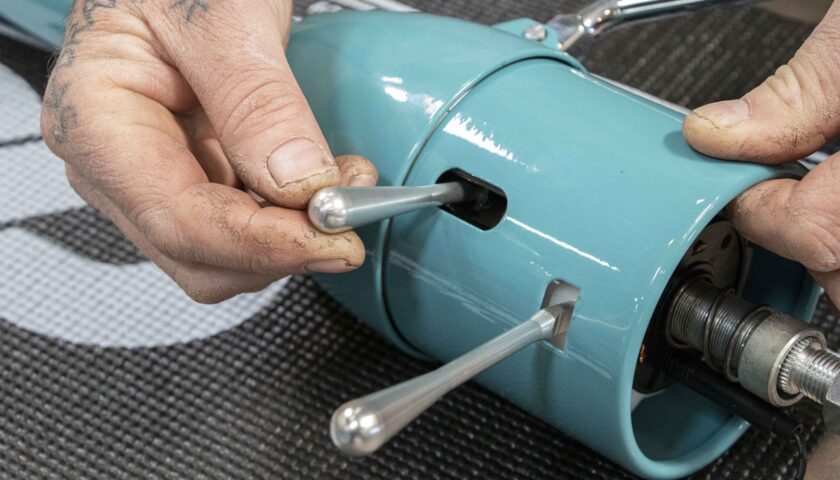
4. The shift lever is secured by tapping in the provided pin.
5. Next, install the turn signal lever using the sheet metal screw.
6. The tilt column lever and hazard knob simply screw into place.
Optional Shortening of Tri-Five Tilt Steering Column
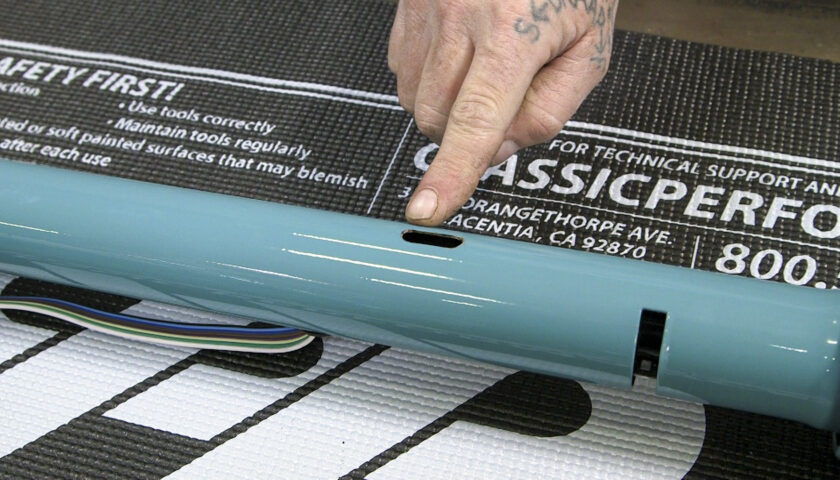
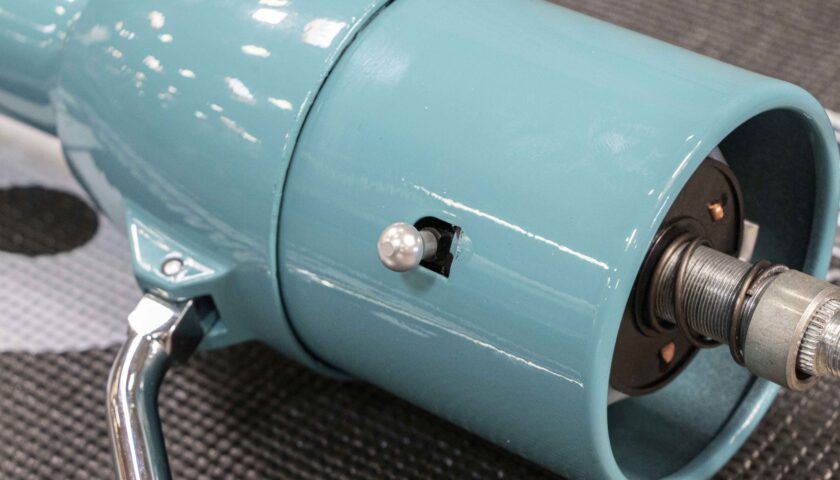
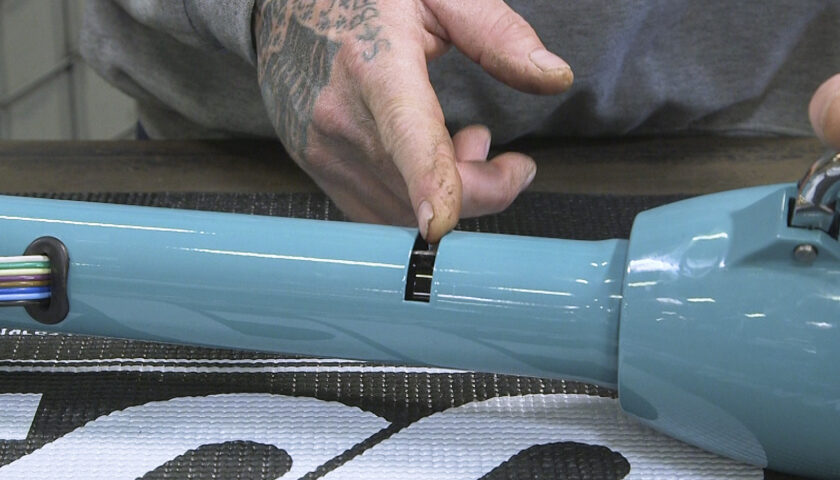
7. This column has a longer indexing hole on top. This allows the column to be installed in the factory location or pushed 1” down toward the steering box to give added belly to steering wheel clearance.
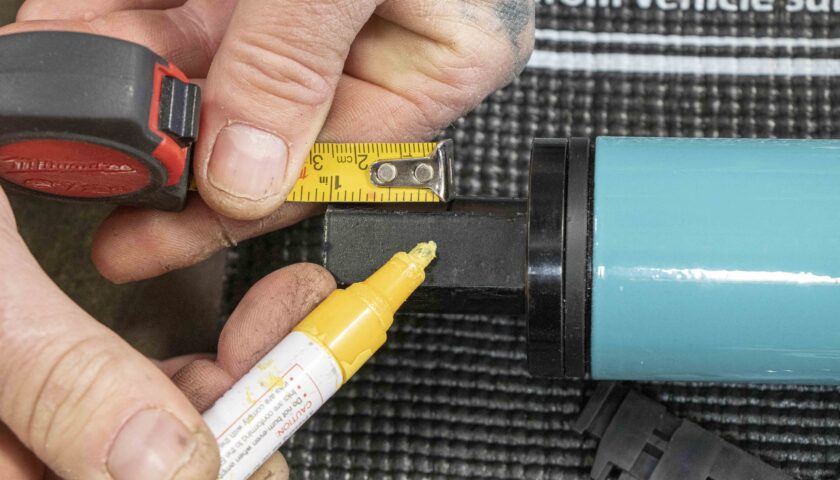
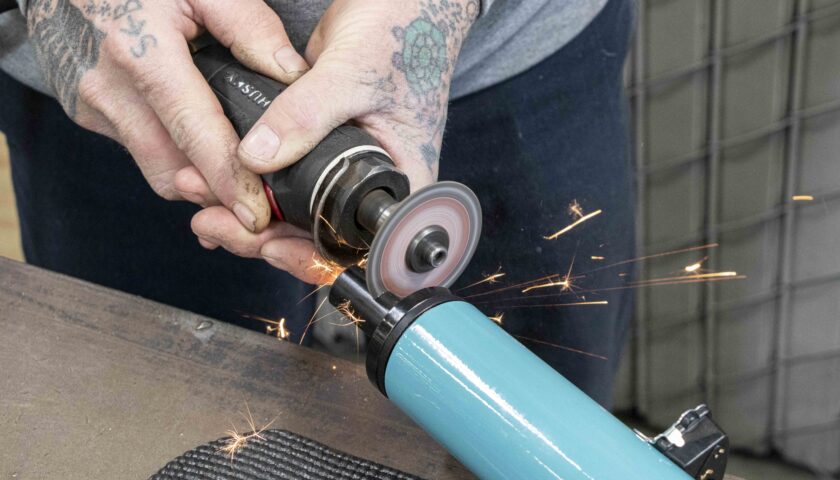
8. To achieve the added clearance from factory, measure and cut up to 1” off the bottom of the steering column shaft. If you desire the factory mounting location, do not shorten the steering column shaft.
9. Next, install the shift lever to the base of the column using the provided hardware. Two different levers are provided with the column and can be clocked to best suit your application.
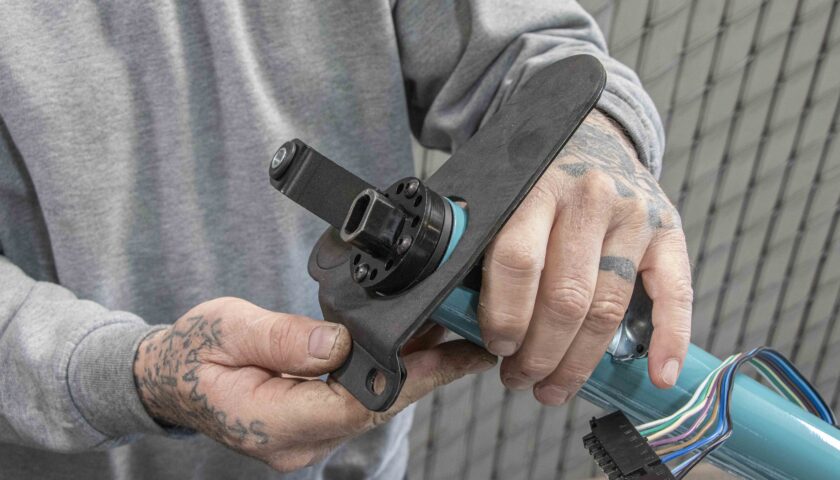
10. Then slide the floor plate over the base of the column. This can also be done before installing the shift lever.
Note: All columns come with provisions to hook up to the factory 1955 and 1956 Chevy gear position indicator. In our case, we have digital gauges so we will not be using this feature.

11. The final step before installing the column in the car is to fit the rag joint to the steering box.
Installing the Column in the Car
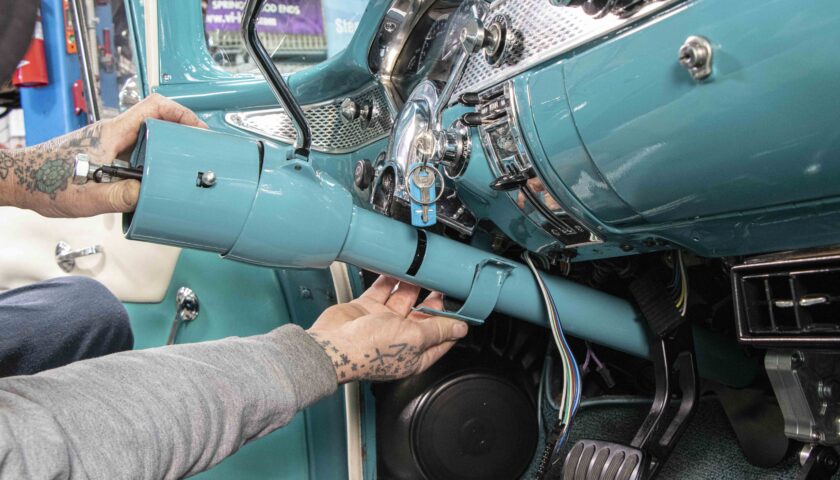
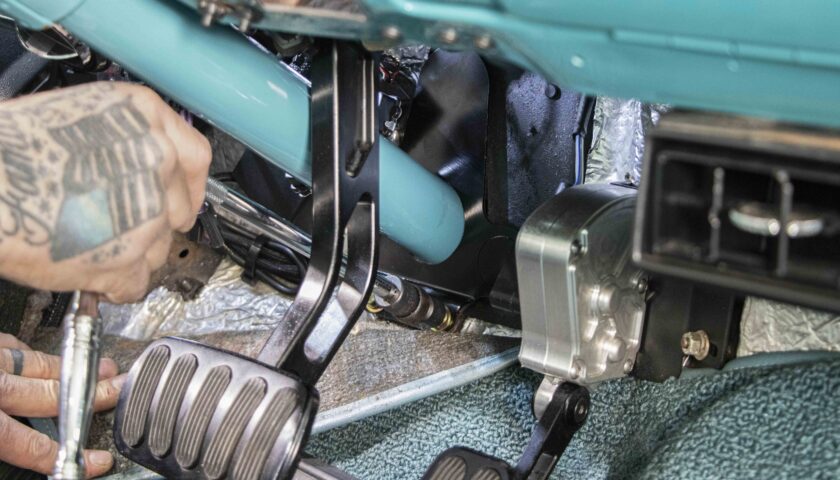
12. Then bring the column into the car. Carefully feed the lower shift lever through the firewall then secure the column to the underside of the dash.
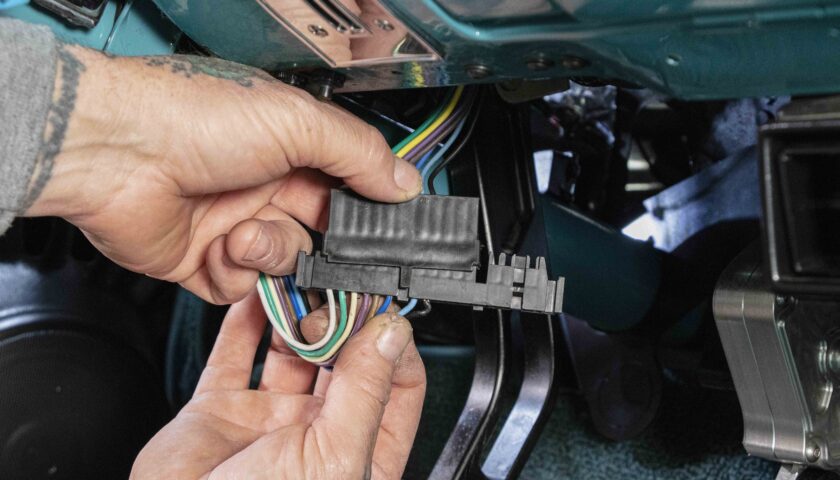
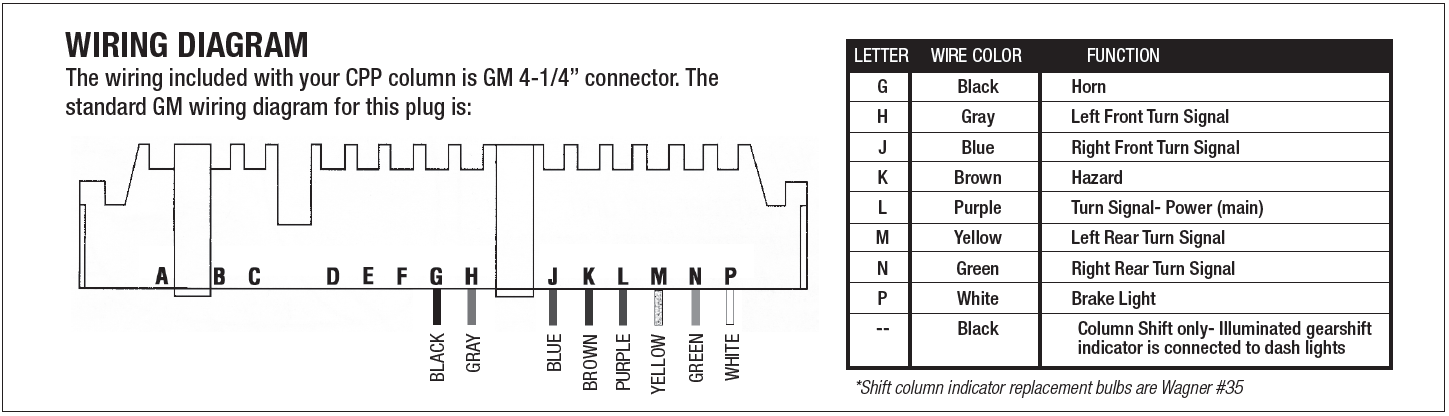
13. Next we hooked up the column’s wiring harness. Our ’55 Chevy already had an aftermarket wiring harness, so this was plug-and-play for us. Refer to the provided wiring diagram if you need to adapt your car’s harness to the CPP column.
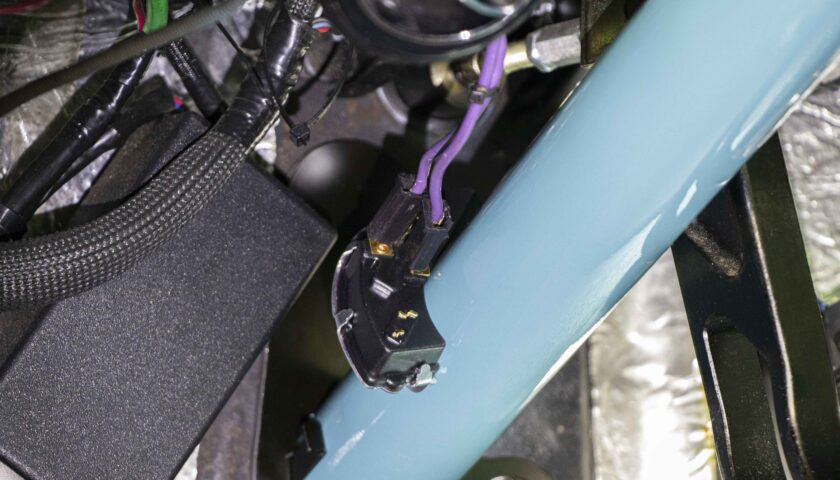
14. Then go ahead and plug in the wires for your neutral safety switch.
15. With the column in place, secure the floor plate to the firewall.
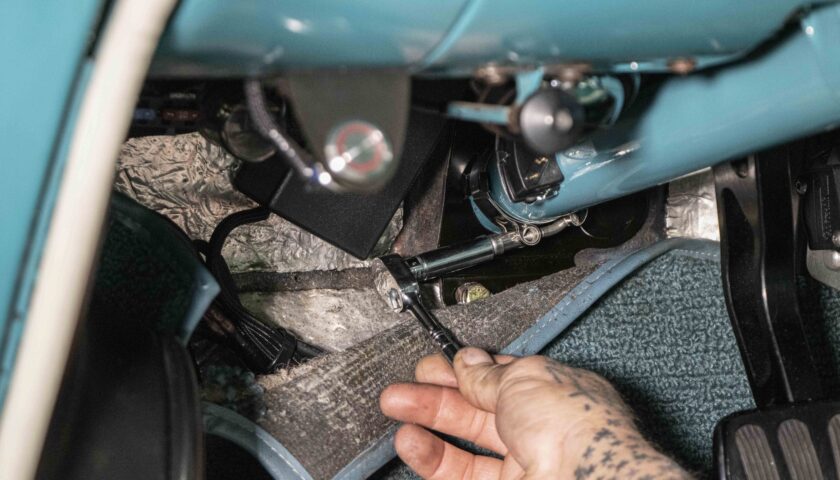
16. Then fasten the column to the floor plate using the retaining clamp.
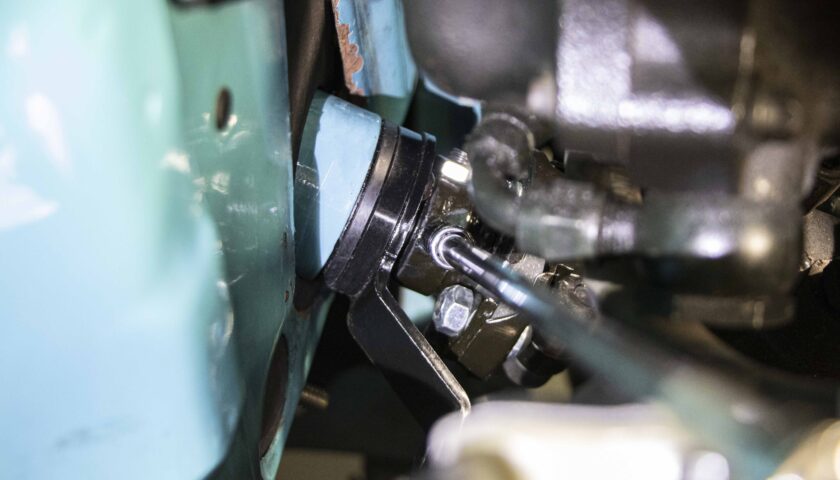
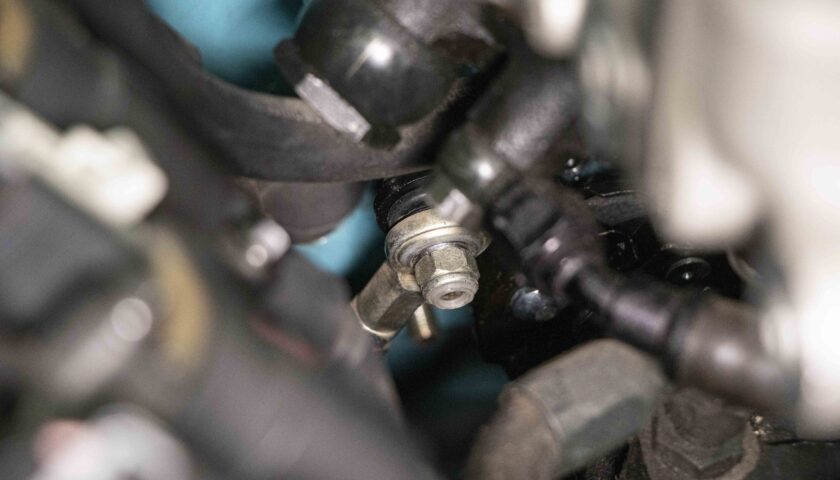
17. In the engine bay, use a thread locker on all the set screws and proceed to fully tighten.
18. Hook up your shift linkage to the shift lever arm.

Suggested Product: CPPs Shift Linkage Kit #CPTSL is designed to connect your new steering column to GM automatic transmissions with built-in adjustability at both ends.
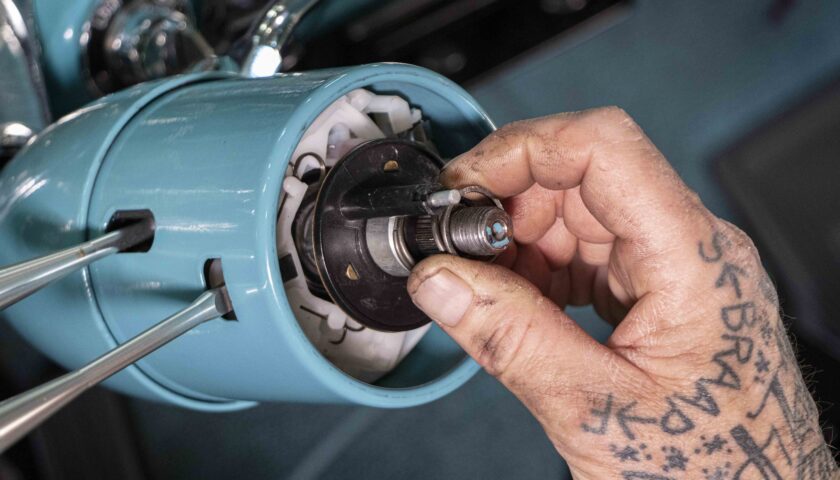
19. Back inside the car, slide on the horn button/blinker delete with the knob at 11 o’clock. Then install the spacer followed by the spring.

20. With the wheels and steering wheel straight, fully tighten the steering wheel nut.
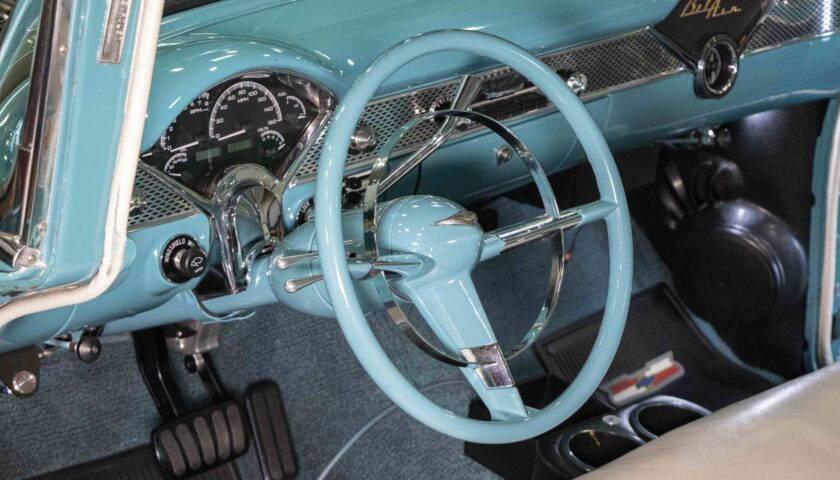
21. Finish by installing the horn ring and center piece. Shown is 15” Reproduction steering wheel #RP2002 with horn ring kit #ECHCR.