There is almost no excuse these days for not installing a Vintage Air A/C kit in your classic car or truck. If you’re one of the few who enjoys “roughing it like the good old days” then, sure, modern A/C isn’t for you. As for everyone else, having ice-cold air blowing on your noggin during the peak of summer is a must.
Luckily, installing modern air conditioning in your classic is getting easier by the year. Thanks to companies like Vintage Air Inc., you can usually get a complete A/C kit made to fit your specific vehicle. That is especially true if you’re driving a more popular platform like a Nova, Chevelle, Mustang, C10, etc.
Even when a direct-fit kit isn’t available for your application, there are a host of universal A/C systems out there. But, that’s a story for another day.
In our case, we are installing a Gen IV SureFit Vintage Air A/C kit on our 1967 Nova. Luckily, we planned ahead and made sure we had an A/C compressor on the front of our LS3 when it was installed. All we had to do was order up a 1966 to 1967 Chevrolet Nova SureFit Complete Kit. Using some basic mechanical know-how and equipped with the complete instruction manual from Vintage Air, we got to work.
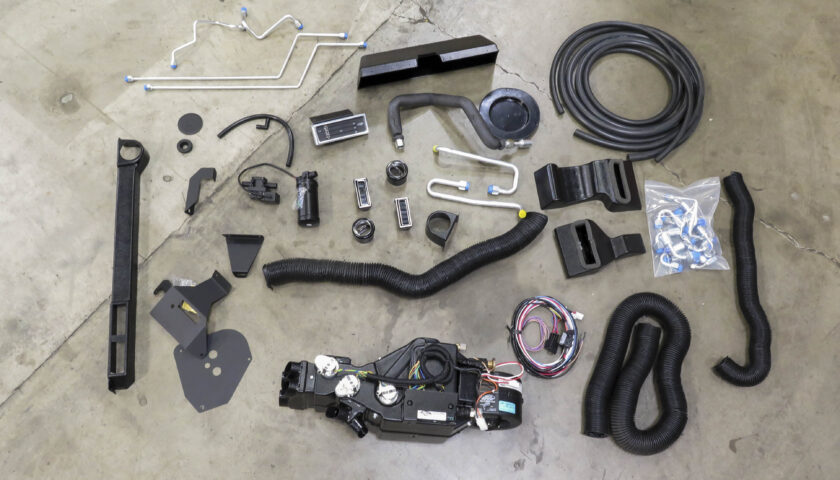
Here’s a look at everything that comes in a Gen IV SureFit kit from Vintage Air.
How to Install a Vintage Air A/C Kit in a ’67 Nova
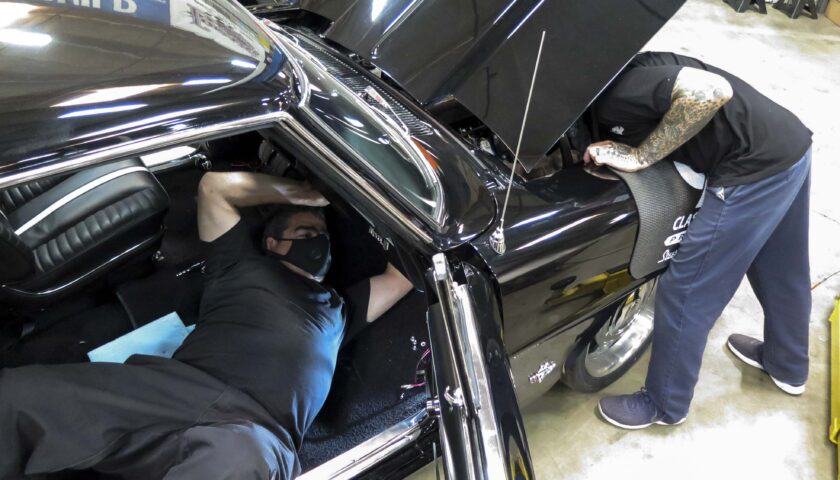
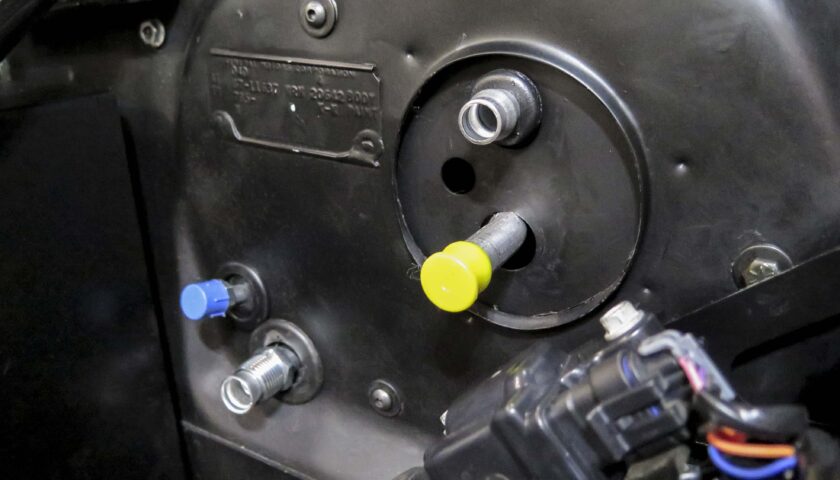
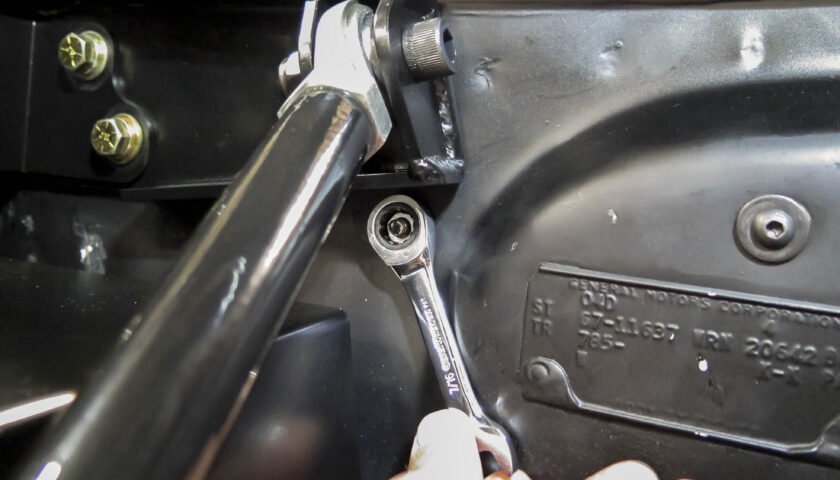
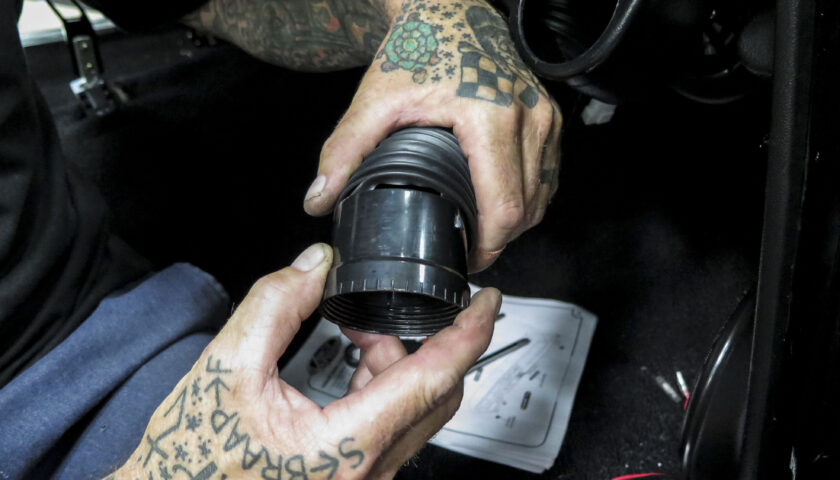
First up, we fitted the evaporator hardlines with the supplied O-rings.Installing the evaporator under the dash is a two-man job. Getting those hardlines lined up properly and through the firewall can be a challenge if you are by yourself.Rubber grommets are necessary to properly isolate the hardlines from rubbing on the holes in the firewall.On the engine side of the firewall, there is only one nut that needs to be tightened, the rest are under the dash inside the cabin.
Interior Vents and Controls
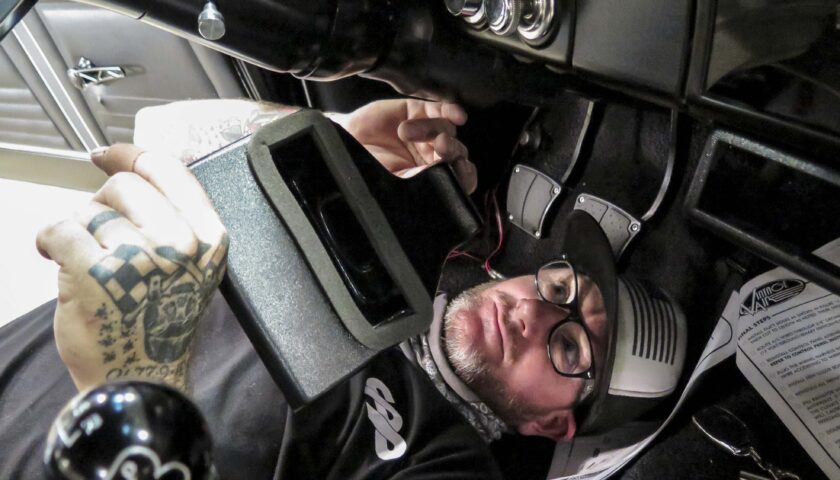
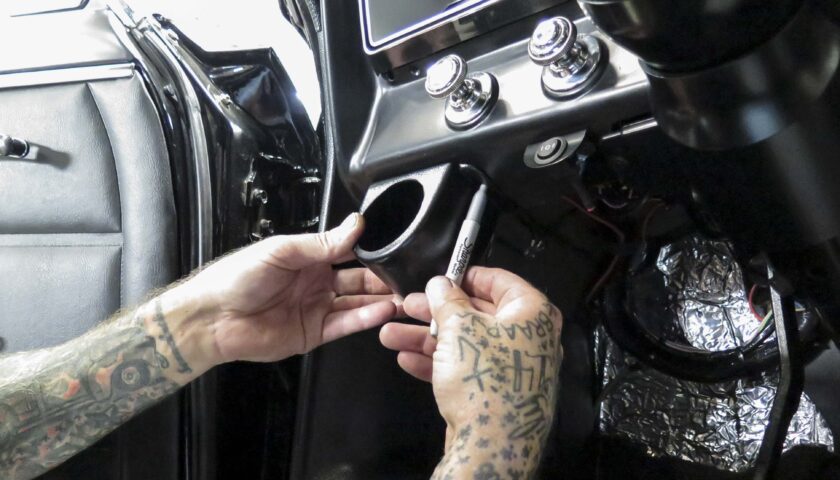
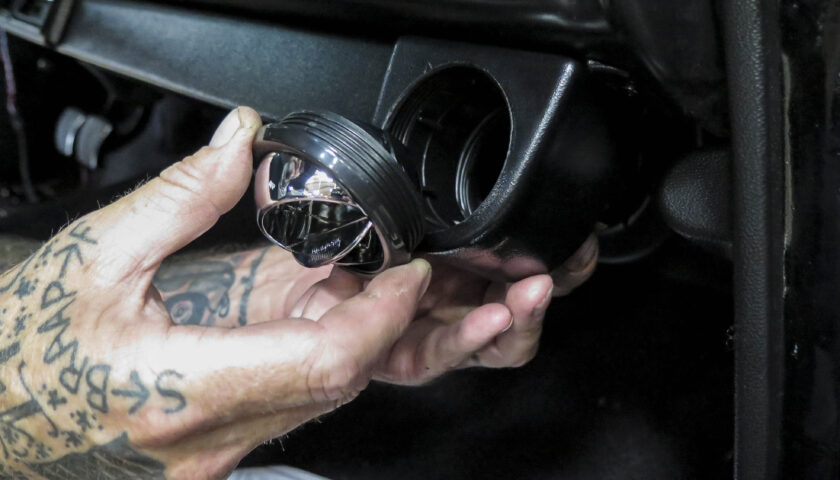
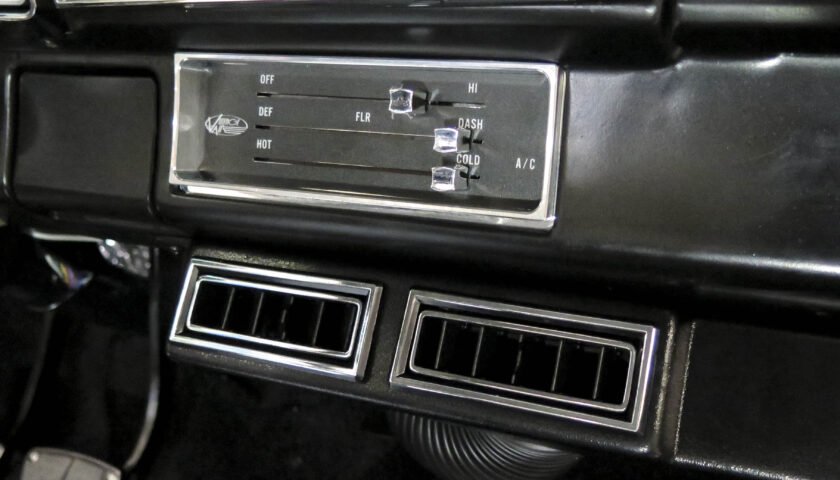
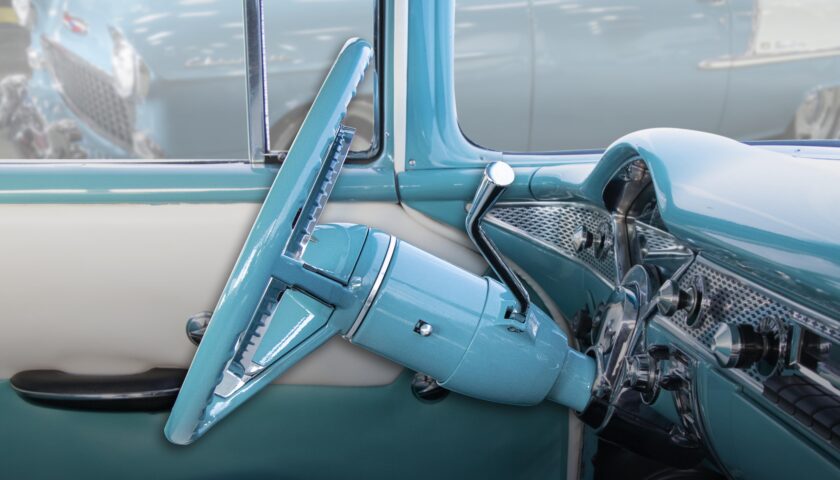
With the evaporator in place, we moved on to installing the defroster ducts. There will be one on the passenger side and one on the driver side The left and right ducts are two unique parts.Next we installed the driver’s side housing for the ball louver. Using a silver sharpie, we made marks for the two holes needed, then drilled, then used the supplied screws to secure it.Make sure to install the A/C control unit before securing the passenger side louver housing. The two bolts will be inaccessible once the housing is in place.Then, like the driver’s side, we marked and drilled the dash to install the passenger side louver housing assembly.It is a tight squeeze, but the ducting slides over the vent tube adapter for the louver ball.Then the louver ball goes on the outside of the housing and screws on to the vent tube adapter.With the A/C controls and center louvers installed, the end result is a clean and factory look.
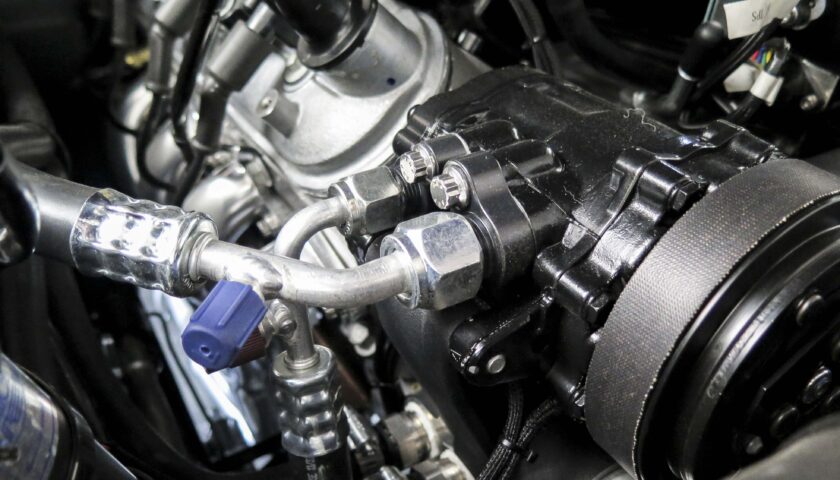
Under the Hood
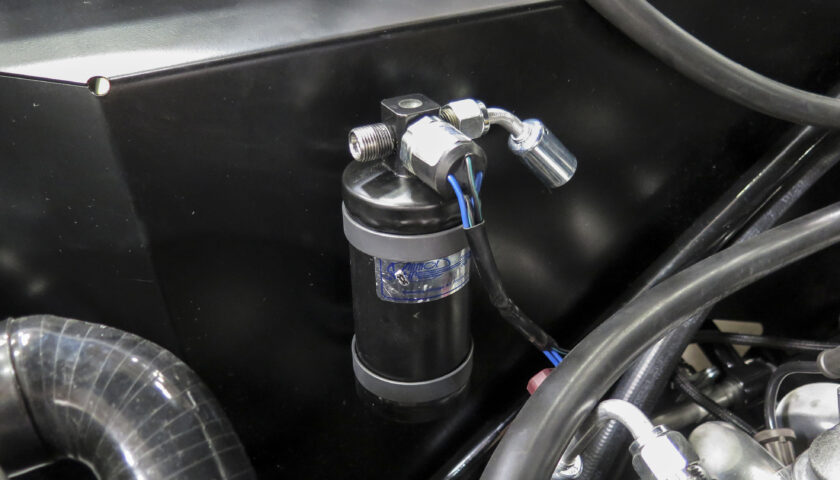
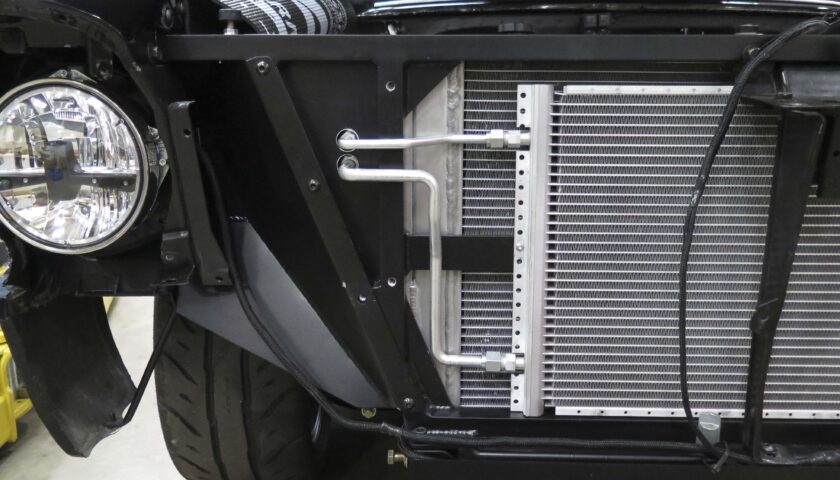
Moving back into the engine bay, we mounted the dryer with the trinary switch on the inner fender on the passenger side.In a stock vehicle, the supplied hardlines would work just fine. In our case, we had used an aftermarket radiator, condenser, core support, and inner fenders. So, we reached out to Vintage Air and had them make us a set of custom hardlines to fit our application (Click the link below to find out how you can too!)
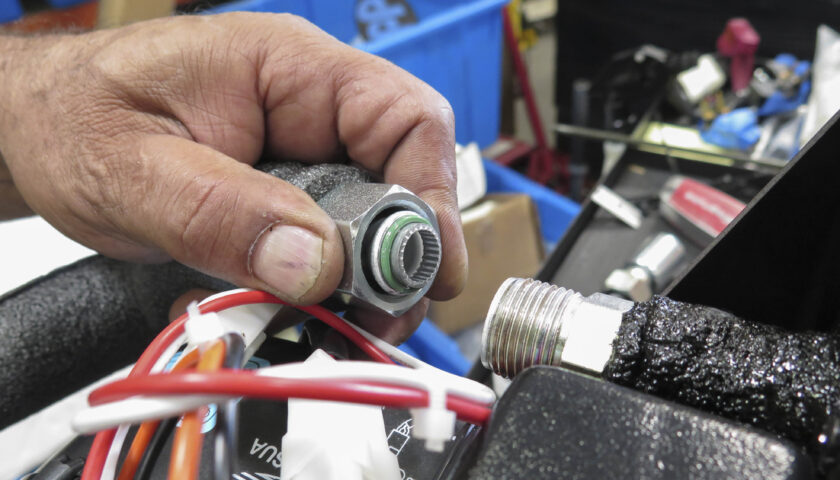
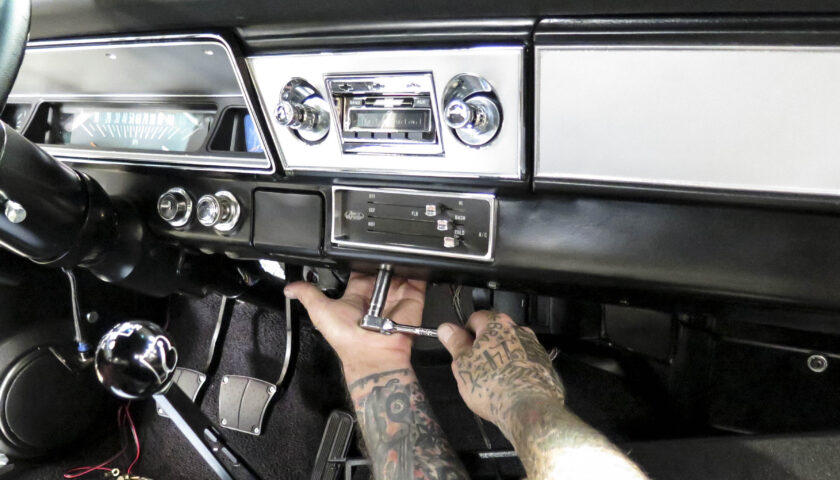
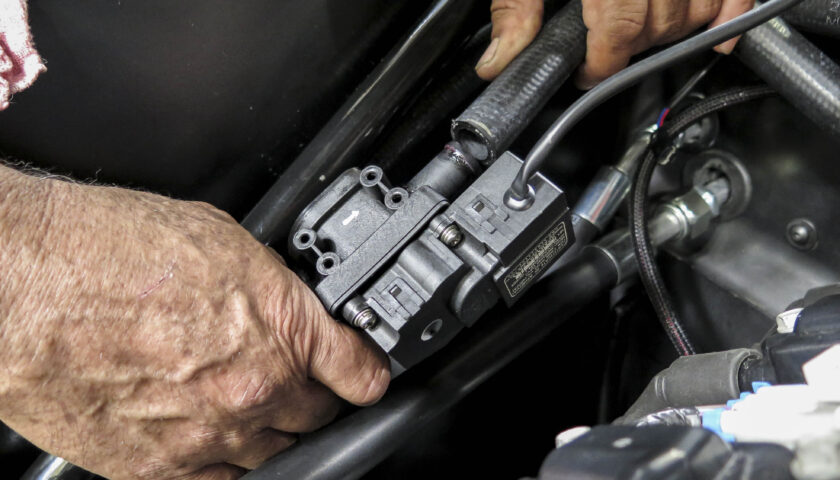
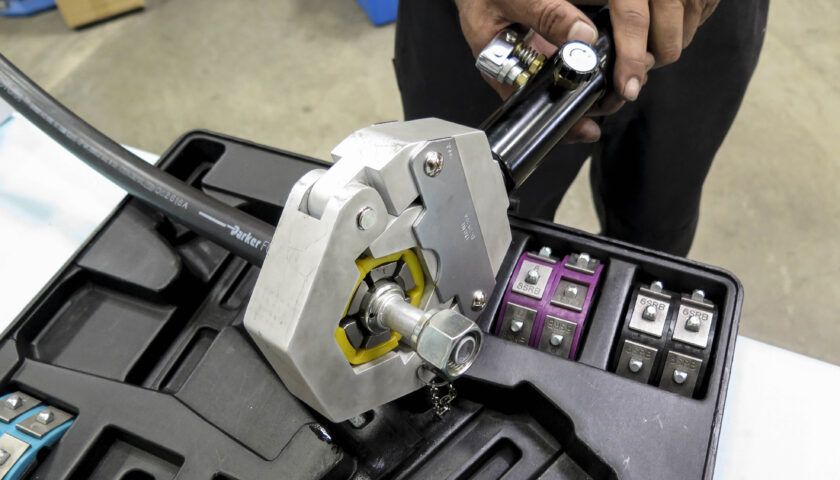
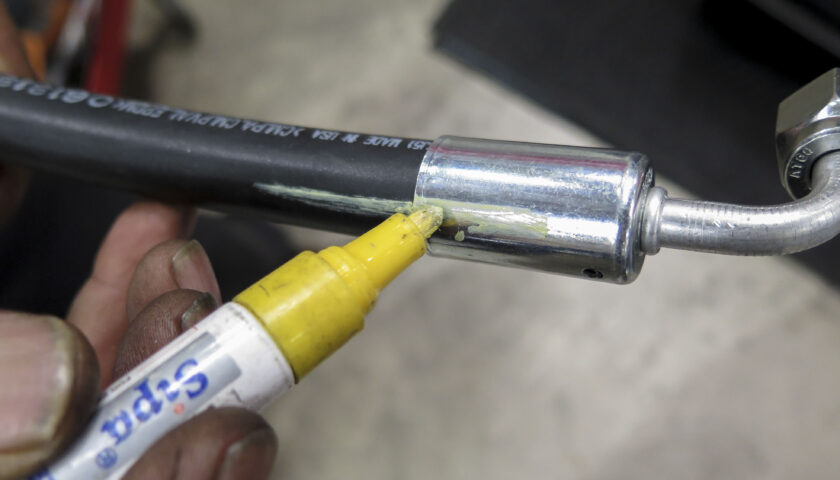
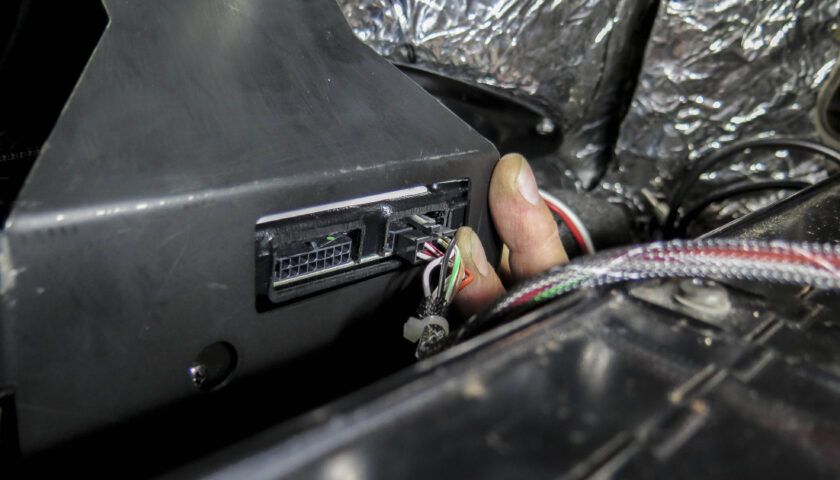
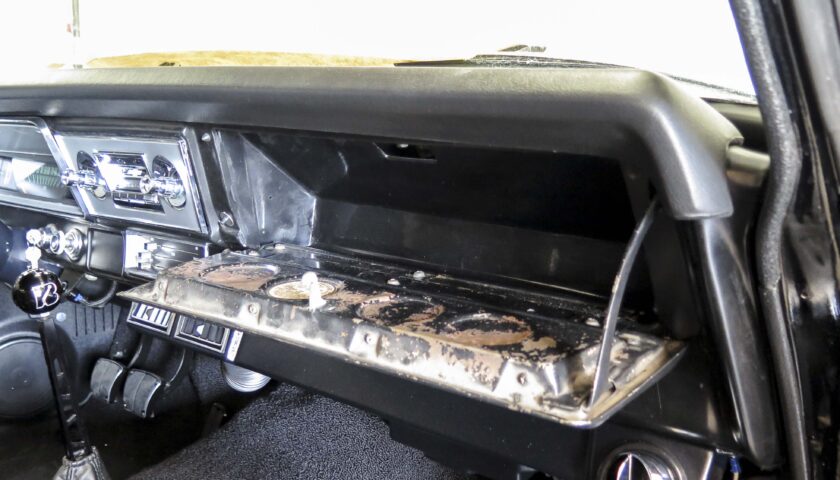
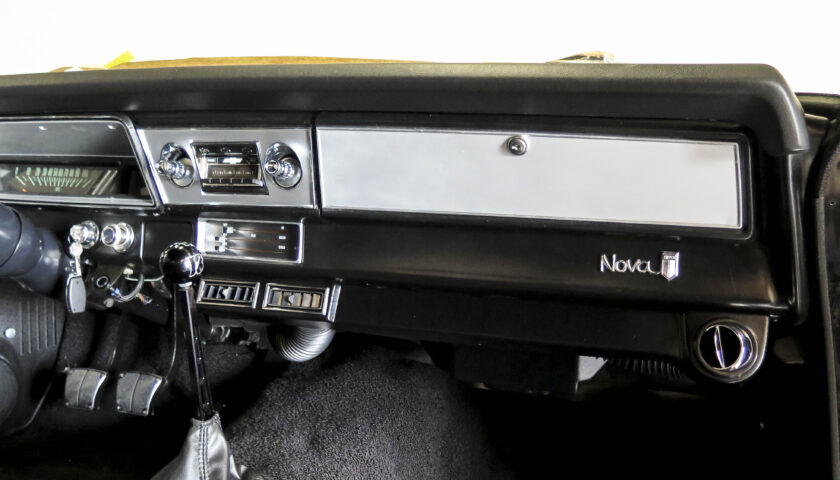
Then we installed the heater control valve. It uses push-lock style hoses, so no crimp fittings or hose clamps are needed.Next we used our A/C crimping tool—that we also bought from Vintage Air—to crimp our fittings to the rubber lines.It is important to note your desired orientation of the fittings before crimping. We made sure to make a mark on both the fitting and the rubber hose to ensure we had it clocked correctly.Then we installed all the hardlines and rubber lines from our Vintage Air A/C kit, including the service ports coming off the compressor.One of the final steps was the wiring. We pugged in the supplied wiring harness from the control panel to the condenser under the dash. The only other wiring that needs to be done is attaching the power wire to the starter.Once all the wiring is done you just need to install the inside glovebox piece supplied by Vintage Air.Here’s a look at the final product as seen from inside the cabin of our 1967 Nova. Pretty clean, right?


[…] (See the full story here) […]