Gone are the days of needing a different fuel pressure regulator when you make upgrades under the hood. CPP’s fully adjustable fuel pressure regulator works for just about any classic car and truck application. If you’re running a carburetor now but plan to go EFI in the future, this fuel pressure regulator makes it possible. You can even add forced induction down the line since it comes equipped with a boost reference port.
Related Story: CPP’s EZ Return Rivet Fitting Is A Universal Solution
In the video, Jason Scudellari walks through the features of the regulator, how to mount it, how to plumb it and how to adjust it. And if you want step-by-step photo instructions, you can check those out below.
Adjustable Fuel Pressure Regulator #90395 Installation Instructions
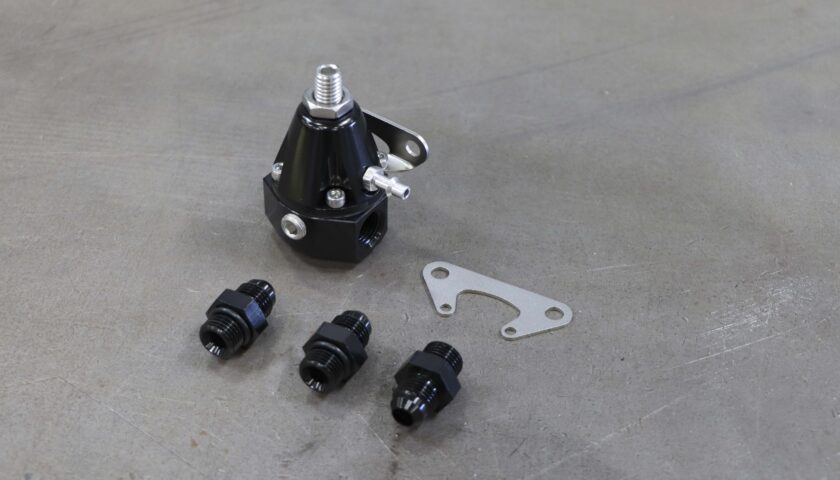
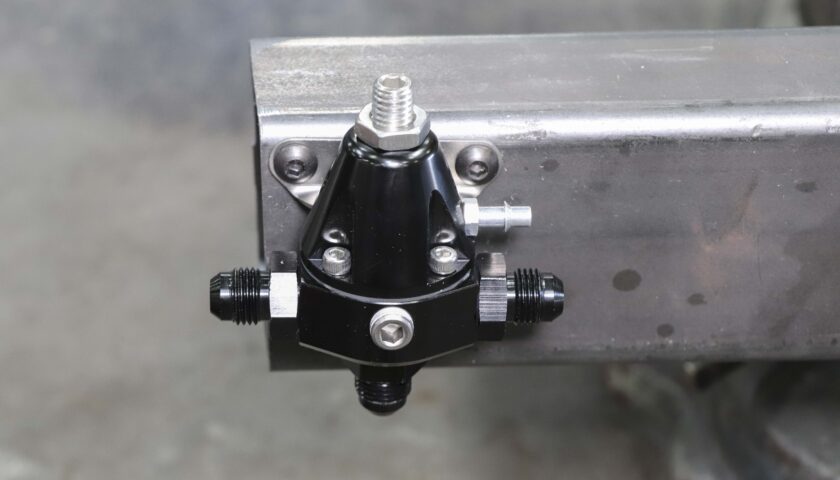
The adjustable fuel pressure regulator kit comes with two types of mounting brackets as well as three -6AN fittings for the inlet, outlet and return lines. Other fittings, hoses and fuel system components available separately.
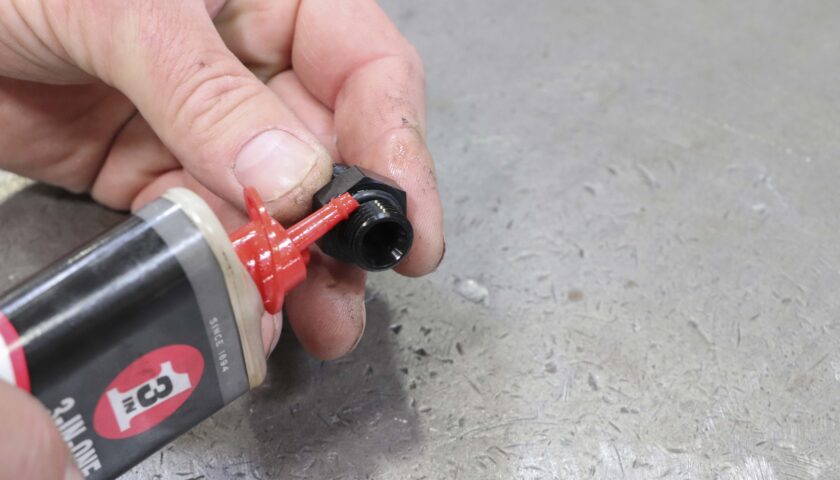
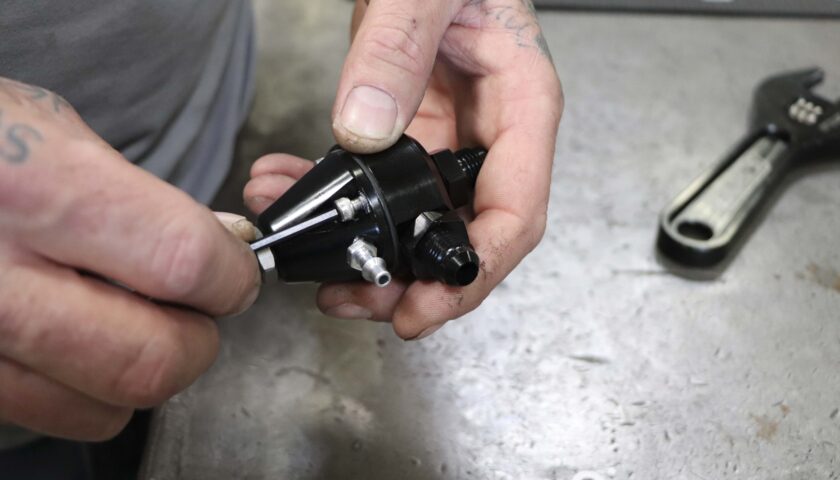
1. Begin by applying a general purpose lubricant such as 3-In-One to the O-rings on each of the AN fitting.
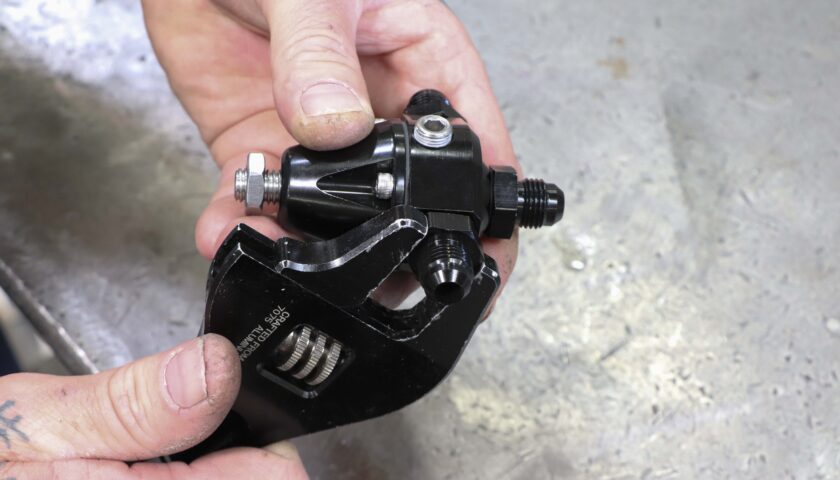
2. To avoid marring the fittings, use an appropriate AN wrench and install the fittings into the regulator.
Mounting Location Note: The regulator can be mounted anywhere on the vehicle in-line with the fuel system. Some like to mount the regulator near the engine and others like to mount it on the frame rail near the fuel tank. To minimize the length of return line needed, we like to mount the regulator in the latter position.
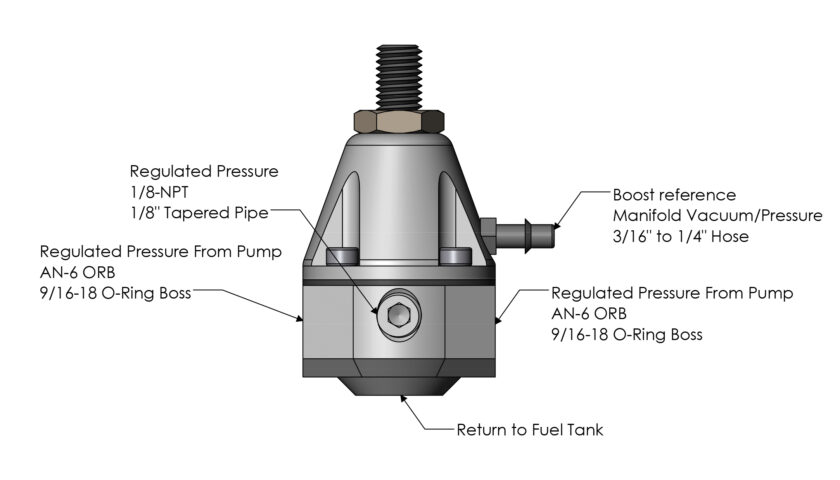
4. Both -6AN ports on either side will regulate the fuel pressure. That means it can be used with one side being an input fed by the fuel pump and the other side an outlet feeding the engine. It can even be used with one port plugged and a T fitting on the other side to feed the engine. An additional option for certain EFI applications is putting the regulator after the fuel rails with each port being used for one of the two fuel rails or one port being plugged for applications with only one fuel rail.
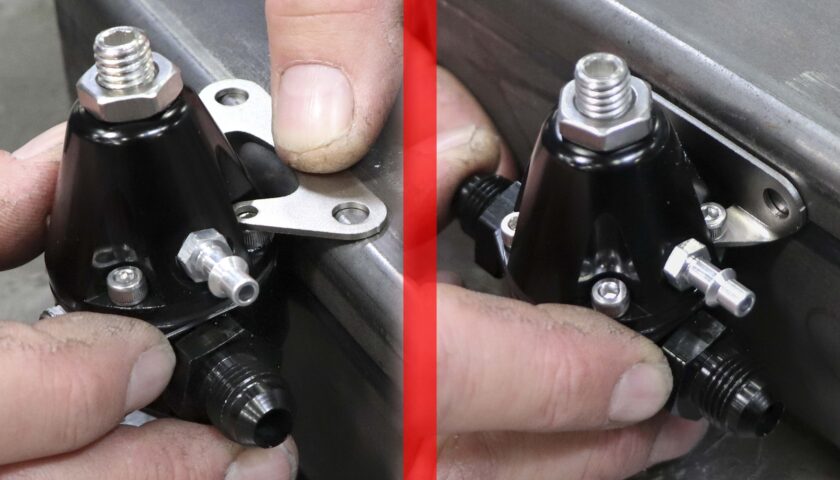
5. Once the mounting position has been chosen, remove two of the four top screws on the side opposite the fuel pressure gauge port.
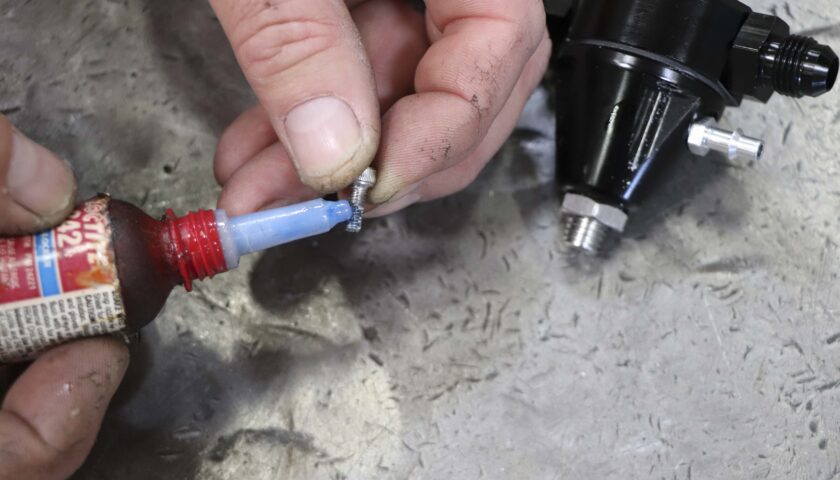
6. Use Loctite when re-installing the screws to fasten the mounting bracket of choice to the regulator.
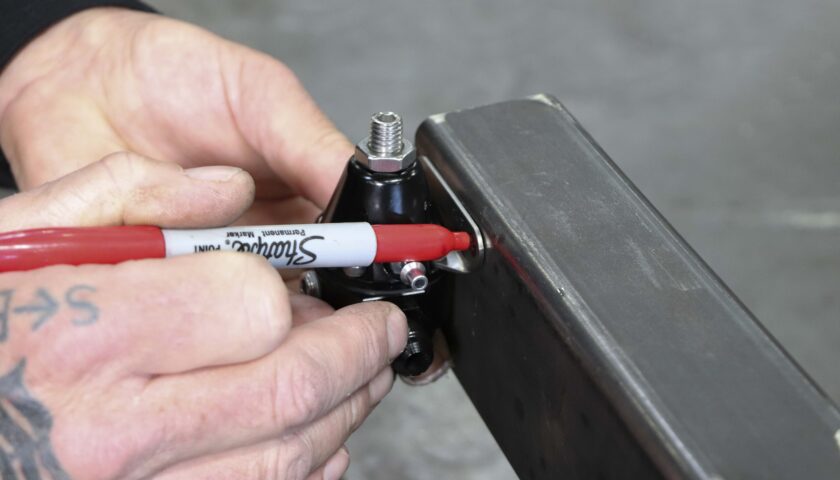
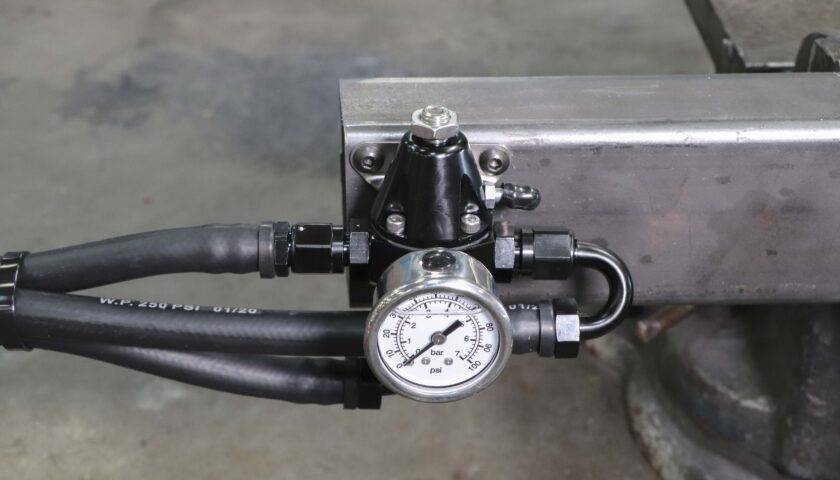
7. Position the regulator in the desired mounting location and mark the two holes for drilling. For visual clarity, we will be mounting our regulator on a piece of square tube rather than underneath a vehicle.
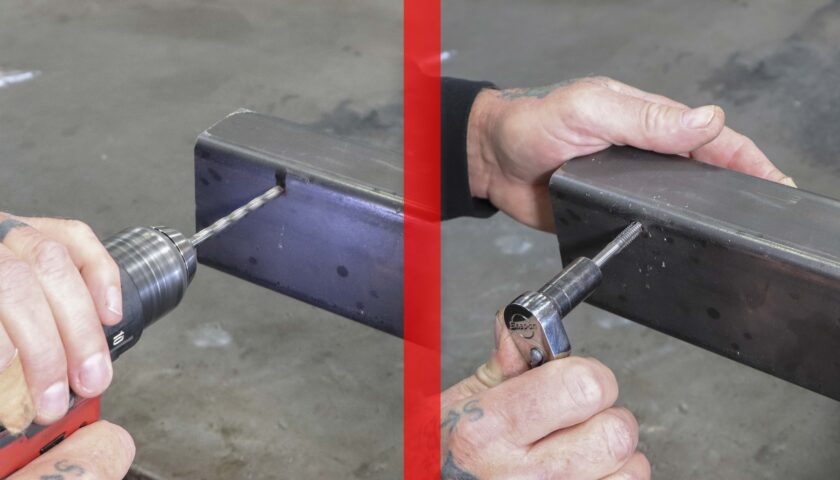
8. Drill and tap the two holes using a 3/16th drill bit and ¼-20 tap.
9. Mount the regulator using appropriate hardware. We chose to use ¼-20 button head screws.

10. In this example, we are using one straight PushLock -6AN as the inlet from the tank, a 180-degree -6AN PushLock for the outlet to the engine and a 90-degree -6AN PushLock for the return to the tank. PushLock fittings and fuel line available separately.
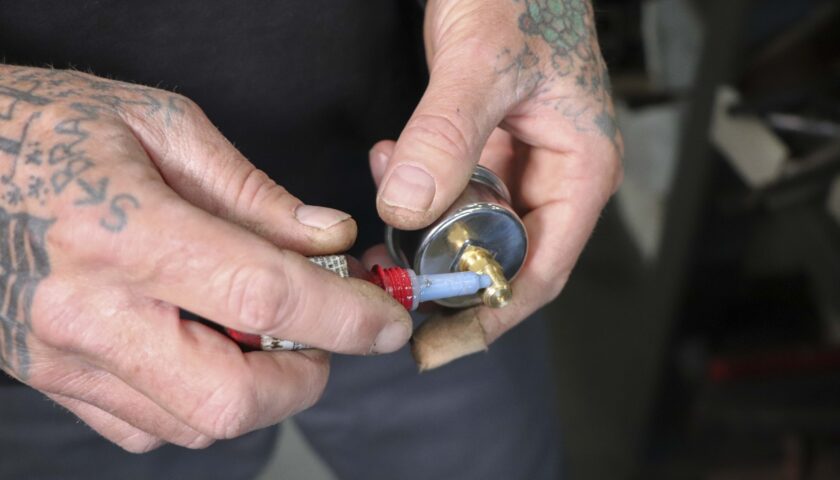
11. To fit a fuel pressure gauge (also available separately), remove the 1/8” NPT plug and use threadlocker before installing the gauge on the regulator.
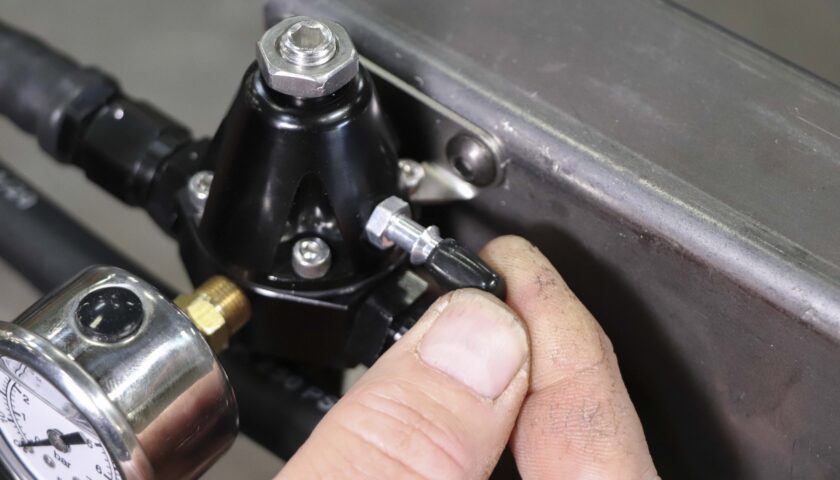
12. The vacuum port can be used in blow-through carbureted applications (turbocharged or centrifugally supercharged) when increased fuel flow is required to compensate for increased PSI above the carburetor. If boost reference is not needed, install a vacuum cap.
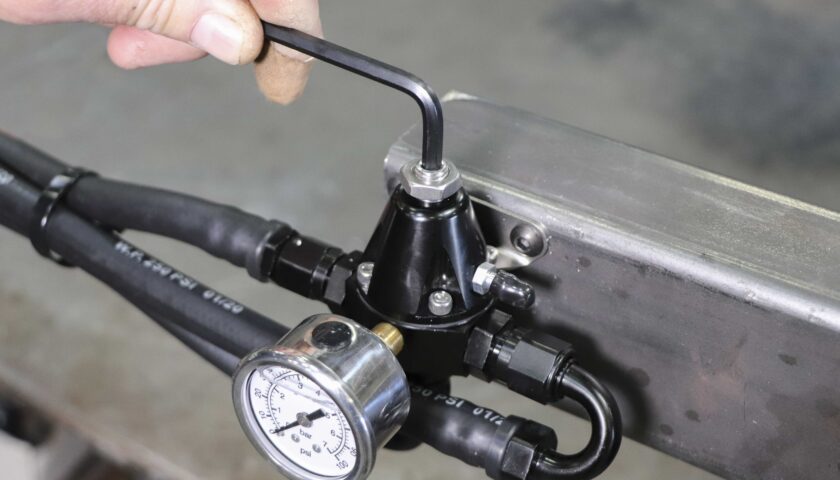
13. To adjust fuel pressure, loosen the top jam nut. With the engine running (or electric fuel pump on), turn in the set screw to increase the pressure or turn it out to decrease the pressure. Re-tighten the jam nut once the desired pressure is set.
14. The fuel pressure gauge can remain installed on the regulator or removed if there is a space constraint. If the regulator is removed, make sure to reinstall the 1/8” NPT plug using threadlocker.