As seen in the March 2021 Issue of Classic Truck Performance magazine!
Text and Photos by Rob Fortier
When initially purchased, our 1969 C10 seemed, for all intents and purposes, as if all it needed to become roadworthy was tightening up a few nuts and bolts here and there. Well, that couldn’t have been further from the truth.
Related Story: Week To Wicked 1970 C10 With 700 HP LS7
Upon attempting to tighten said nuts and bolts, we discovered a myriad (plethora, abundance, multitude—you pick your adjective!) of problematic issues: from severely compromised motor mounts (trimmed beyond reason for header clearance) to an airbag-equipped/hacked OE suspension that we’d planned on converting to a static-drop coilover configuration from the onset. While we’ve already addressed the rear accordingly with the Strange Engineering bolt-in 9-inch and Classic Performance Products (CPP) Totally Tubular trailing arm setup, the frontend had us puzzled, with the wheels being 2 inches further back in the wheelwell than they should be.
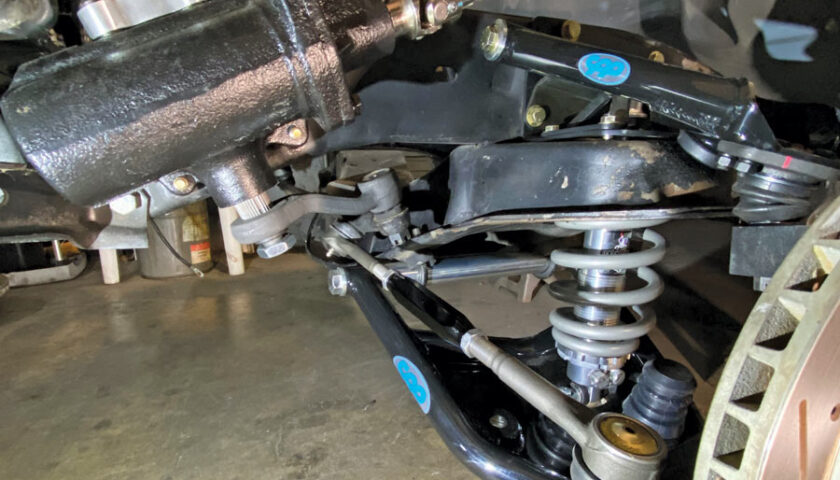
After tossing around a number of possible options to remedy the front suspension situation—including completely swapping out the front crossmember and utilizing a whole new suspension setup—what we initially assumed was an issue with said stock crossmember placement turned out to be the simplest problem to cure: the upper control arms were on backward! That realization led us right back to our first option of upgrading the front suspension using CPP’s Totally Tubular coilover conversion upper and lower control arms … with the correct upper arm placement, of course!
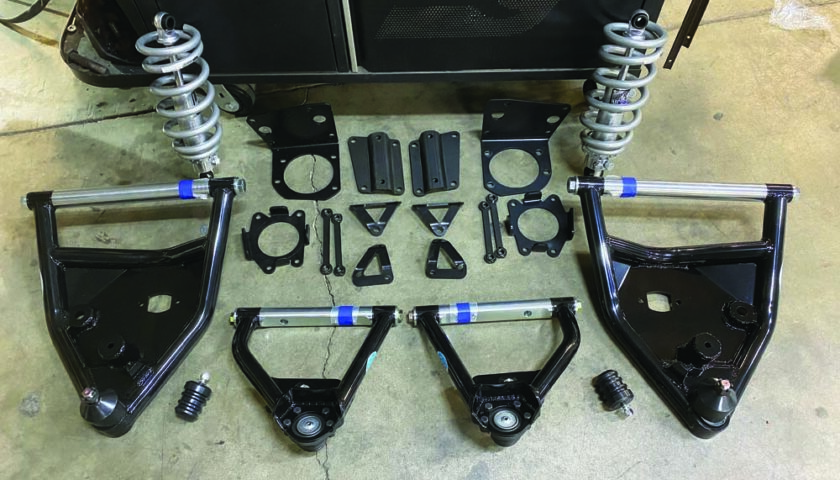
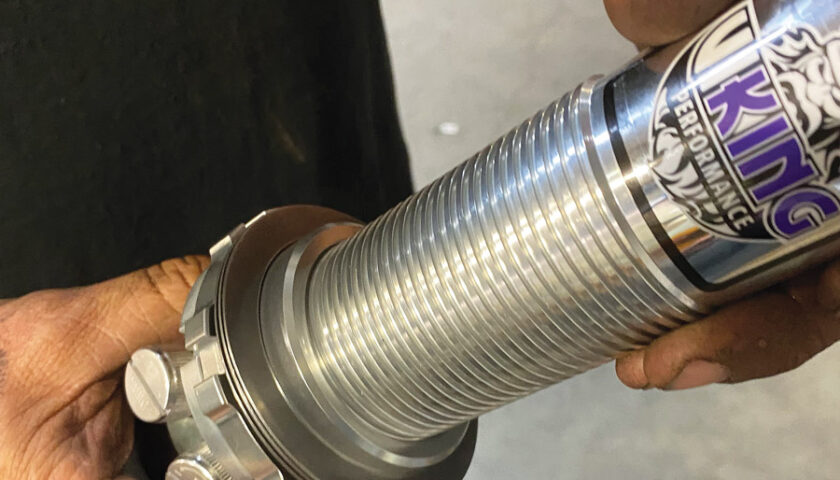
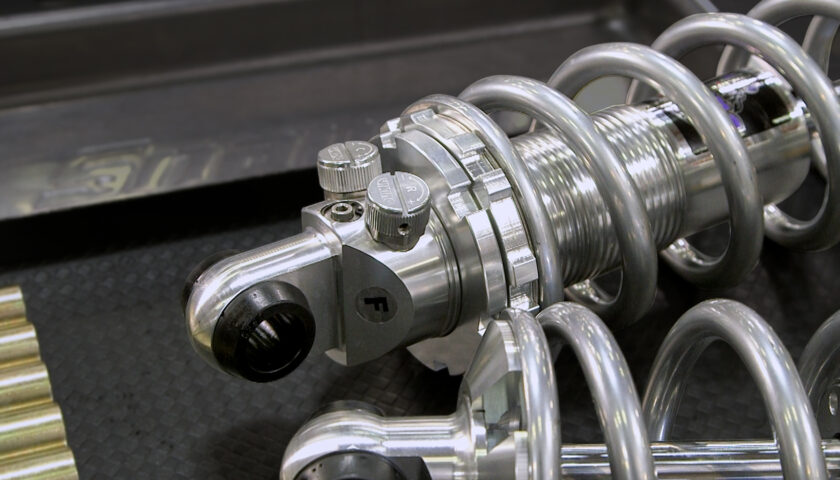
If you’re not familiar with CPP’s 1967-up C10 front coilover conversion kit, let’s take a minute to fill you in. First off, it’s the only of its kind on the market that retains the factory crossmember that provides the user with an “inboard” coilover—one with a full-travel shock absorber rather than an extremely compromised short-throw damper. To accomplish this, not only does the riveted factory upper control arm mount require removal, the upper coil hat portion of the underlying crossmember (beneath where the old control arm mount was riveted) must be relieved of 4-1/2 inches in diameter for the new coilover. Typically, this can be achieved with a bi-metal holesaw of that size, however the use of a decent-powered plasma cutter (as we will show) greatly eases and speeds up the process.
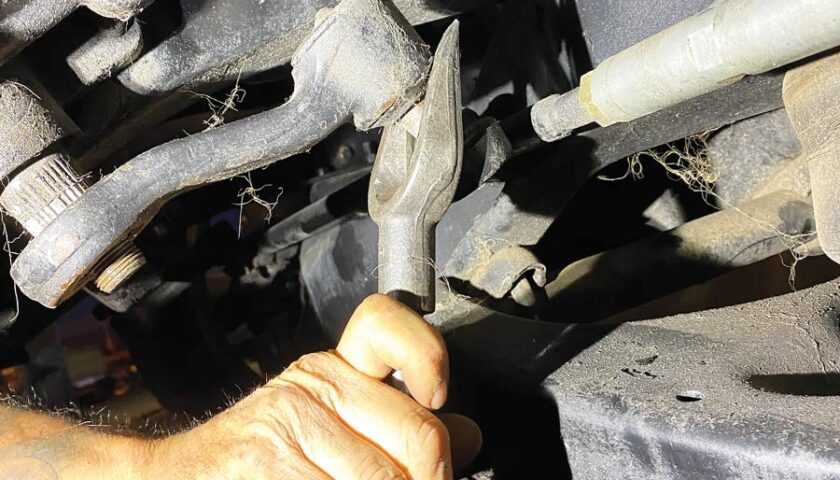
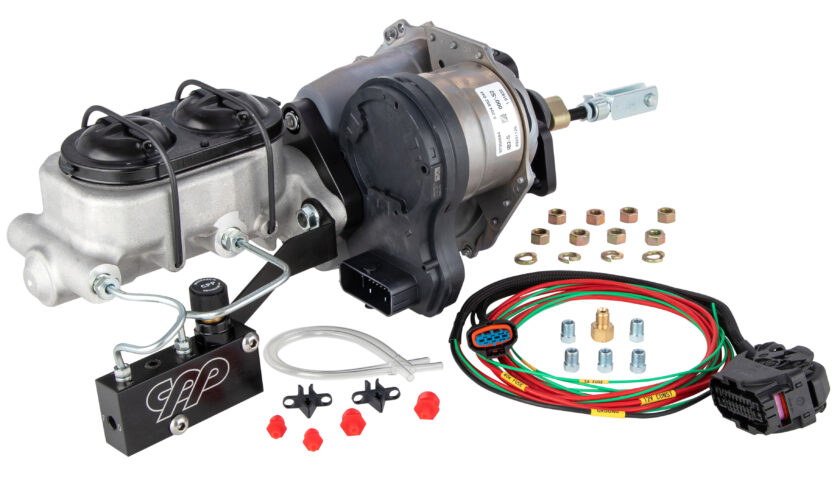
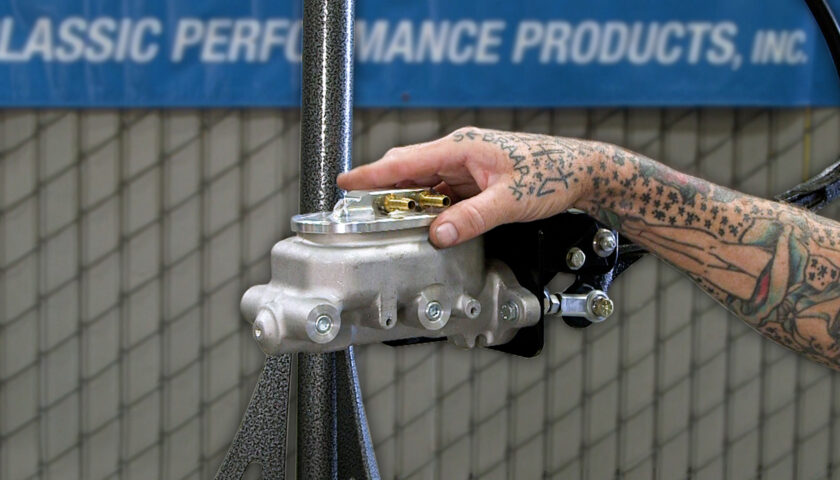
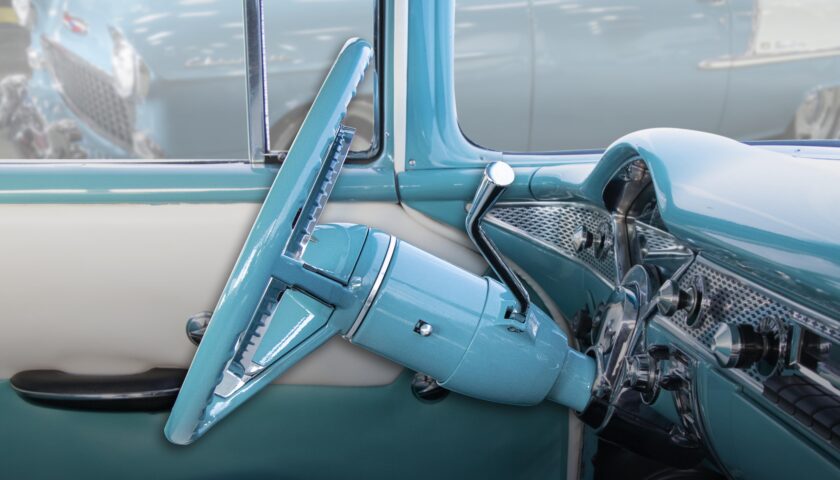
To address the worn-out factory steering components, we once again relied on CPP—this time for their 500 Series power steering box and complete steering linkage kit. Leading up into the cab, we’ll be using a Flaming River non-shift tilt column along with their repop Corvette-style flat three-spoke steering wheel. Since the suspension portion of this rehab treatment is rather lengthy and involved, we’re going to save that for next month so as not to skimp out on any important aspects! For now, let’s get this C10 back down on all fours appropriately!
Check out more from Classic Truck Performance Here!
Installation Instructions
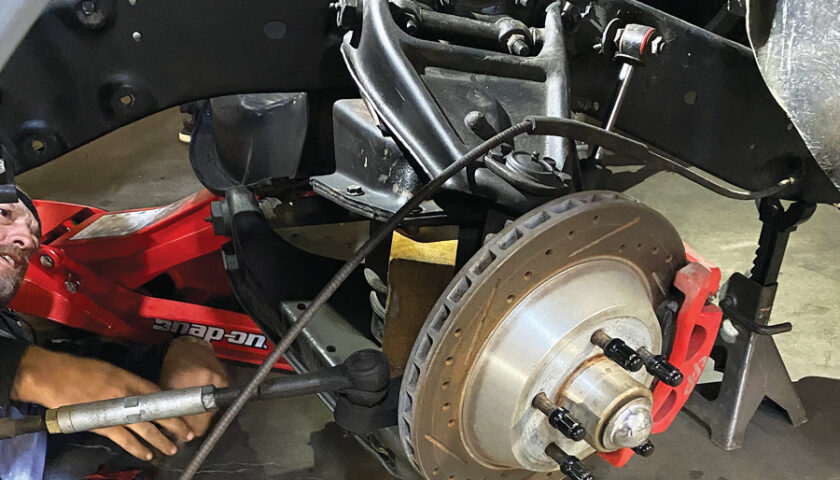
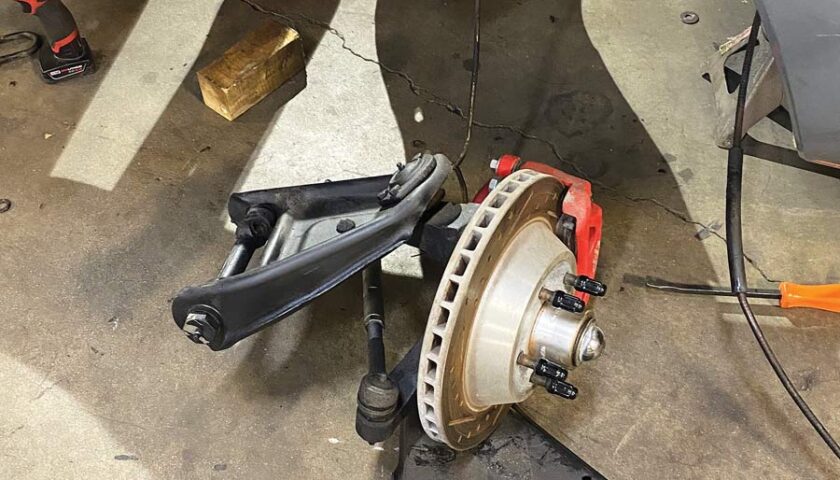
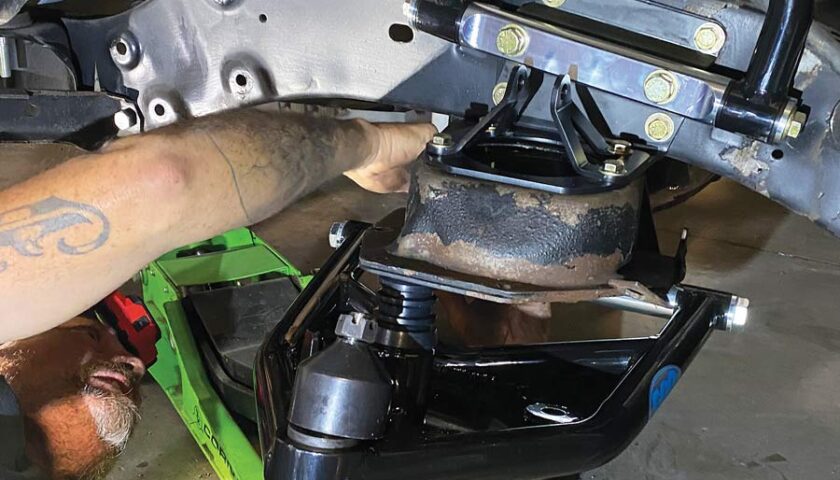
4-5. Having an extra set of hands is always highly recommended, and in this case you’ll also need the assistance of a good floor jack if you’re removing coil-sprung lower control arms—and no matter what, safely secure the truck on jackstands! We’d since pulled out and subsequently trashed the worn-out airbags, and because it was kind of late at night, Jobe decided to remove the entire front suspension in one fell swoop … or bang!
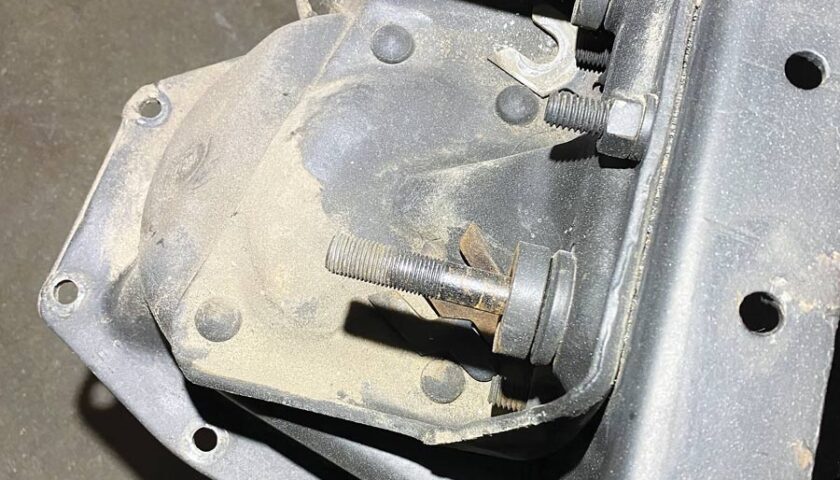
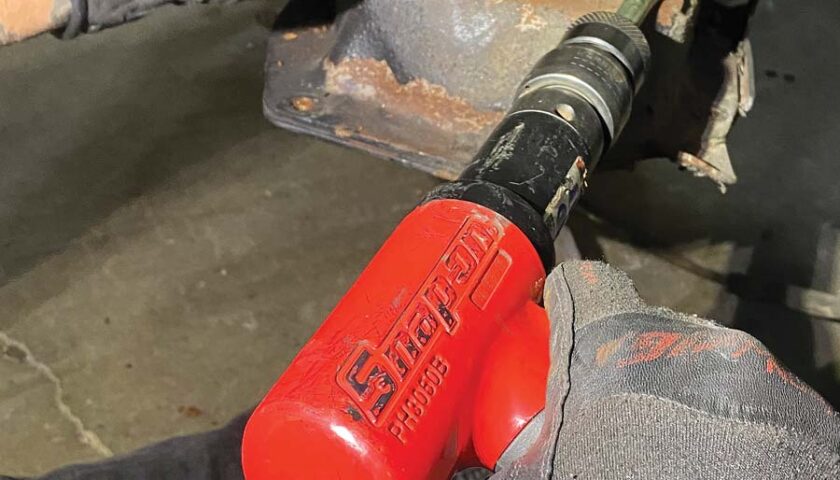
6-7. CPP’s unique, integrated upper control arm/upper coilover mount completely replaces the factory riveted piece—so, as you can see, the OE piece needs to go. A cutoff wheel (to X the top the rivets) and air chisel (and accompanying earmuffs—for all in attendance) will make quick work of the task.
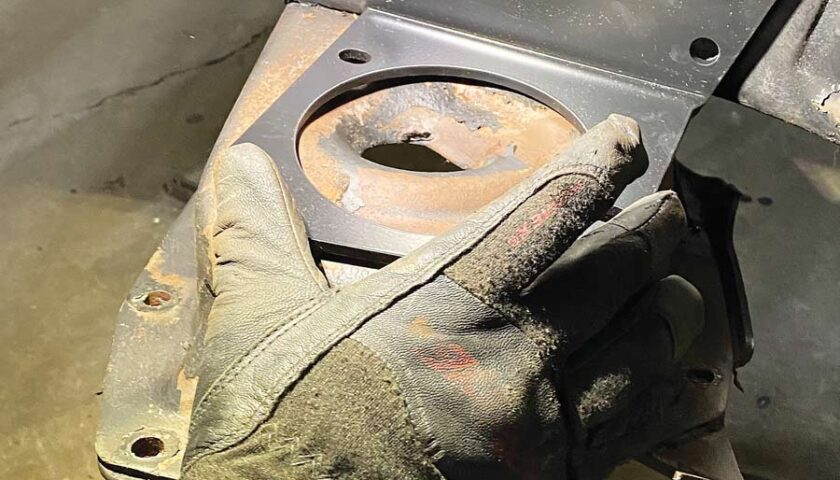
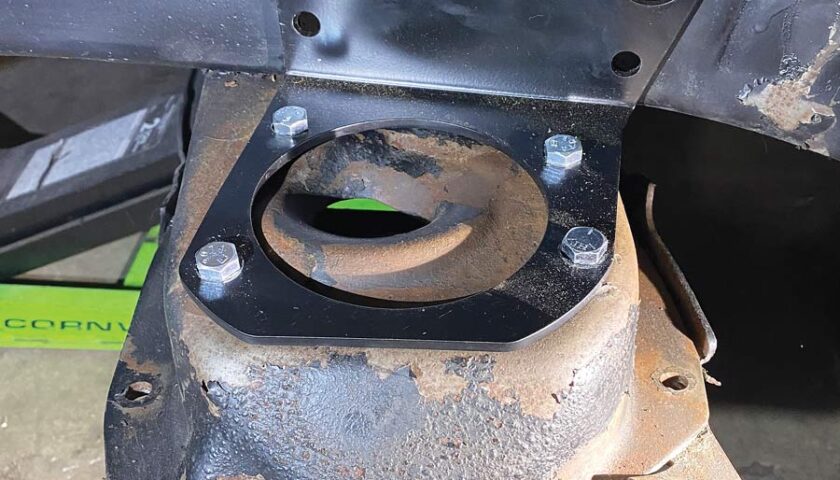
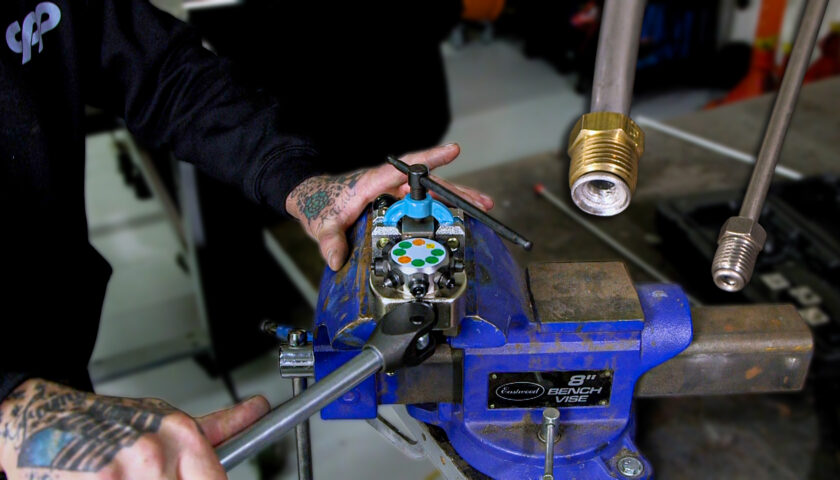
8-9. With the old hat out of the way, we temporarily bolted the main portion of the CPP upper mount to the crossmember; the bottom/horizontal plate will not sit flush—yet—but it will after the next step! Using a 4-1/2-inch hole saw or, as we did, a decent-powered plasma cutter, front the top side using the mount bracket as a guide and cut a 4-1/2-inch hole in the double-layered crossmember. This will provide access/room to mount a full-length coilover shock, as you’ll see.


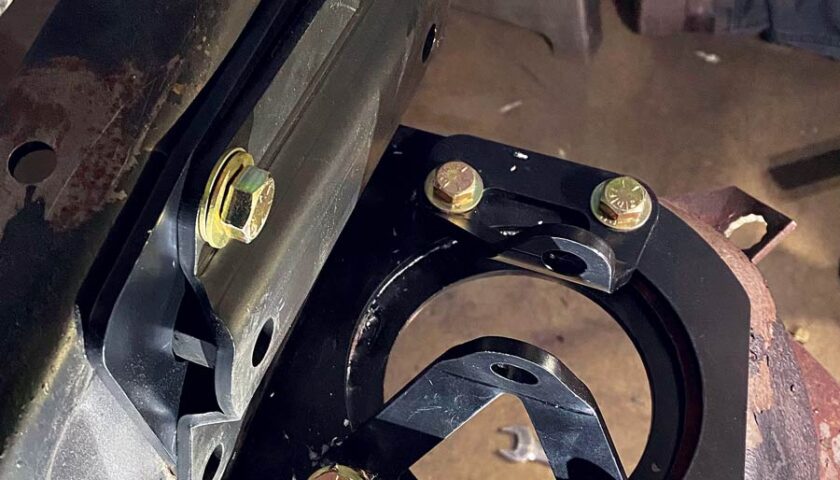
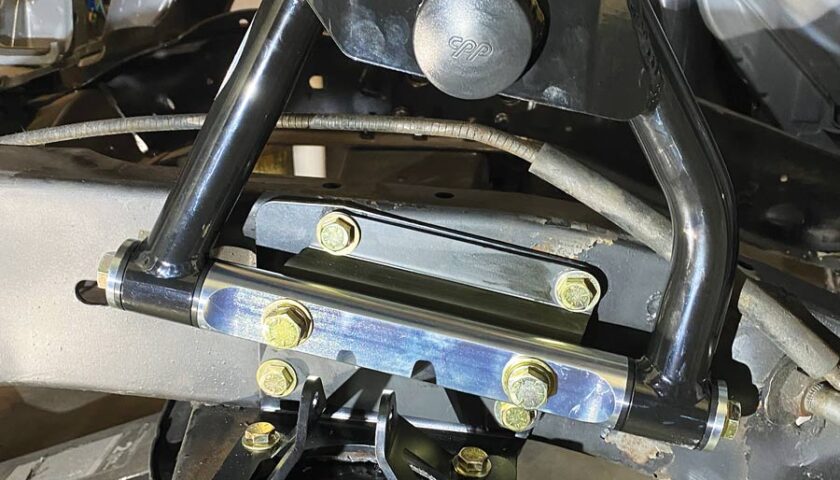
11-12. We loosely assembled the two-piece upper shock mounting and snugged the top plate down on the crossmember before drilling the front uppermost hole for the control arm pivot mounting bracket. (Note: there are right/left upper shock mounts; make sure the rear-angled piece with the shorter bolt pattern aligns with the shock through-bolt hole of the front one.)
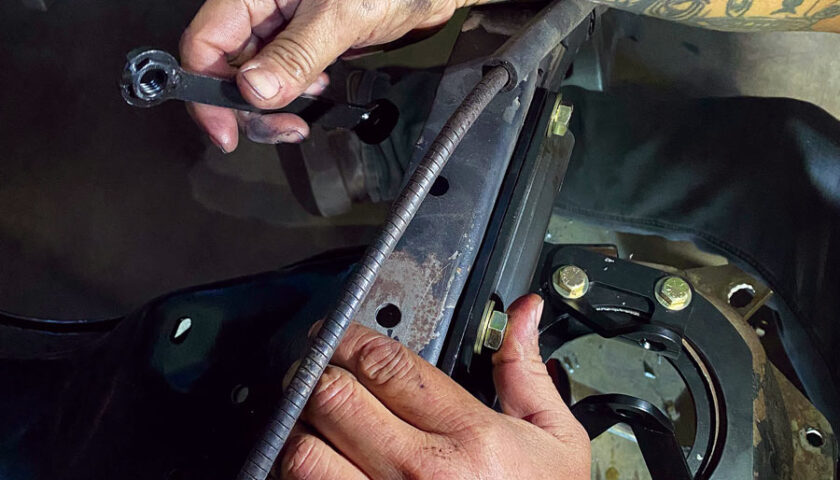
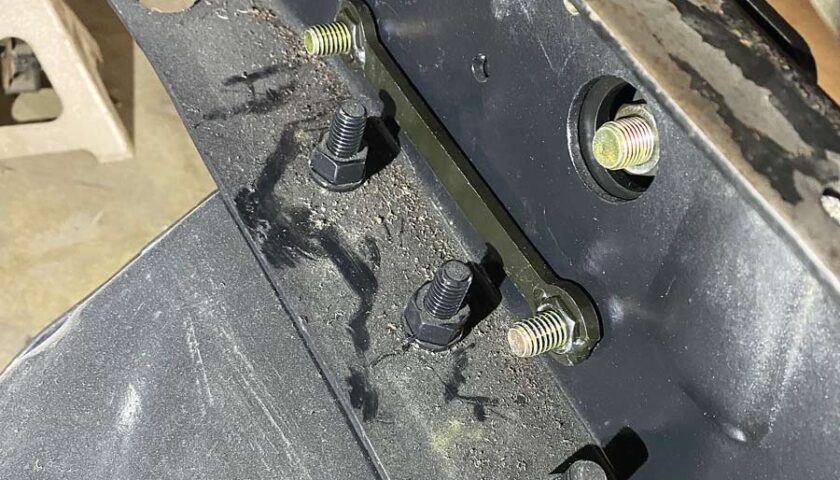
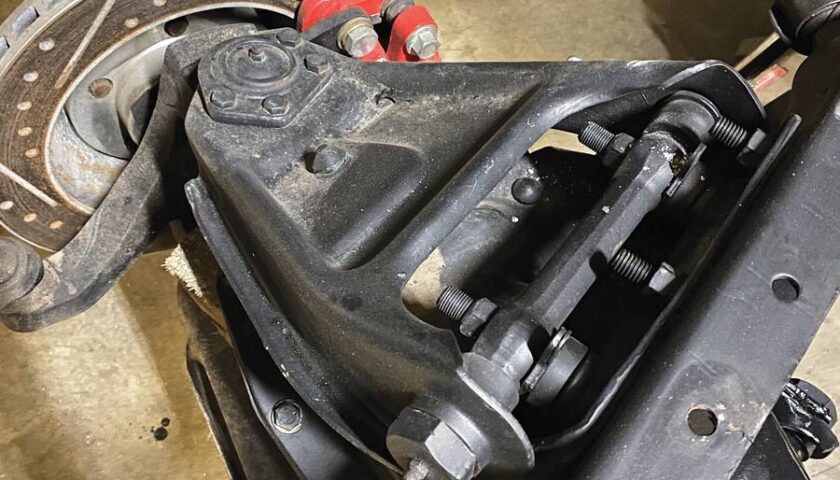
13-14. For ease of installing the framerail hardware (vertical side) on the main bracket in the event your engine hasn’t been removed (like ours) and you’ve got exhaust limiting your access, CPP provides a clever dual-captured nut “device” to use!
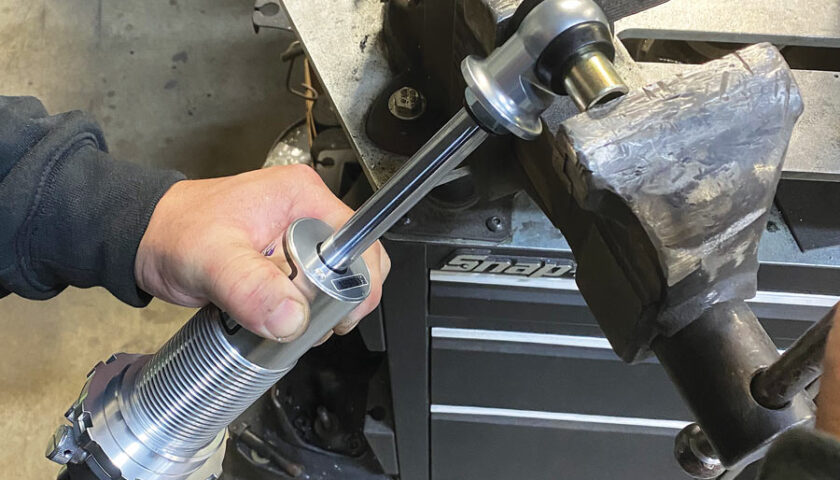
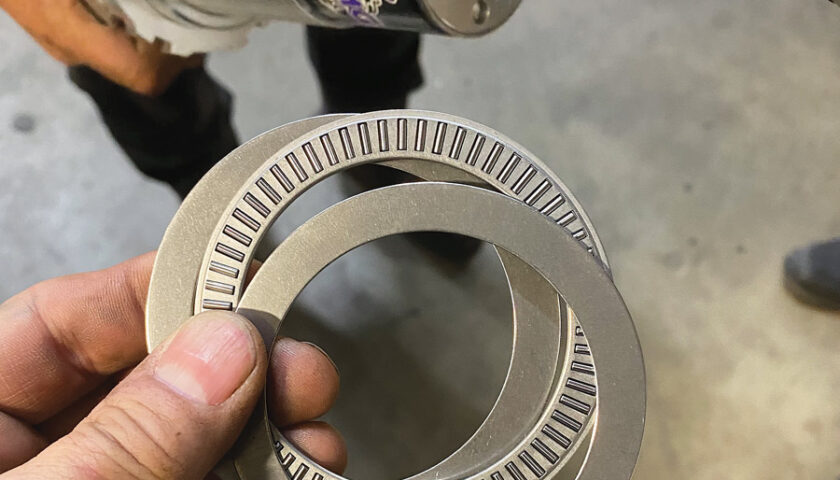
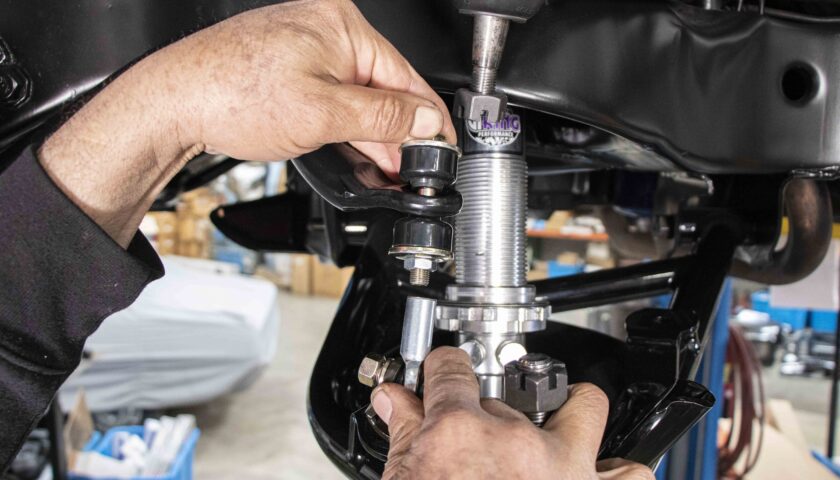
18-19. With the lower coil spring adjuster set at the lowest position, install the provided thrust bearing kit on the top where the bottom of the coil will sit.
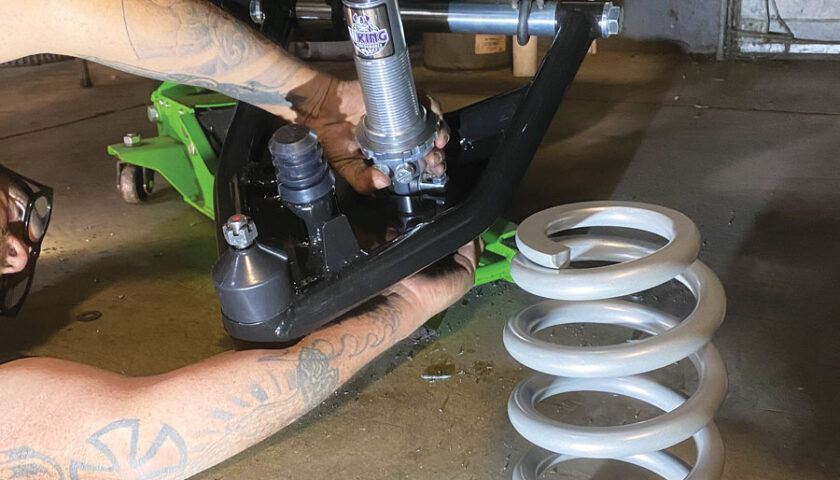
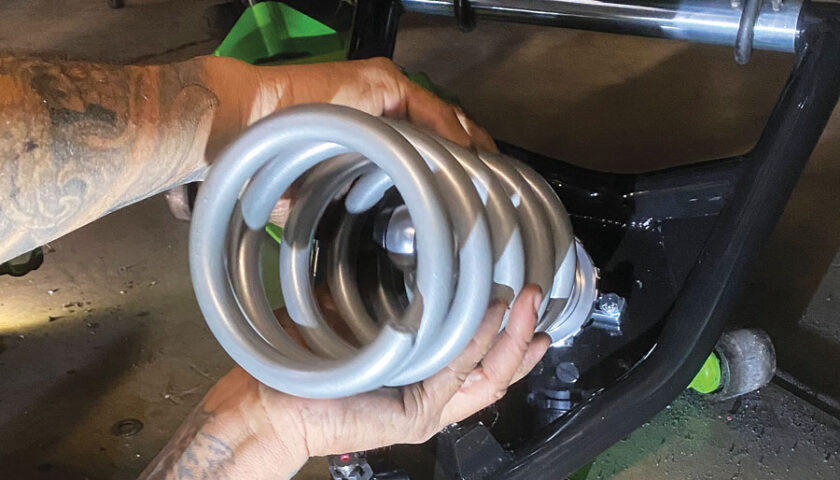
20-21. With the lower control arm fully extended, set the shock in place and install the mounting hardware finger tight so as to allow the shock to move as you slide the coil spring onto it.


[…] Related Story: C10 Front Suspension: Updating 1967-1972 Chevy Frontend Correctly! […]