As seen in the June 2021 Issue of Classic Truck Performance magazine!
Text and photos by Rob Fortier
I remember back in the early ’90s when I had my 1954 Chevy Bel Air airbagged (modified stock suspension). Despite being overly impressed with having the ability to drop it on the ground when parked, I wasn’t as impressed with the ride quality when it came to cornering—and for quite some time, I’d attributed the extreme amount of “body roll” with the side-to-side air pressure transfer between the ’bags. Well, that was partially true.
Over time, as the air suspension systems evolved in my vehicles, I was able to notice a bit of improvement, but nowhere near the performance of any static-dropped car or truck I owned at the time. Again, I automatically placed blame on the ’bags … that is until I realized the one (main) component missing from the air suspension setups: a sway bar.
In order to make full use out of a typical airbag’s travel range back then, the traditional endlink-style sway bar was eliminated, as it severely limited the air spring’s range of inflation/deflation. Since then, technology has advanced, torsion arm–type antiroll bars have become more popular, and air suspension is nothing like it used to be.
Related Article: C10 Front Suspension: Updating 1967-1972 Chevy Frontend Correctly!
But, surprisingly, there are still a number of classic trucks out there—on the road—that don’t utilize any type of sway bar at all … on adjustable and fixed-height suspensions! Just because a truck doesn’t look like a sports car, doesn’t mean it can’t/won’t handle like one. The first step to achieving that is facilitating a good, beefy sway bar. Quality adjustable shocks alone just won’t cut it—to keep your truck’s body roll and under/oversteer to a minimum, a sway bar is a must!
Whether your truck still has a parallel leaf beam axle beneath the front or an IFS, it can—and should—have a sway bar under there, too, even if it didn’t come factory equipped with one. And, if at all possible, throw one on the rear suspension as well! When it comes to the venerable 1967-1972 C10 series, Classic Performance Products (CPP) not only makes it easier than ever, they’ve gone to the trouble to develop sway bar applications for stock-height and lowered trucks—and installation is a breeze, as you’re about to see.
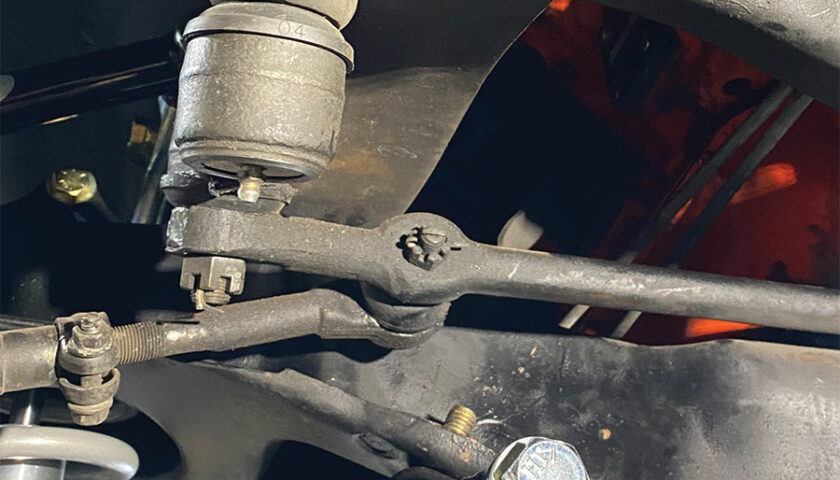
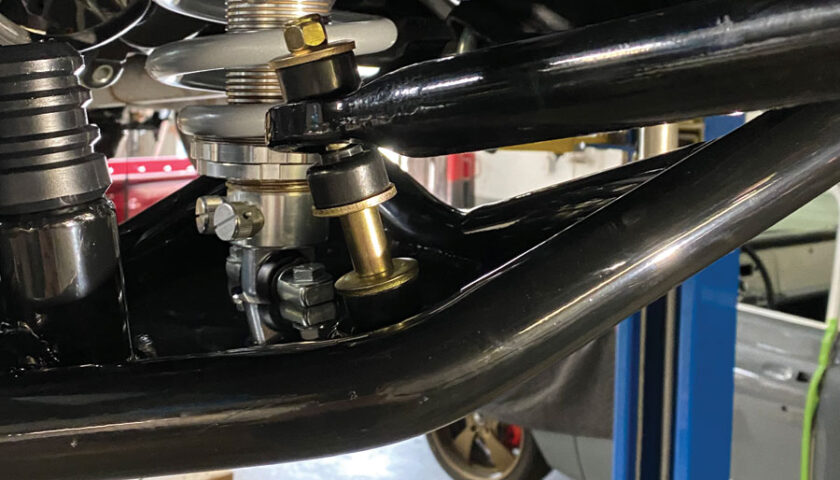
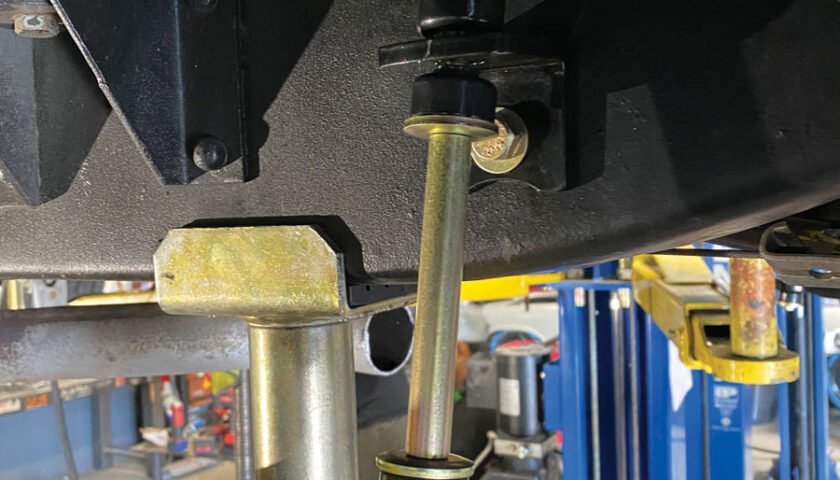
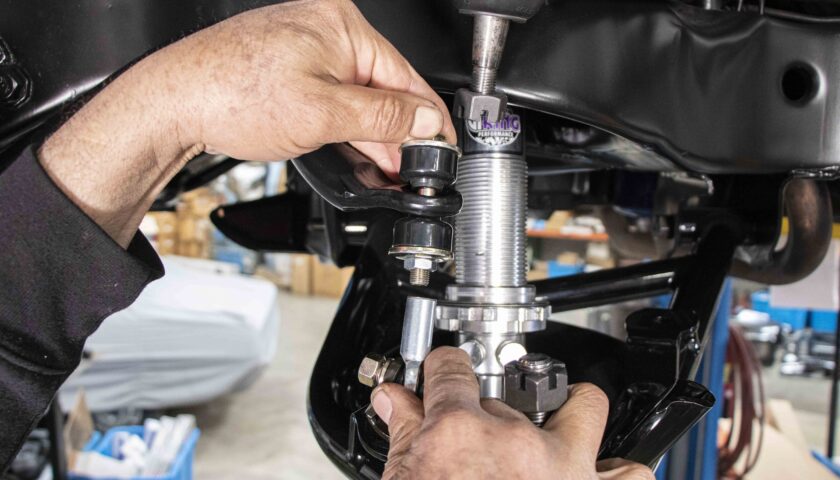
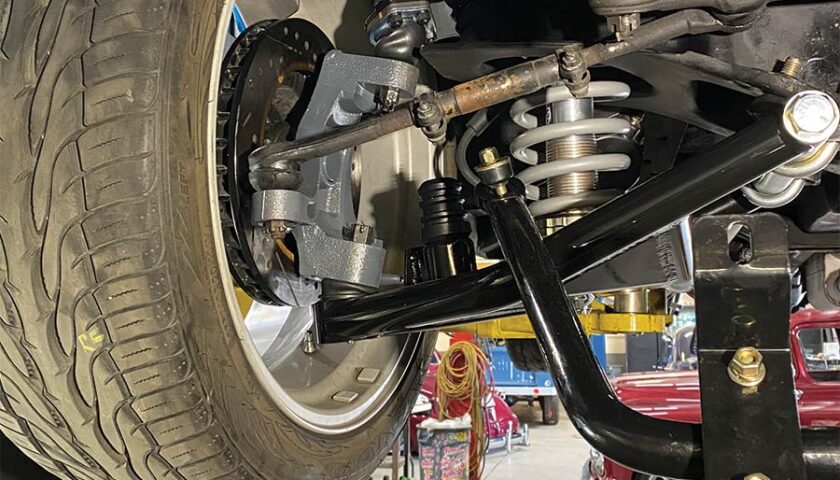
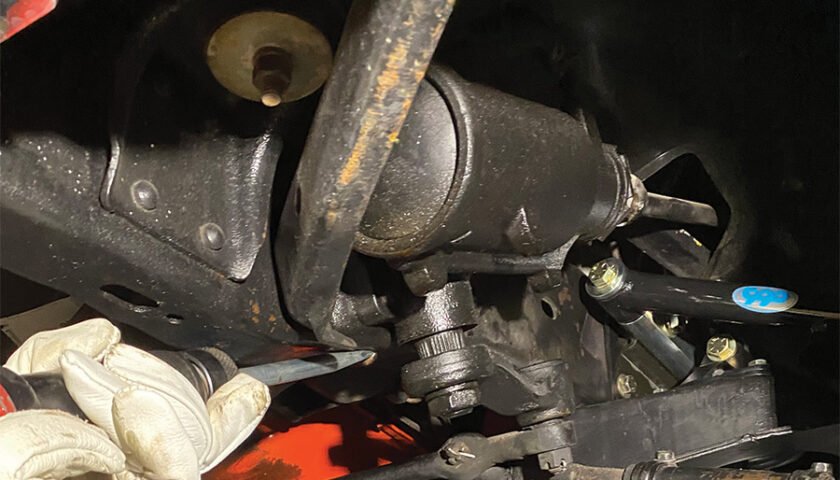
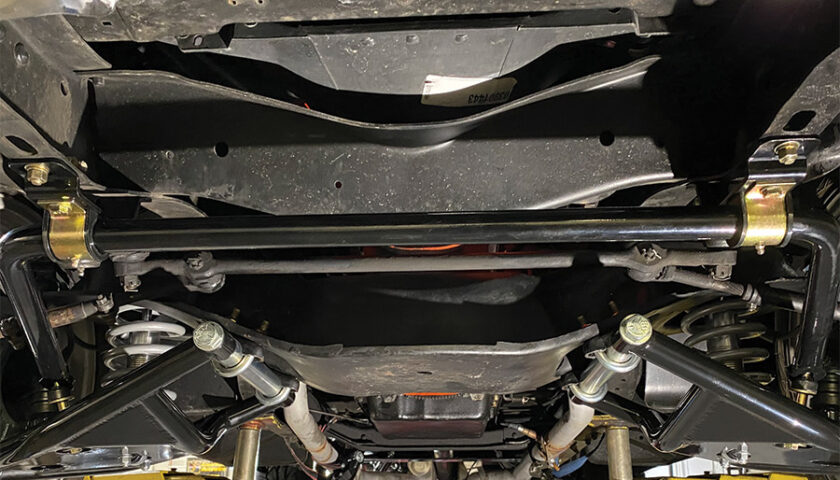
3-4. Just to make absolutely certain of your sway bar bushing mount placement, first install the bar’s endlinks in the control arms, followed by the sway bar itself. If you need to, support the bar with a strap or clamp.
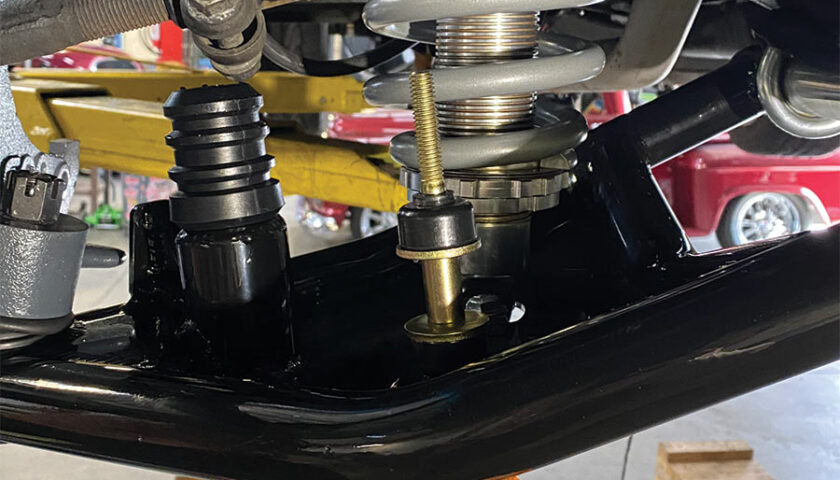
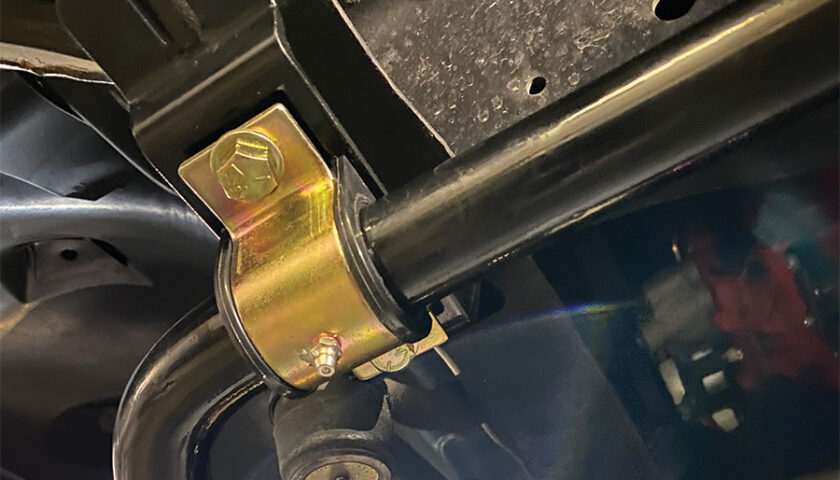
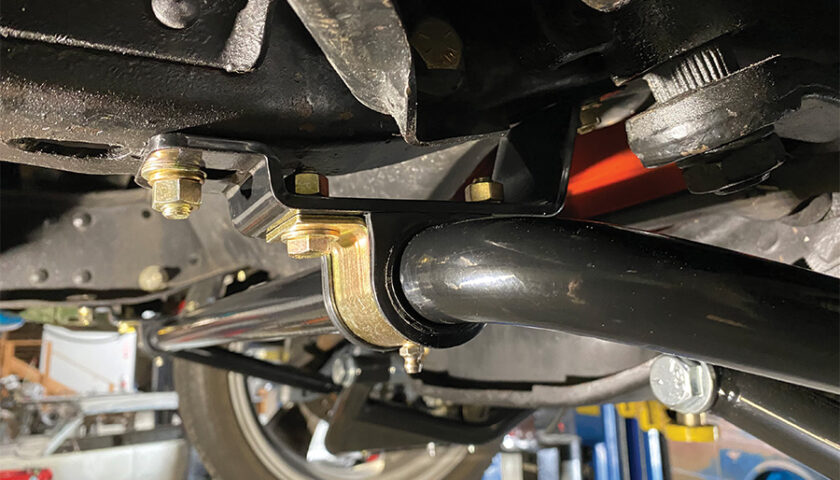
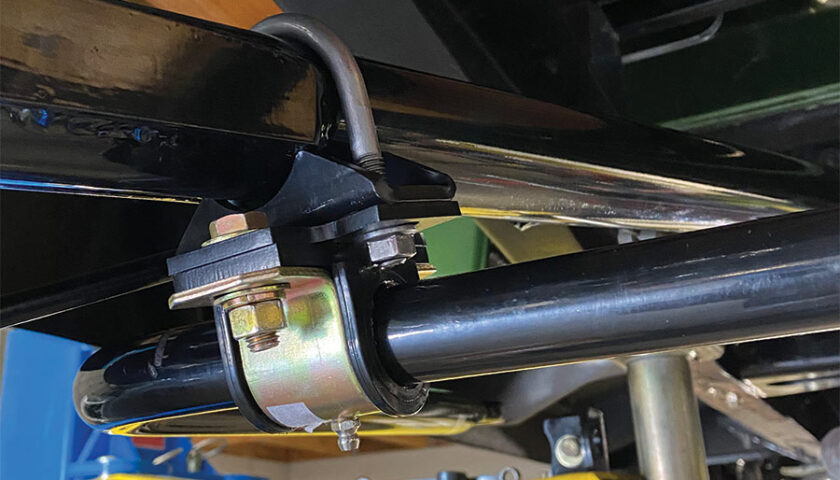
5-6. Using the supplied suspension bushing grease, lube the D-bushings and install as shown, with the taller portion of the kickup toward the rear. (Use the correct brackets for your application: taller for stock-height suspension, shorter for lowered.)
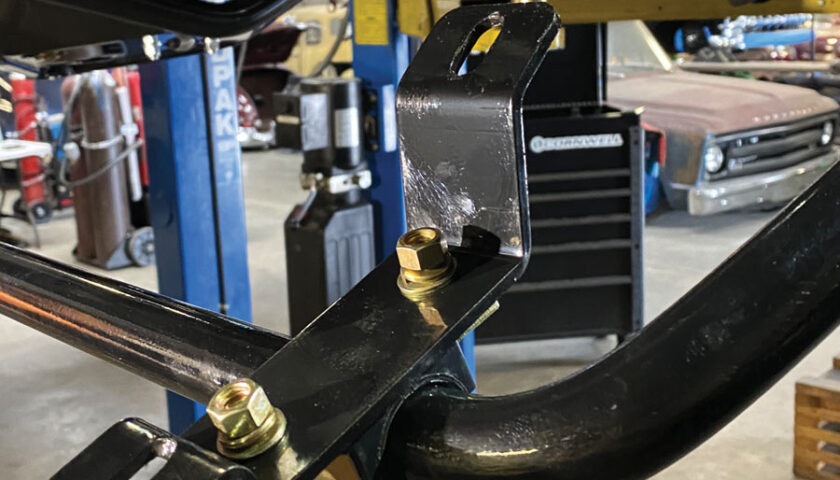
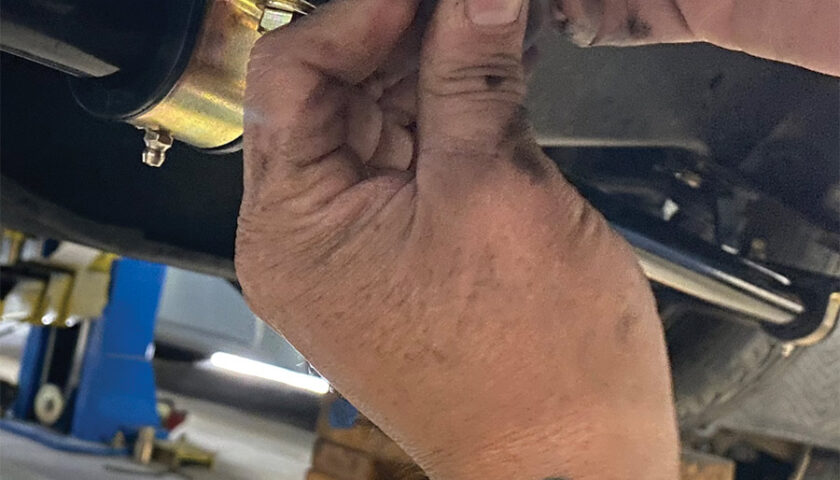
9-10. Our locating confirmed the forward rivet as our rear mounting hole, so we took to our trusty—and LOUD—air chisel and made quick (and safe) removal of said rivet.
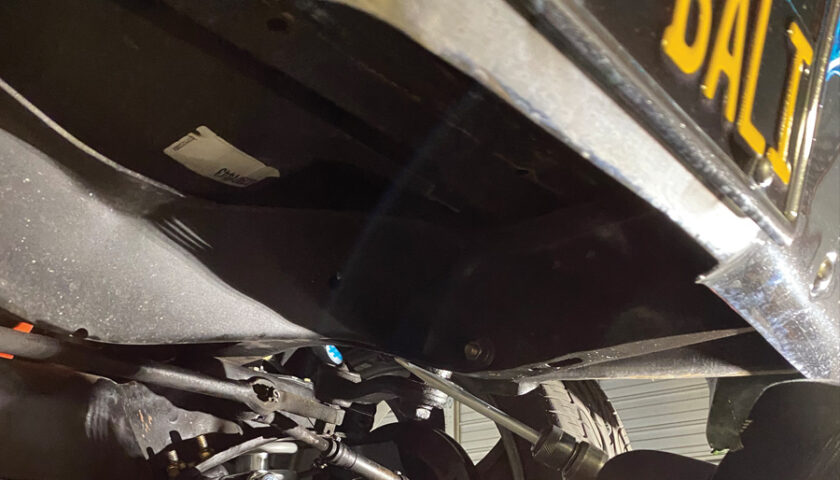
11-12. With the suspension loaded once again (for safe measure and ease of install), the remaining rivet hole was chased with a drill and the bracket/bushing installed.
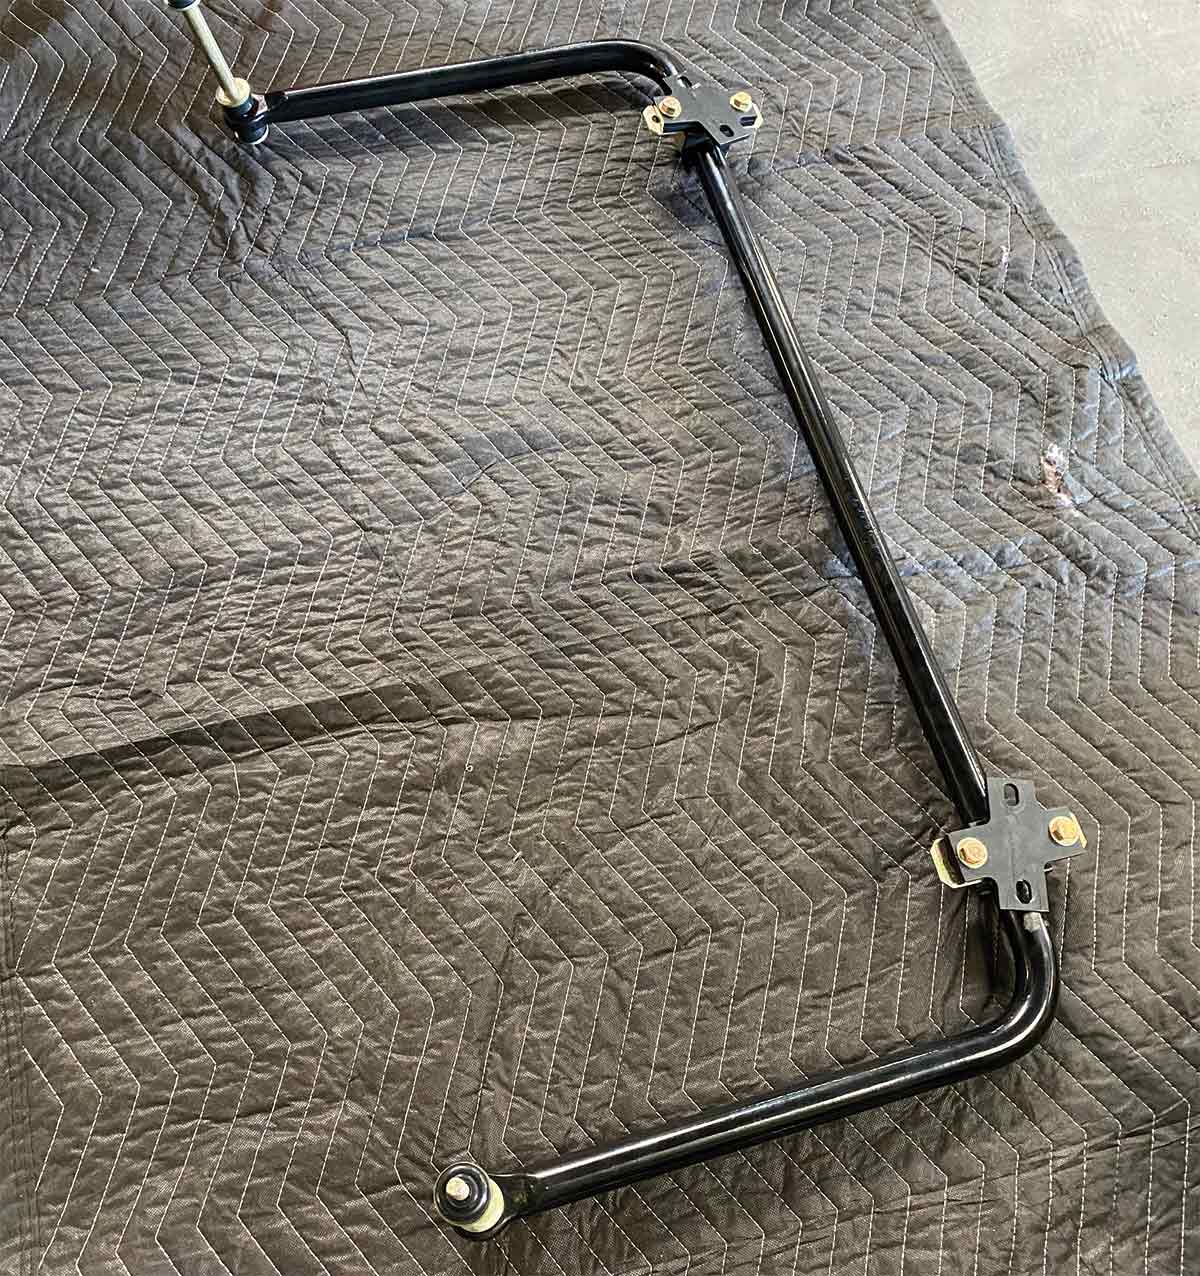
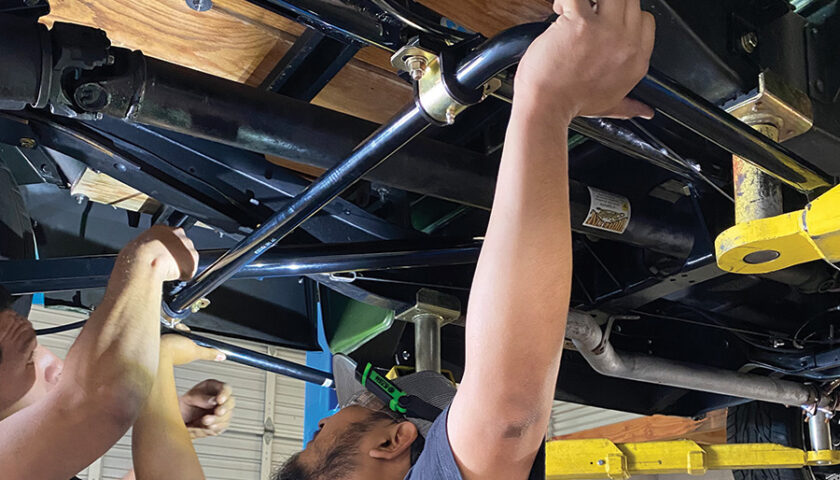
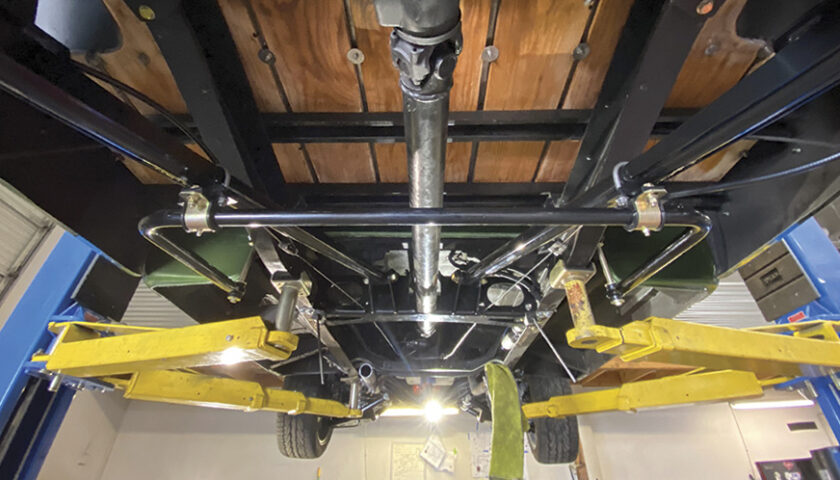
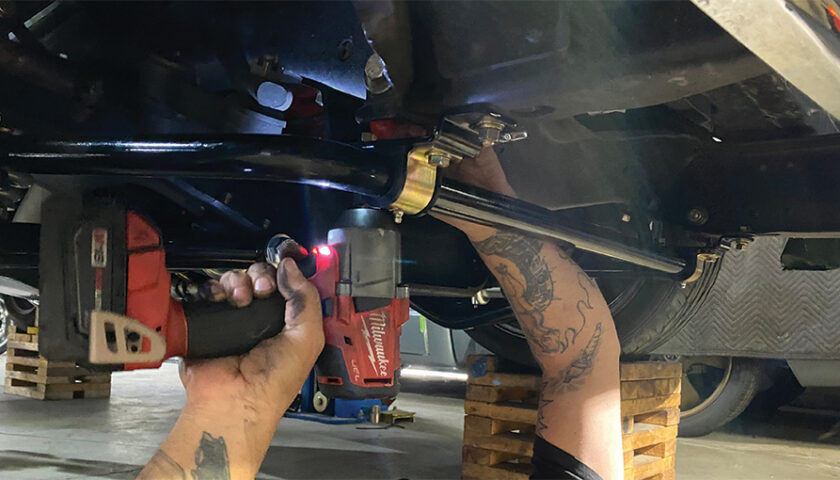
16-17. Definitely a two-man job, as with the front, you’ll want to pre-assemble and install the D-bushings with the included two-piece bracket. Leave the connecting U-bolts loose so as to allow the bar to be positioned when locating the forward endlinks. (This kit points the sway bar forward.)