Unboxing and Installing CPP’s New Sway Bar for 1955, 1956, and 1957 Chevys: 5557HCSBK-125
When it comes to bringing your Tri-Five into the modern age of performance and handling, a quality sway bar is not to be forgotten. There are plenty of standard, stock-style sway bars on the market, so CPP decided to take it up a notch with their High Clearance Front Sway Bar.
Related Story: The Ultimate Roll Inhibitor: CPP’s High Clearance Adjustable Rear Sway Bar
In the video, CPP R&D Lead Jason Scudellari shows what’s in the box, goes over some features of the new design, then walks through the steps to install the High Clearance Front Sway Bar on a Tri-Five Chevy.
What is so good about CPP’s High Clearance Front Sway Bar?
CPP’s new High Clearance sway bar features a precision laser cut 3/8” leg that fits tight to the chassis allowing for significantly larger front tires. It uses rod ends and eliminate the fixed position end link bushings often found on a traditional front sway bar that which also limits the tire size. The bar is hollow to reduce weight while the working portion of the bar is shorter to increase roll resistance.
How to Install 5557HCSBK-125
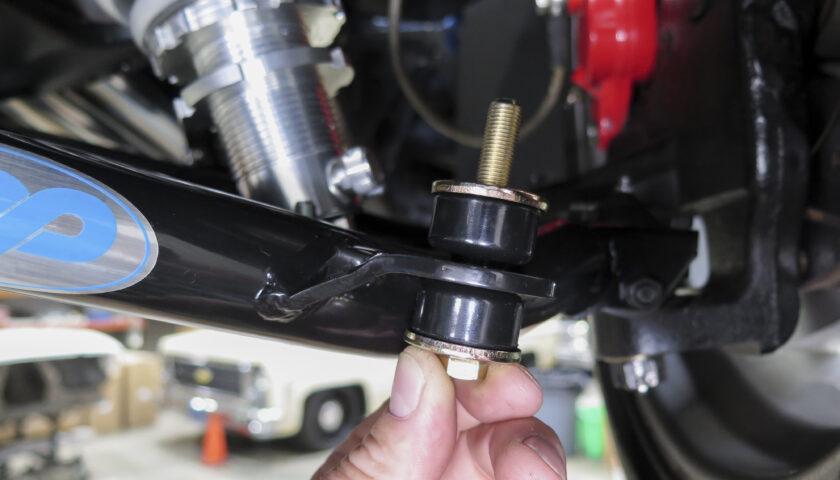
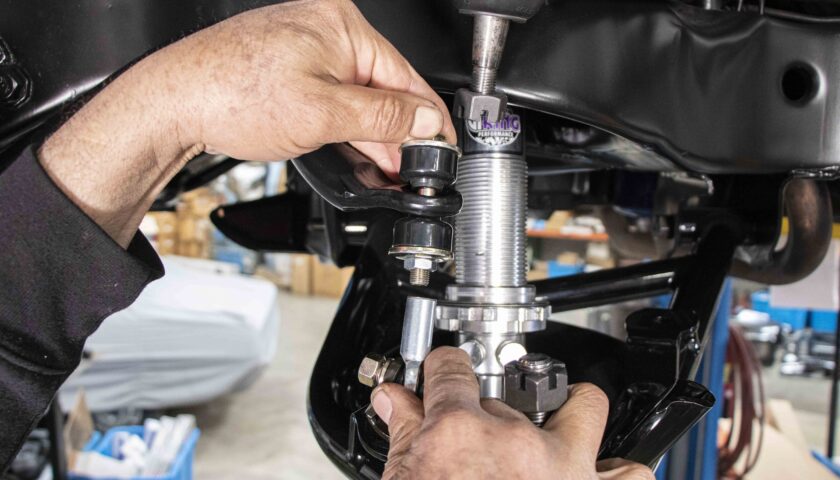
Begin by installing the sway bar end link on each side as shown. The end link mounts to the control arm in the factory location using a bolt with two bushings and two washers.
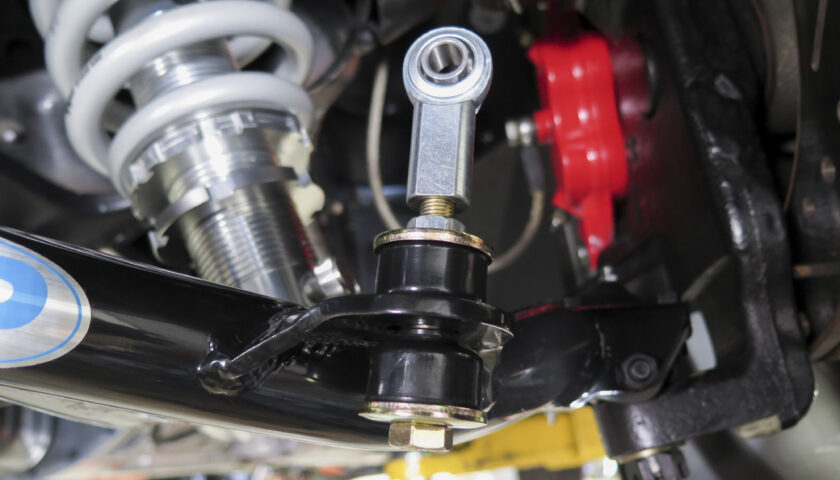
Thread on the supplied jam nut followed by the rod end and leave them loose for now.
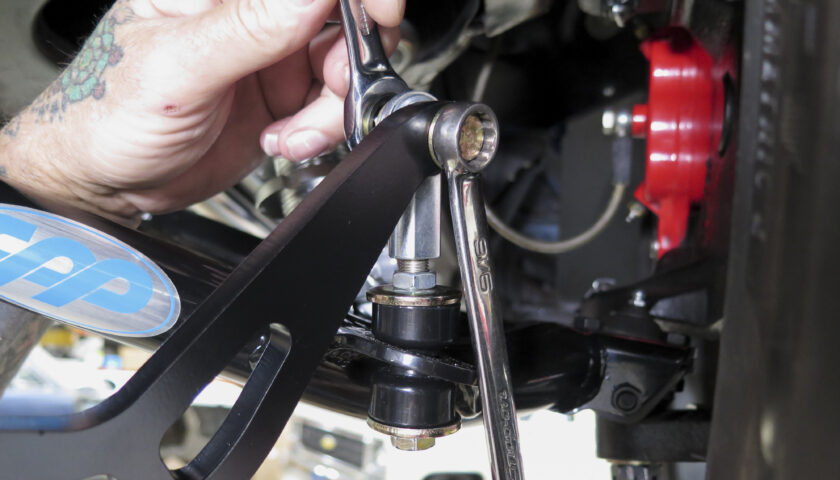
Attach the sway bar to the rod end on both sides using the supplied hardware. Having a second set of hands will make this process much easier.
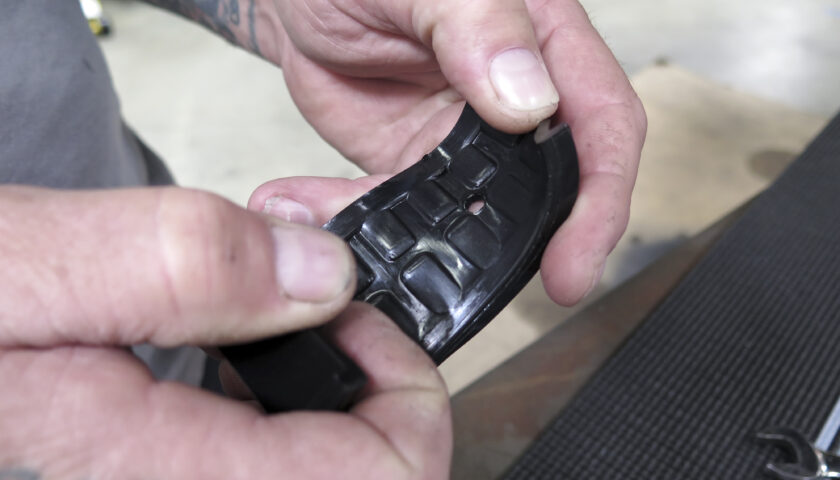
Before installing the sway bar bushings, notice the grooves inside the D-Spec bushings. This design is to help retain grease for extended service life.
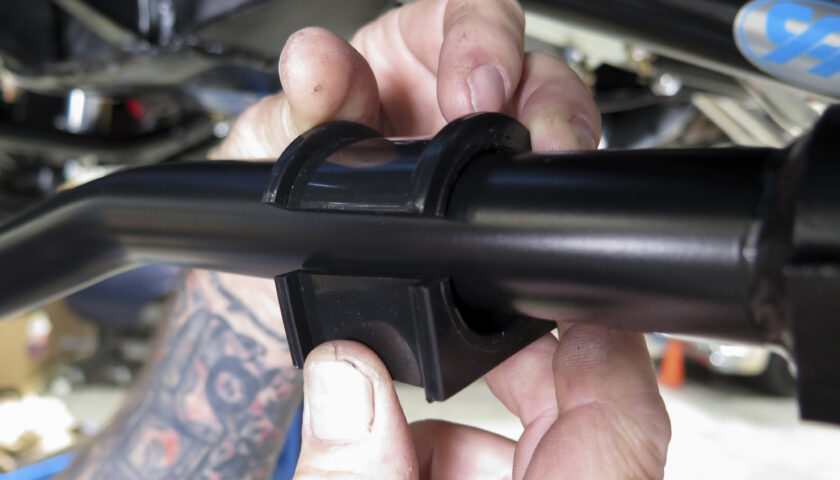
Slip the bushings over the sway bar tube on either side, closest to the laser-cut arms.
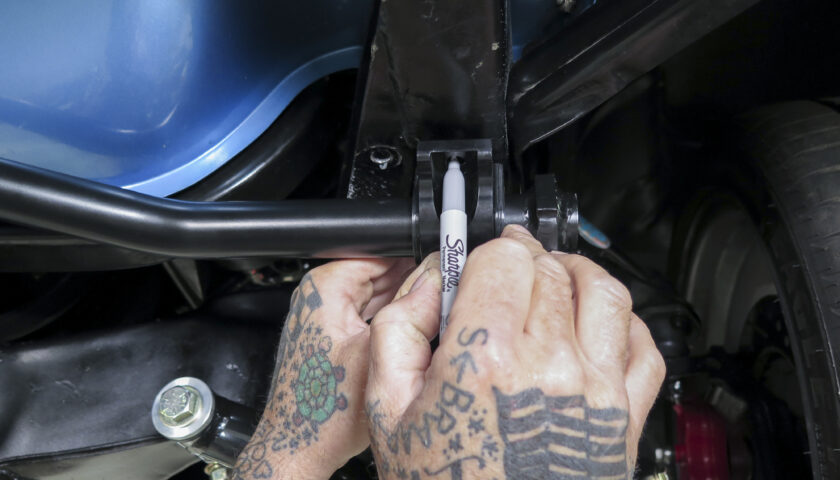
Next, it is time to mark the frame, but first, make sure the car is sitting at ride height. Slide one billet sway bar mount over the bushing then raise the bar up to the frame and mark a mark for the two holes. Do the same for the other side.
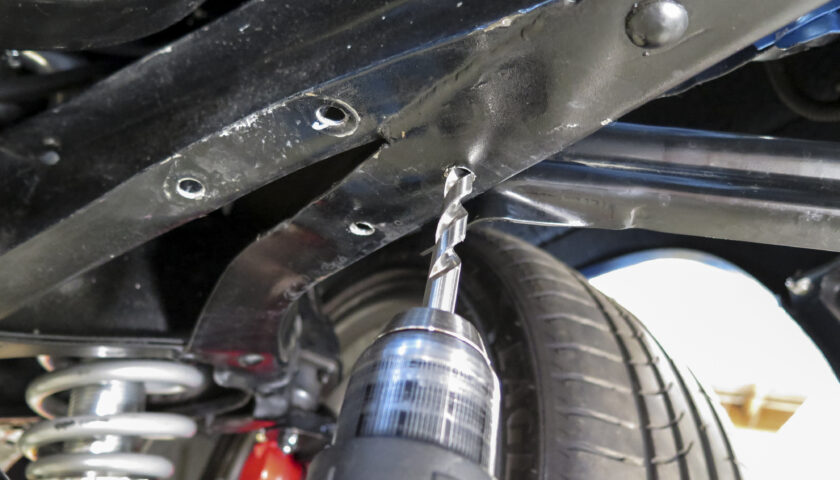
To drill the holes, start with a smaller drill bit before stepping up to a 3/8” bit. Also, using a center punch is helpful for keeping the drill bit from “walking” upon initial drilling.
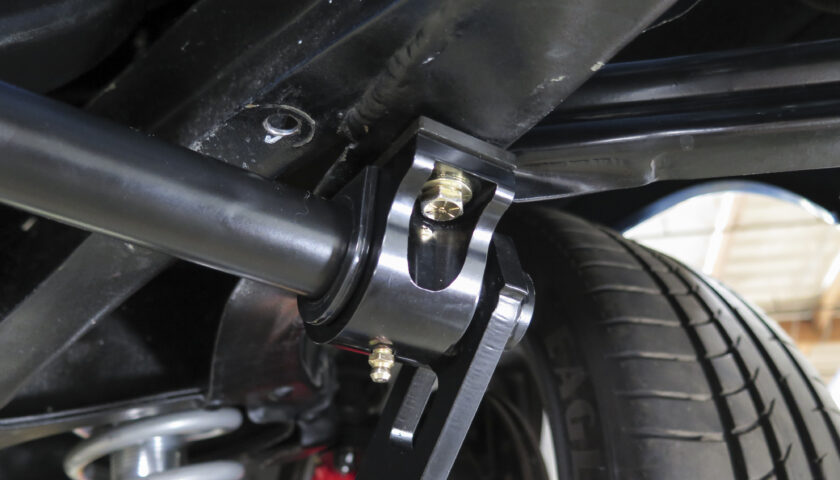
Once all four holes have been drilled, use the supplied bolts, nuts, and washers to mount the sway bar to the frame.
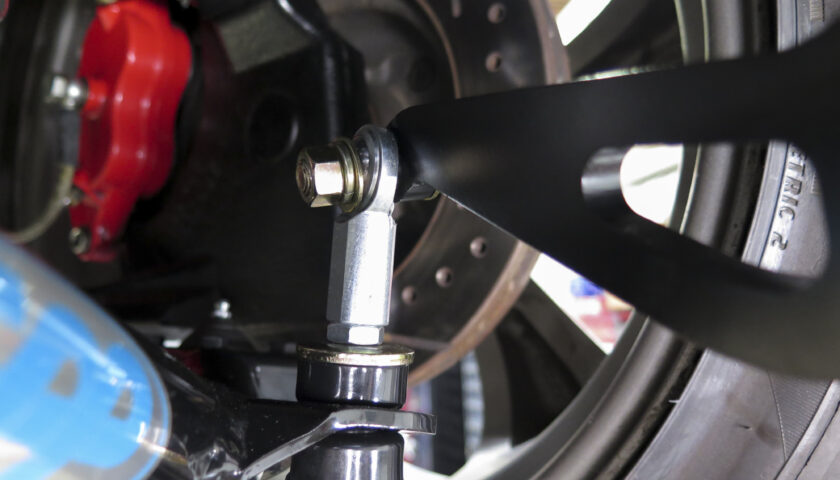
Now, go back and fully tighten the jam nut and rod end on either side.
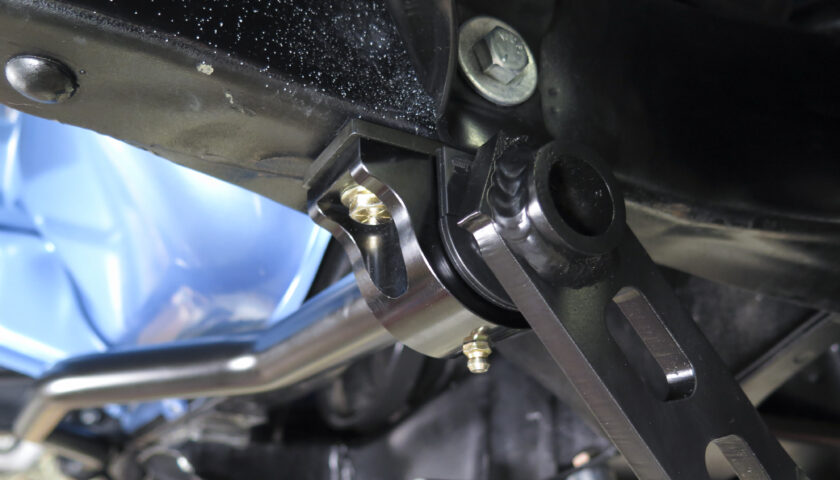
The installation is complete once you have tightened all hardware and greased the sway bar mounts using the supplied grease fittings.
[…] Related Story: How to Install CPP’s High Clearance Front Sway Bar on a Tri-Five Chevy […]
[…] more than a few revolutionary new products—Pro Touring high-capacity aluminum gas tanks and high-clearance adjustable sway bars come to […]
[…] Related Story: How to Install CPP’s High Clearance Front Sway Bar on a Tri-Five Chevy […]