So you’ve got an LS stuffed under the hood of your classic car or truck. You’ve done all the big stuff so it’s down to a handful of seemingly small details, building an LS swap air intake system being one. Seems like an easy task, right?
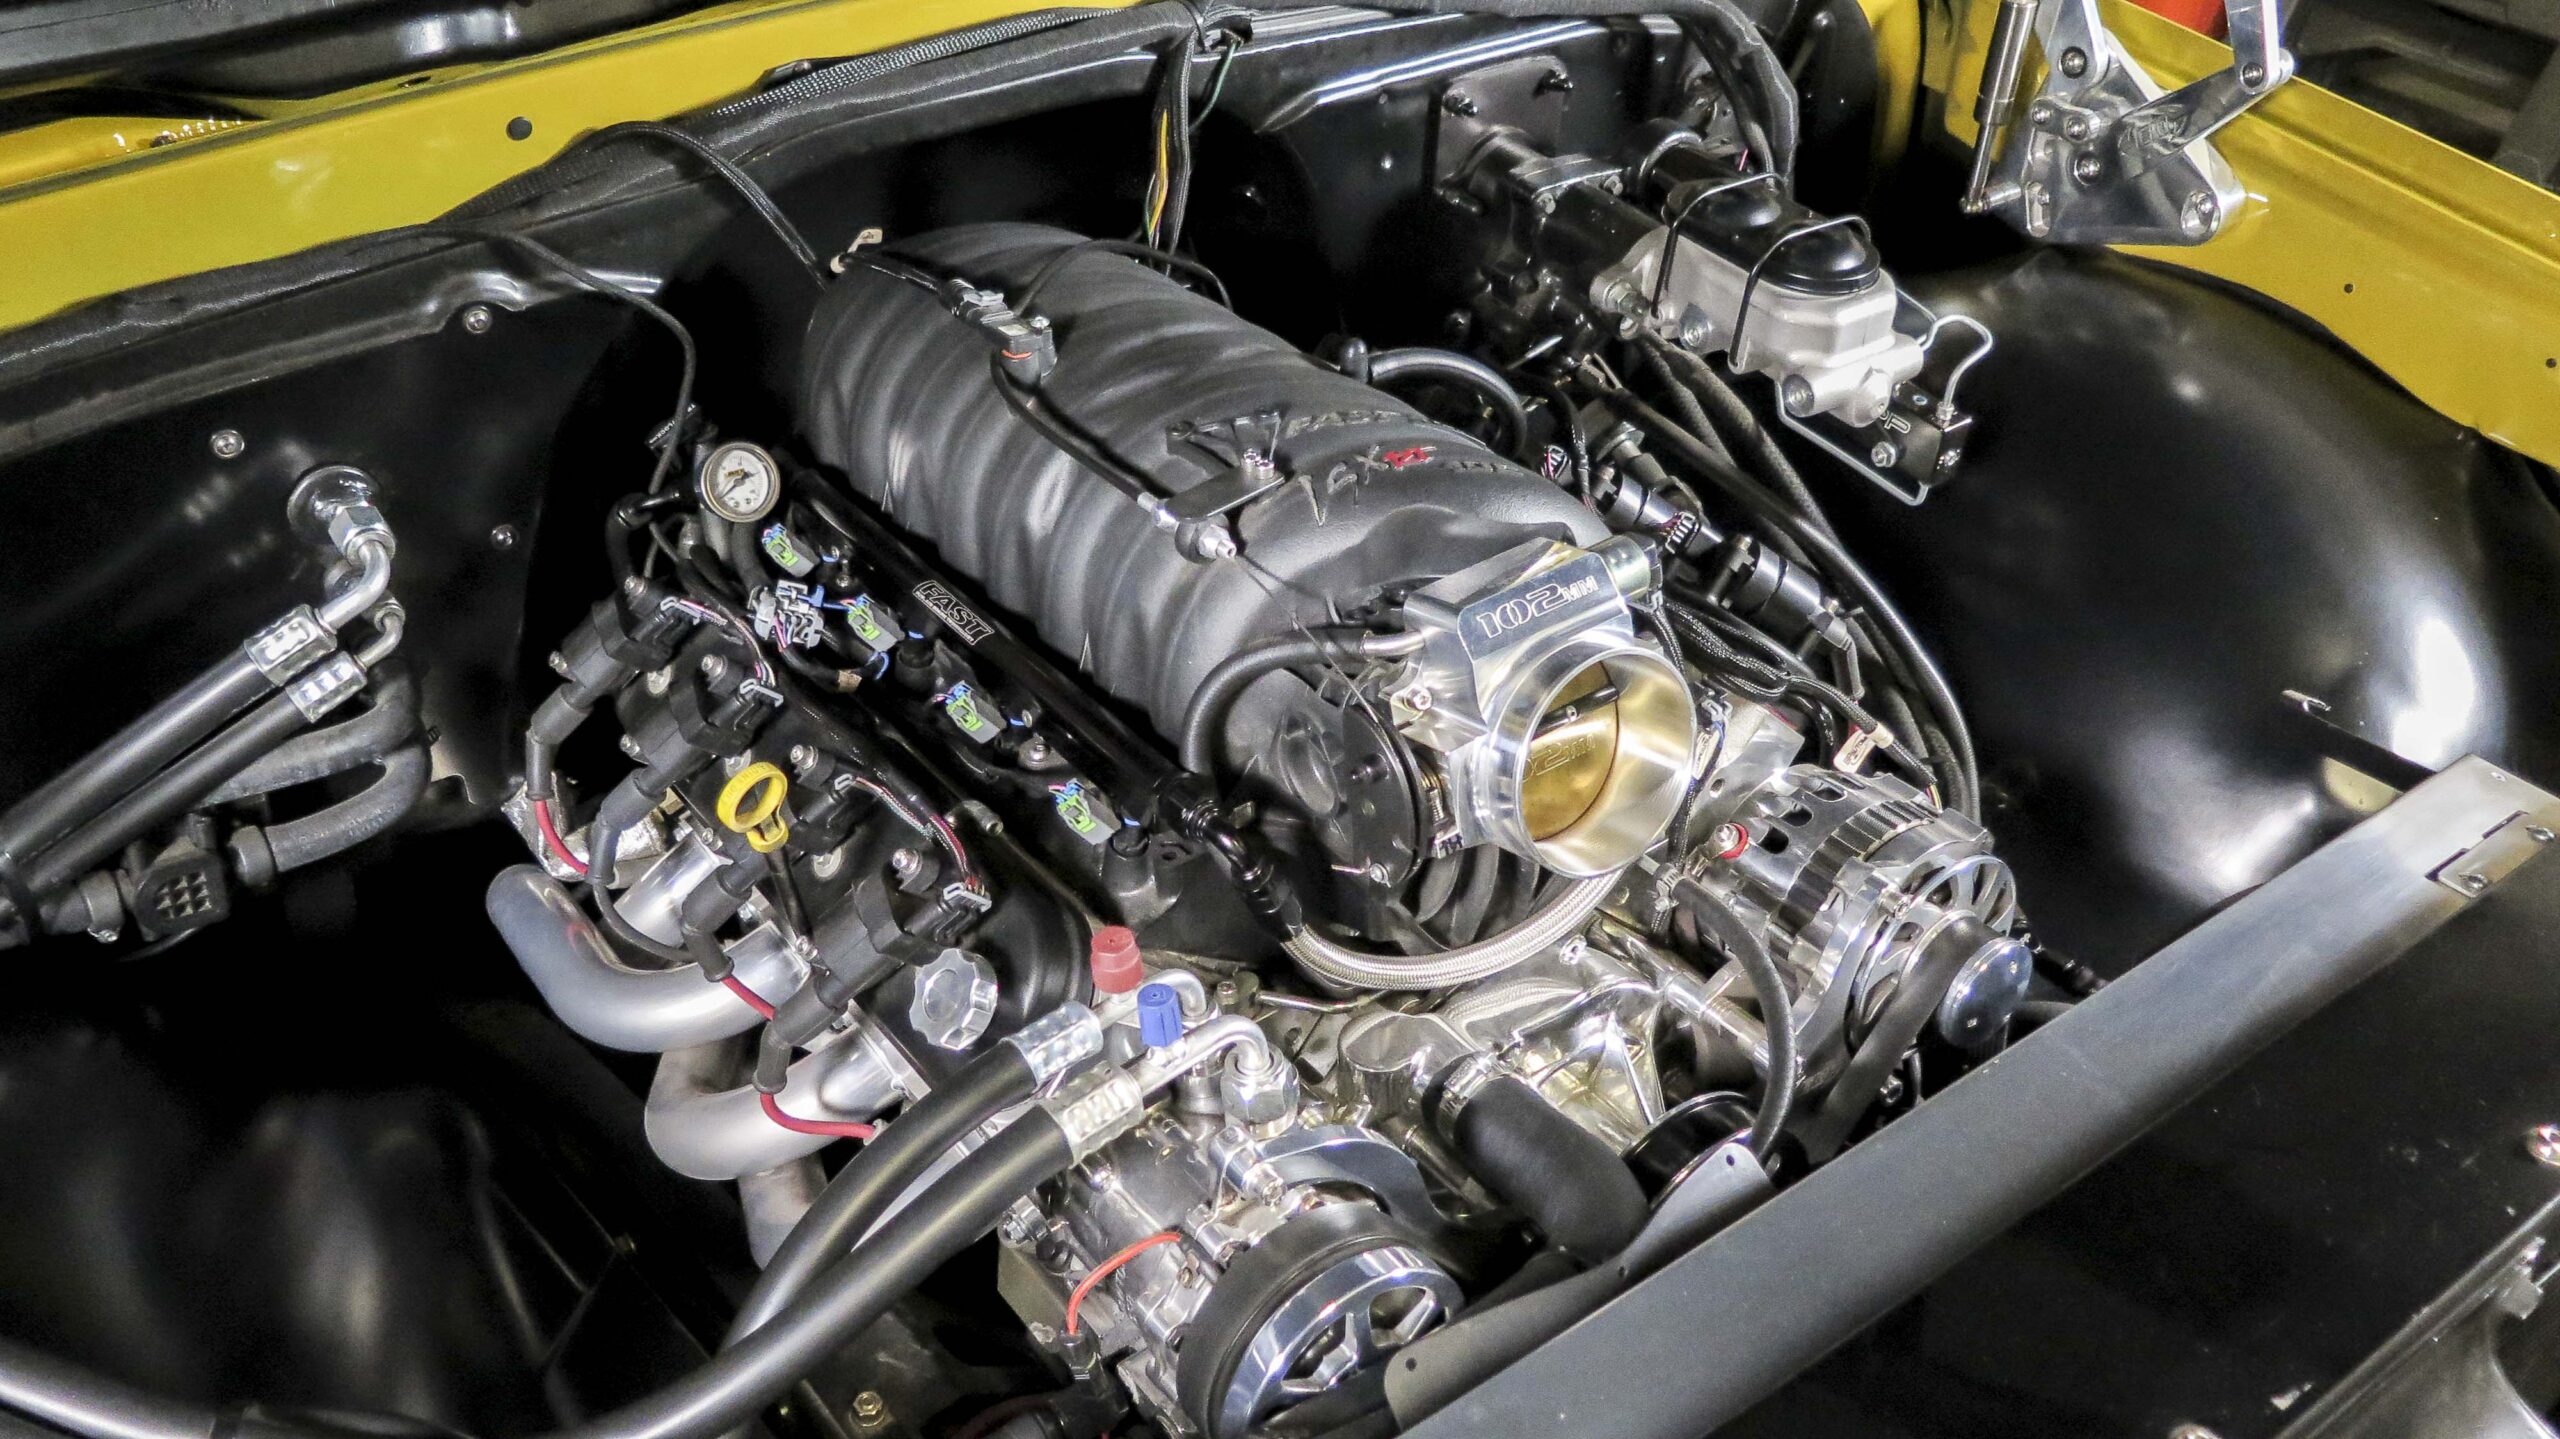
Here’s the thing, every LS swap is a little different. You’ll be hard-pressed to find an LS swap air intake kit that properly fits your specific application. That is where Classic Performance Products (CPP) comes in.
We’ve done our fair share of LS swaps and we always choose to put together our own intake tubes and filter, optimizing each engine bay individually. We decided to take a moment and show you how you can do the same.
Related Story: Week To Wicked 1970 C10 With 700 HP LS7
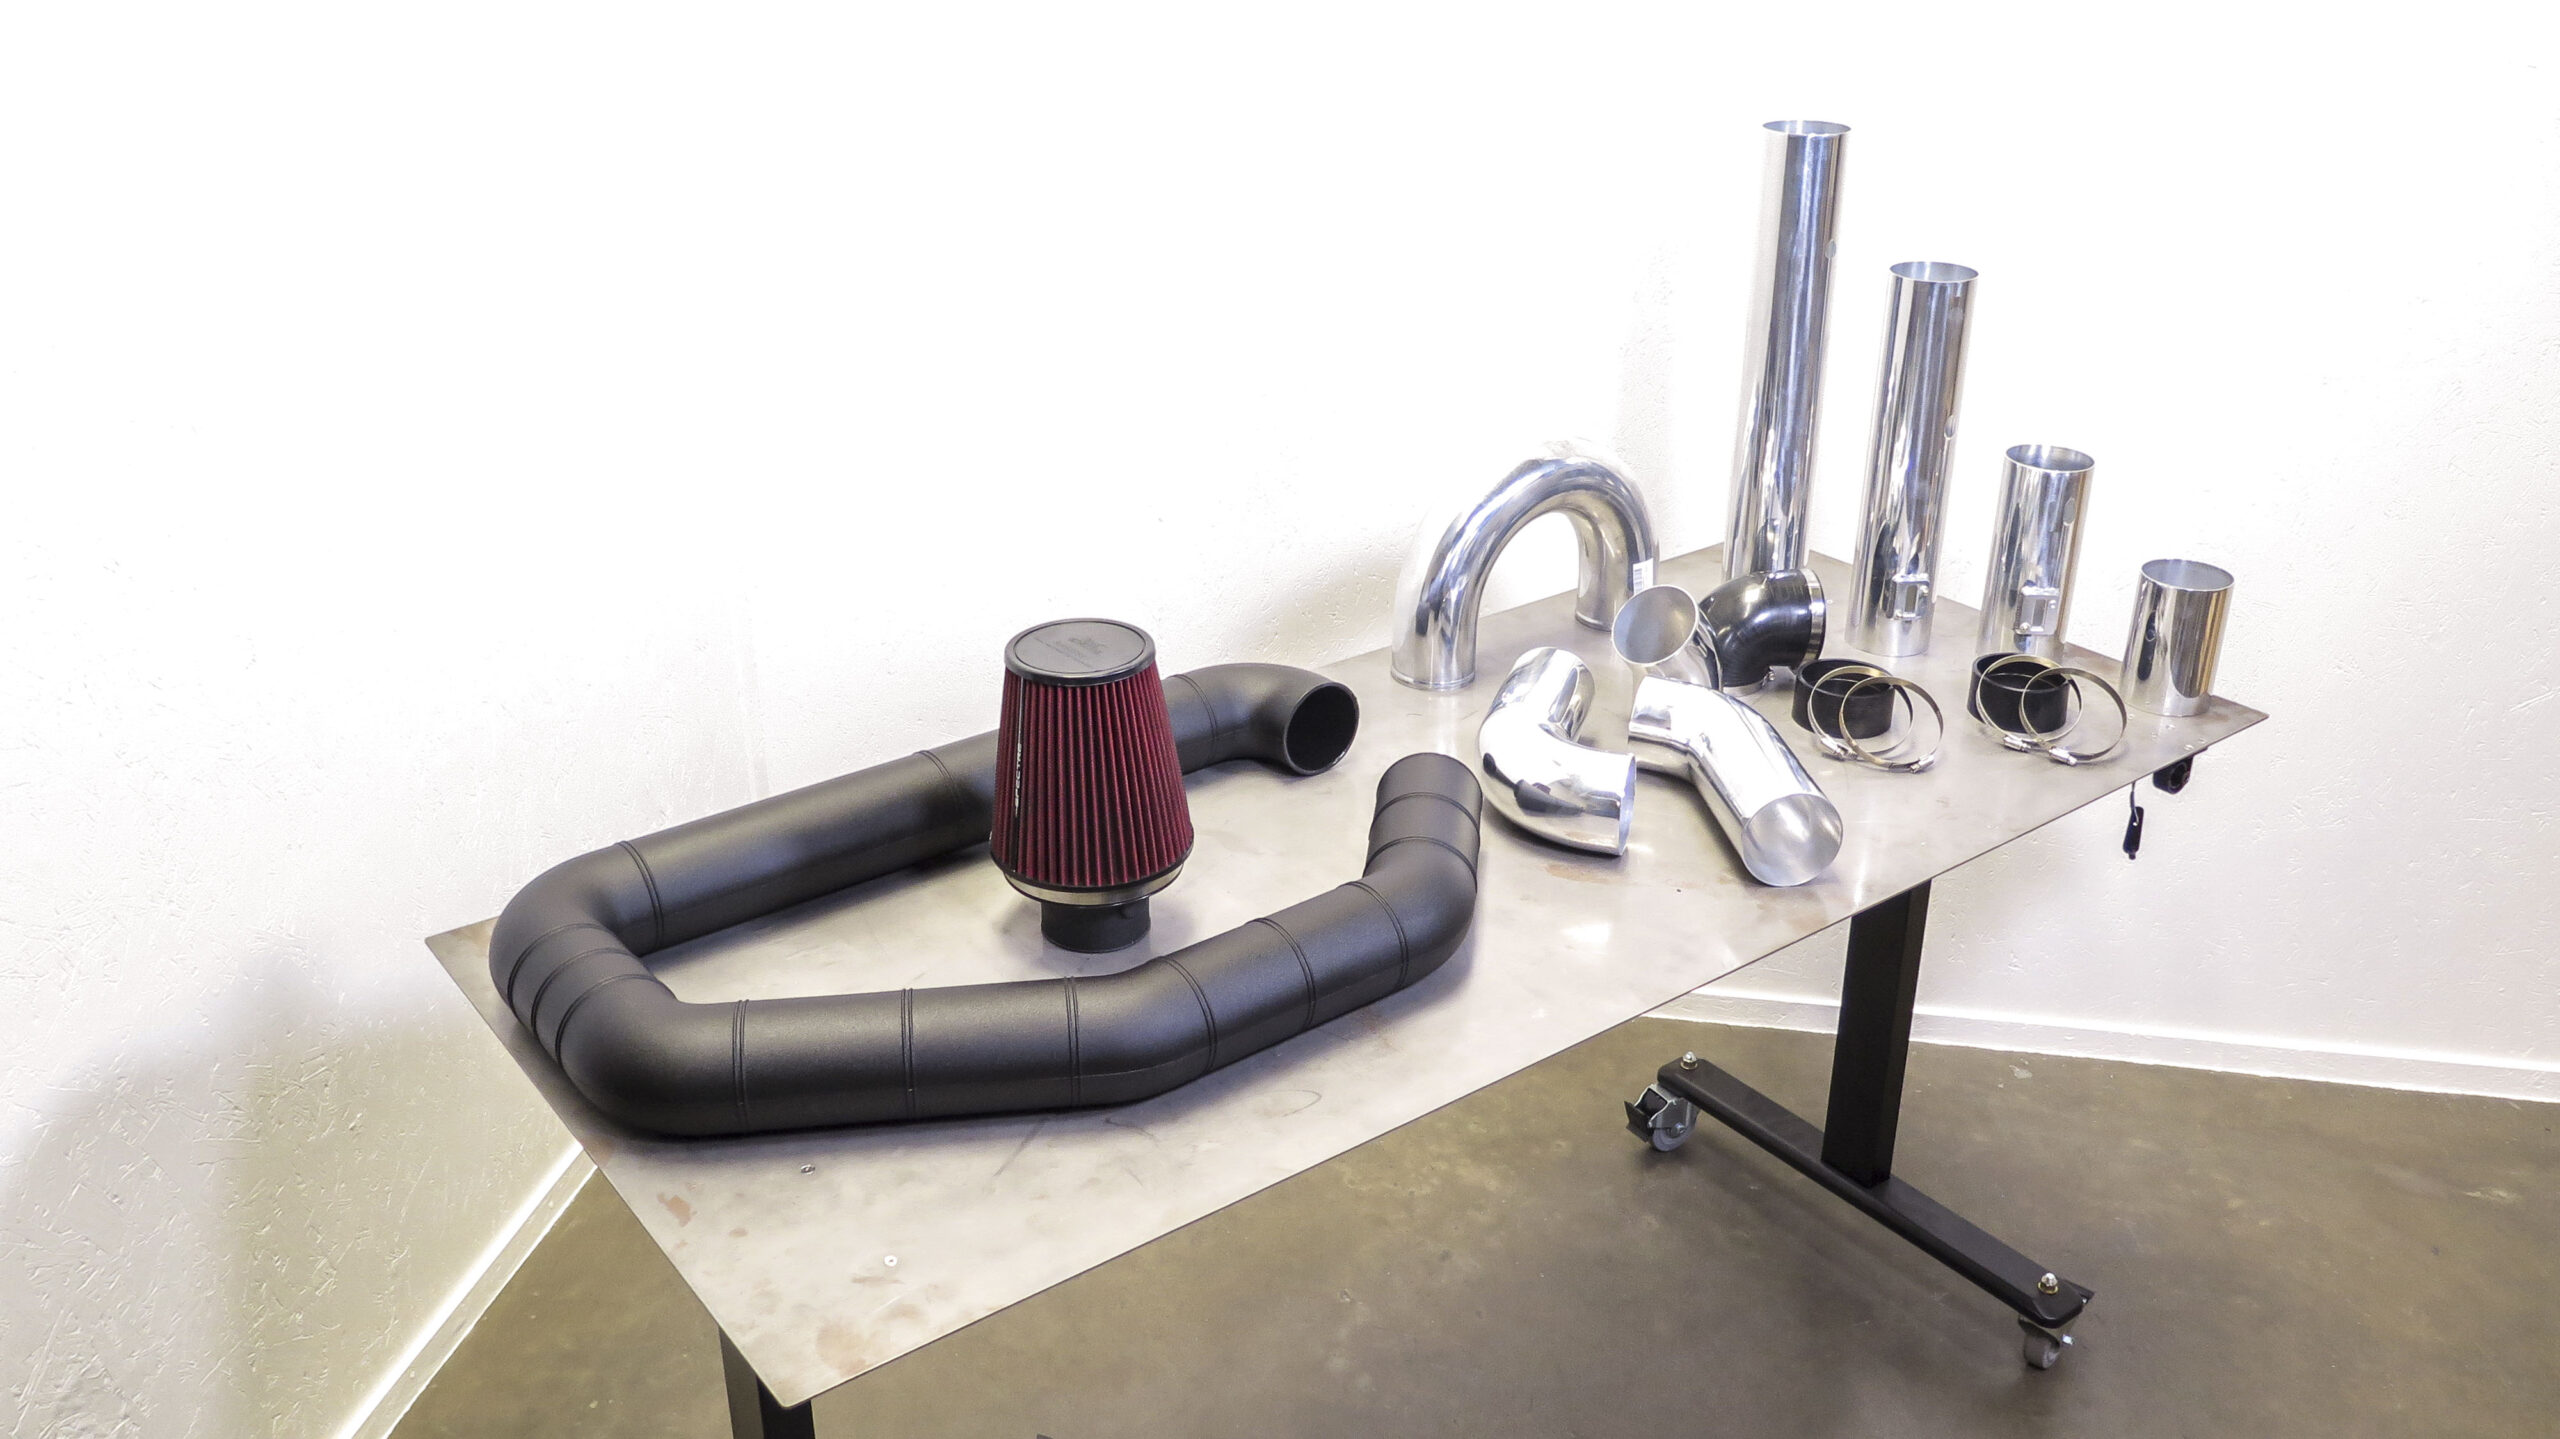
Below you’ll find a step-by step example of how we put together an LS swap air intake system on our C10 Chevy. We did it using both pre-formed ABS plastic and polished aluminum so you can see a couple options. You’ll also notice the table showing all the individual parts we used and their part numbers. Just give CPP a call, tell ‘em what you need, and you’ll be on your way to building your own custom intake system.
LS Swap Air Intake Tube Part Numbers
| Universal ABS plastic tubing | PN: AR100-400 |
| Aluminum 4” diameter 45-degree bend | PN: KNSPE-9749 |
| 4” diameter coupler | PN: KNSPE-9771 |
| Aluminum 4” diameter 90-degree bend | PN: KNSPE-97990 |
| Aluminum 4” diameter straight with MAF mount | PN: KNSPE-9718 |
| 4” diameter inlet cone filter | PN: KNSPE-8131 |
| 90-degree rubber coupler | PN: KNSPE-9781 |
| 90-degree silicone coupler | PN: HTSEC90-400-BLK |
Making an Air Intake System Using Pre-Bent ABS Plastic Tubing

After deciding what section of the pre-formed ABS plastic tubing works best for your application, use a cutoff wheel to remove the excess.
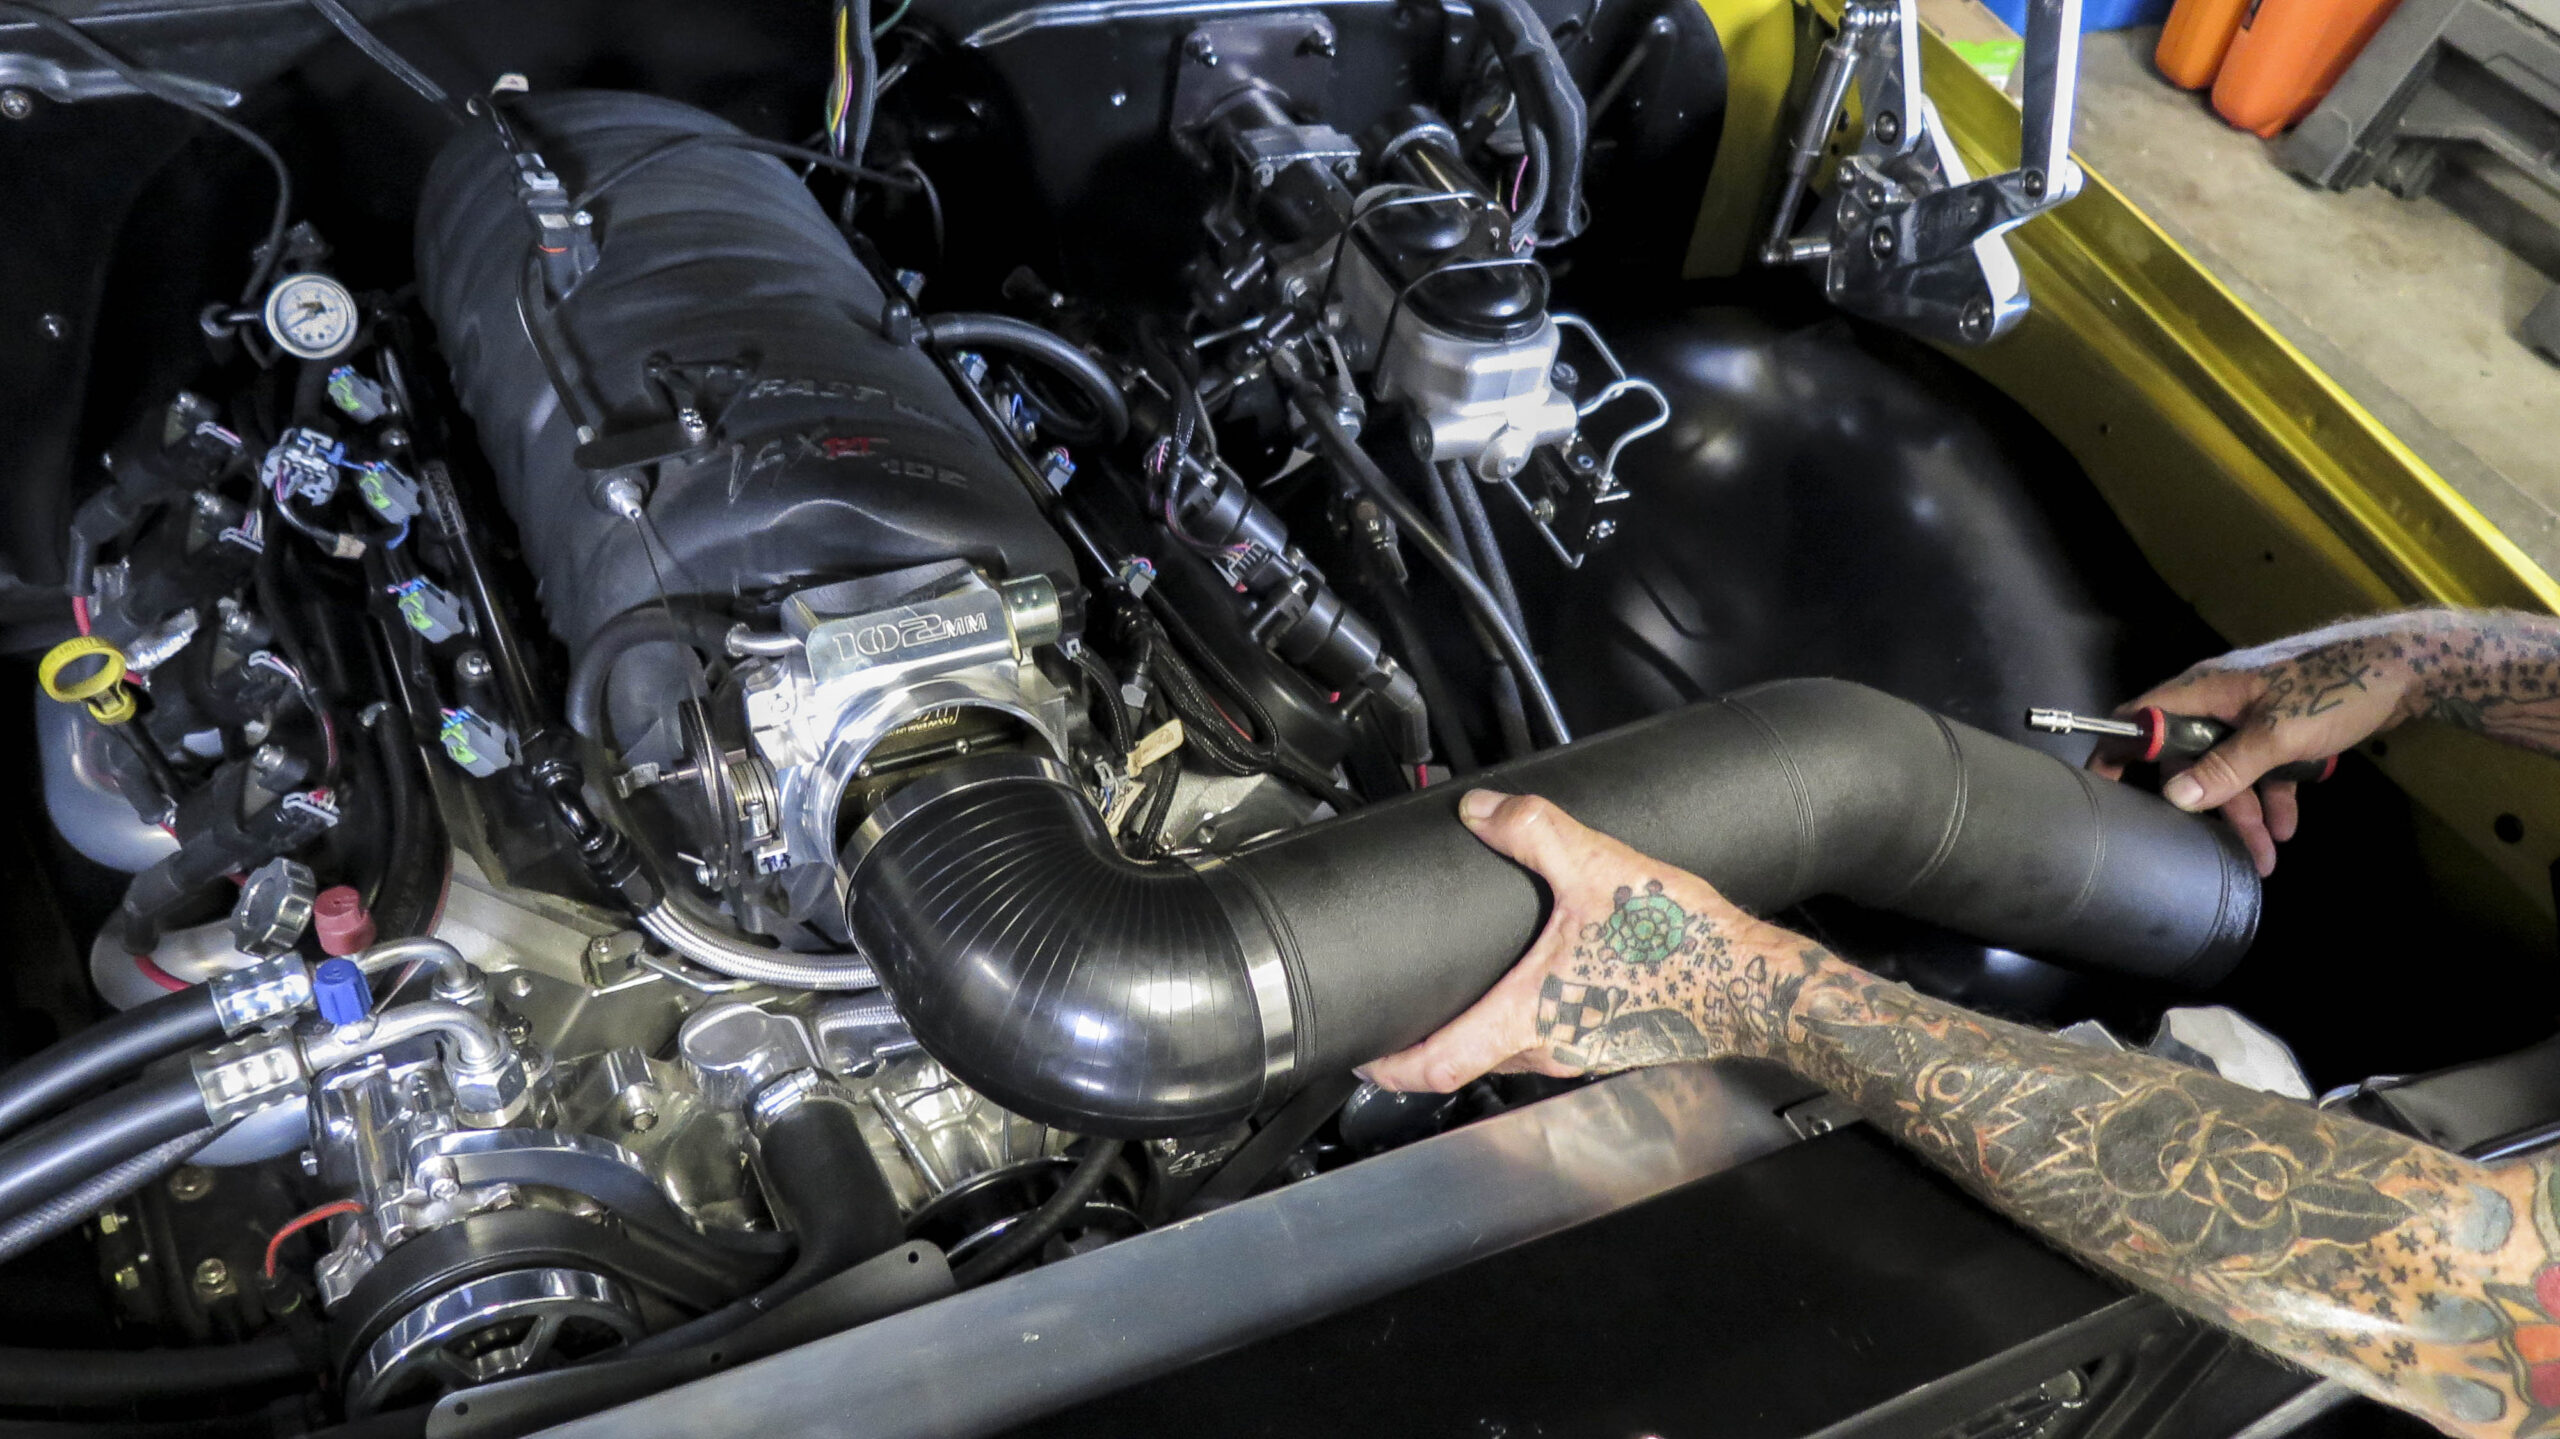
We used a 4” diameter 90-degree silicone coupler to connect the section of intake tube to the throttle body. Then we checked fitment before choosing the location for the MAF sensor.
Recommended Story: LS MAF Sensor Location: GM’s Recommended Parameters For Best Results
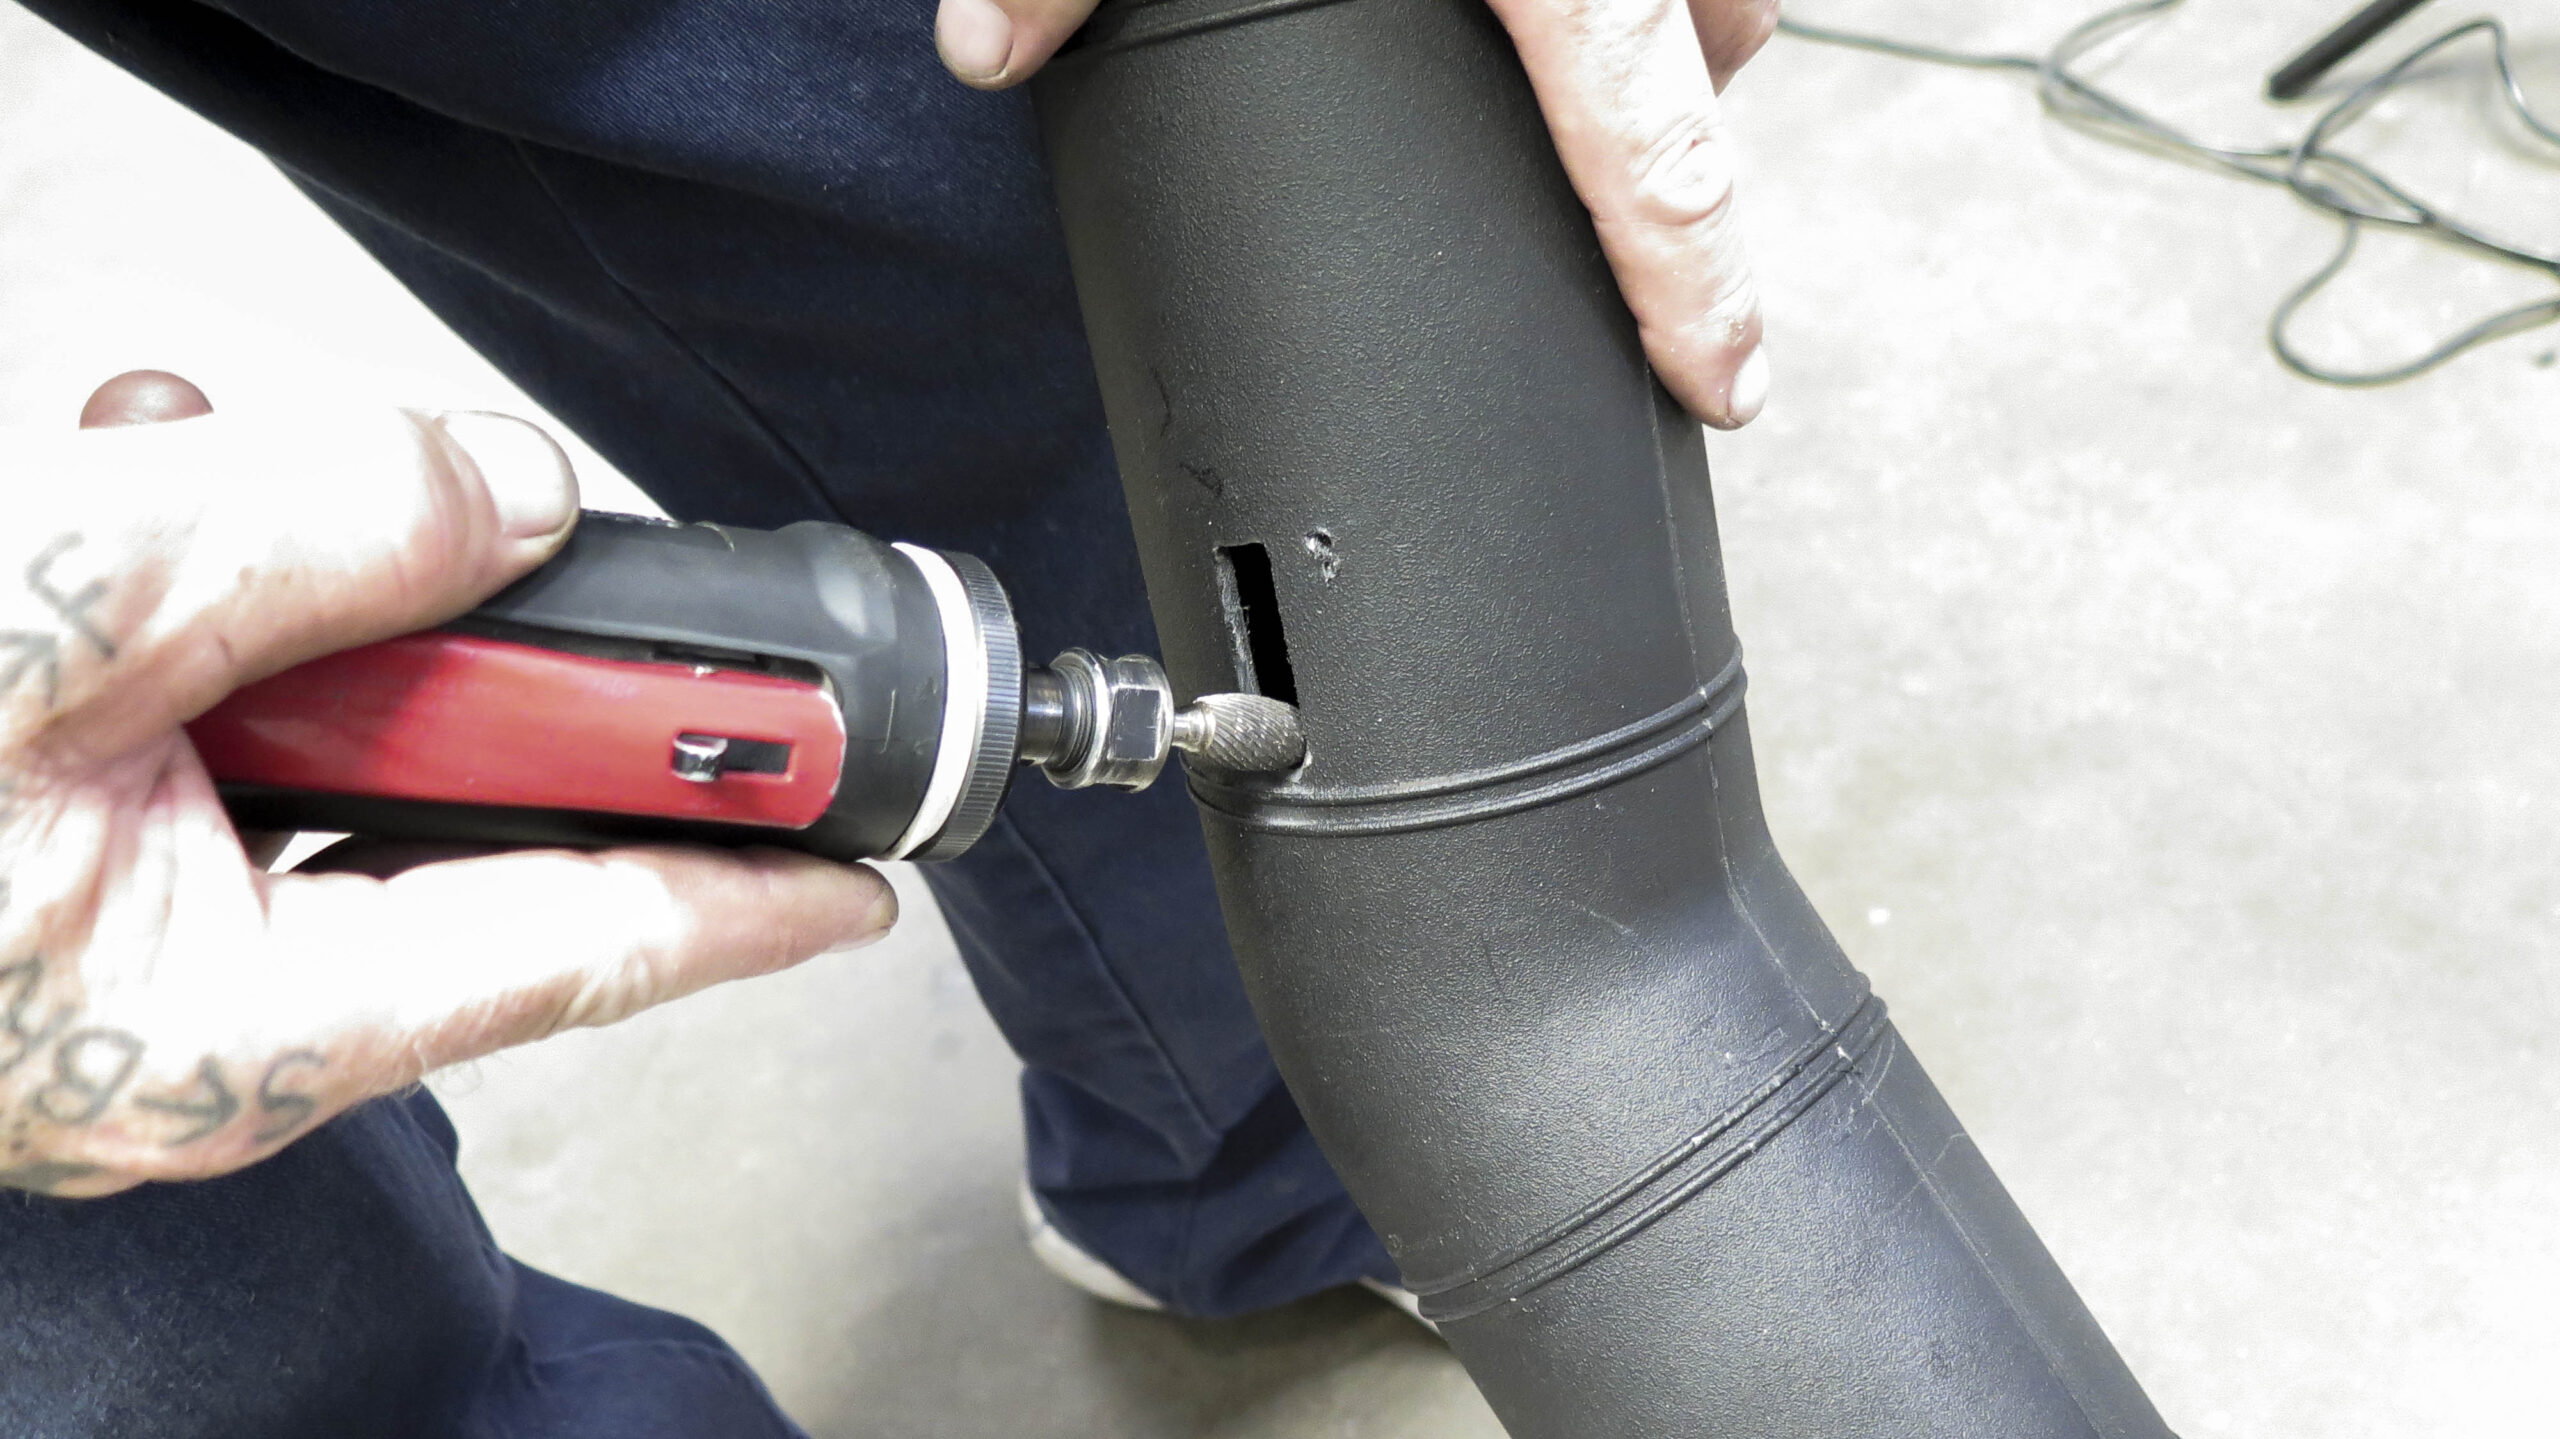
Once the appropriate location has been determined, use a cutoff wheel and/or die grinder to make a hole in the tube sized for your MAF sensor
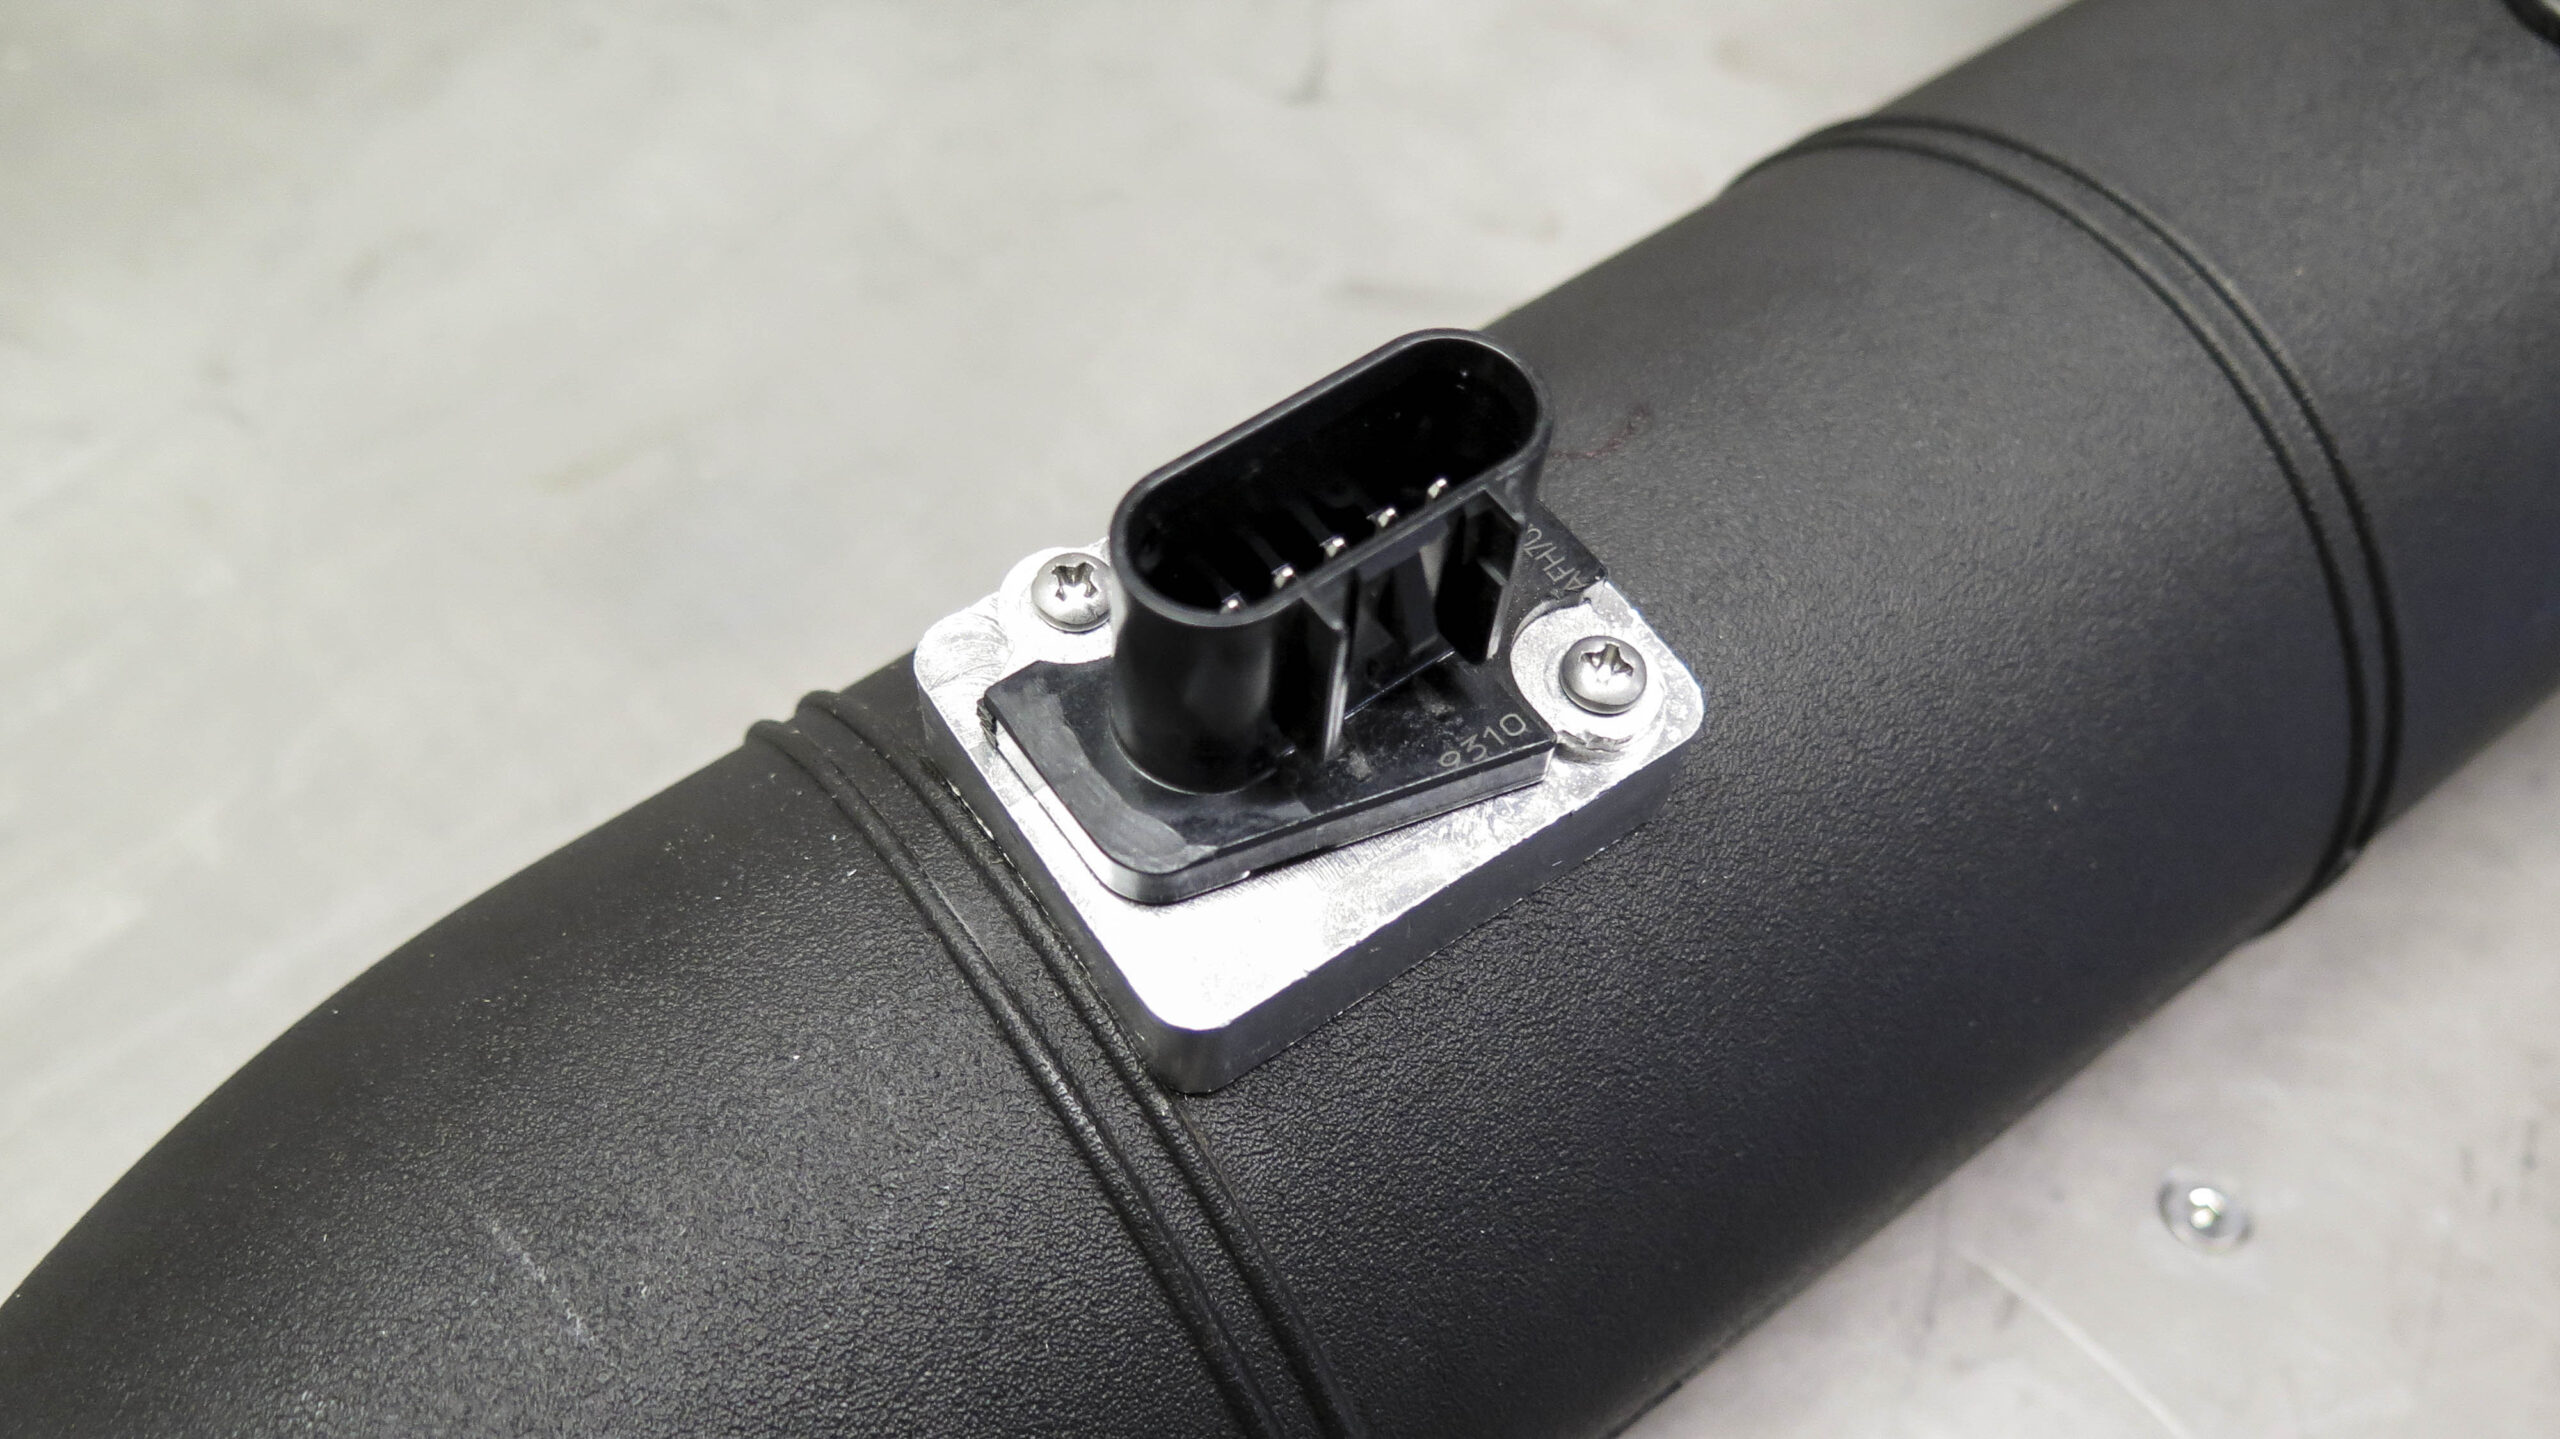
Drill two pilot holes, then use two screws to affix the MAF sensor. Ensure it is oriented in the correct direction of airflow.
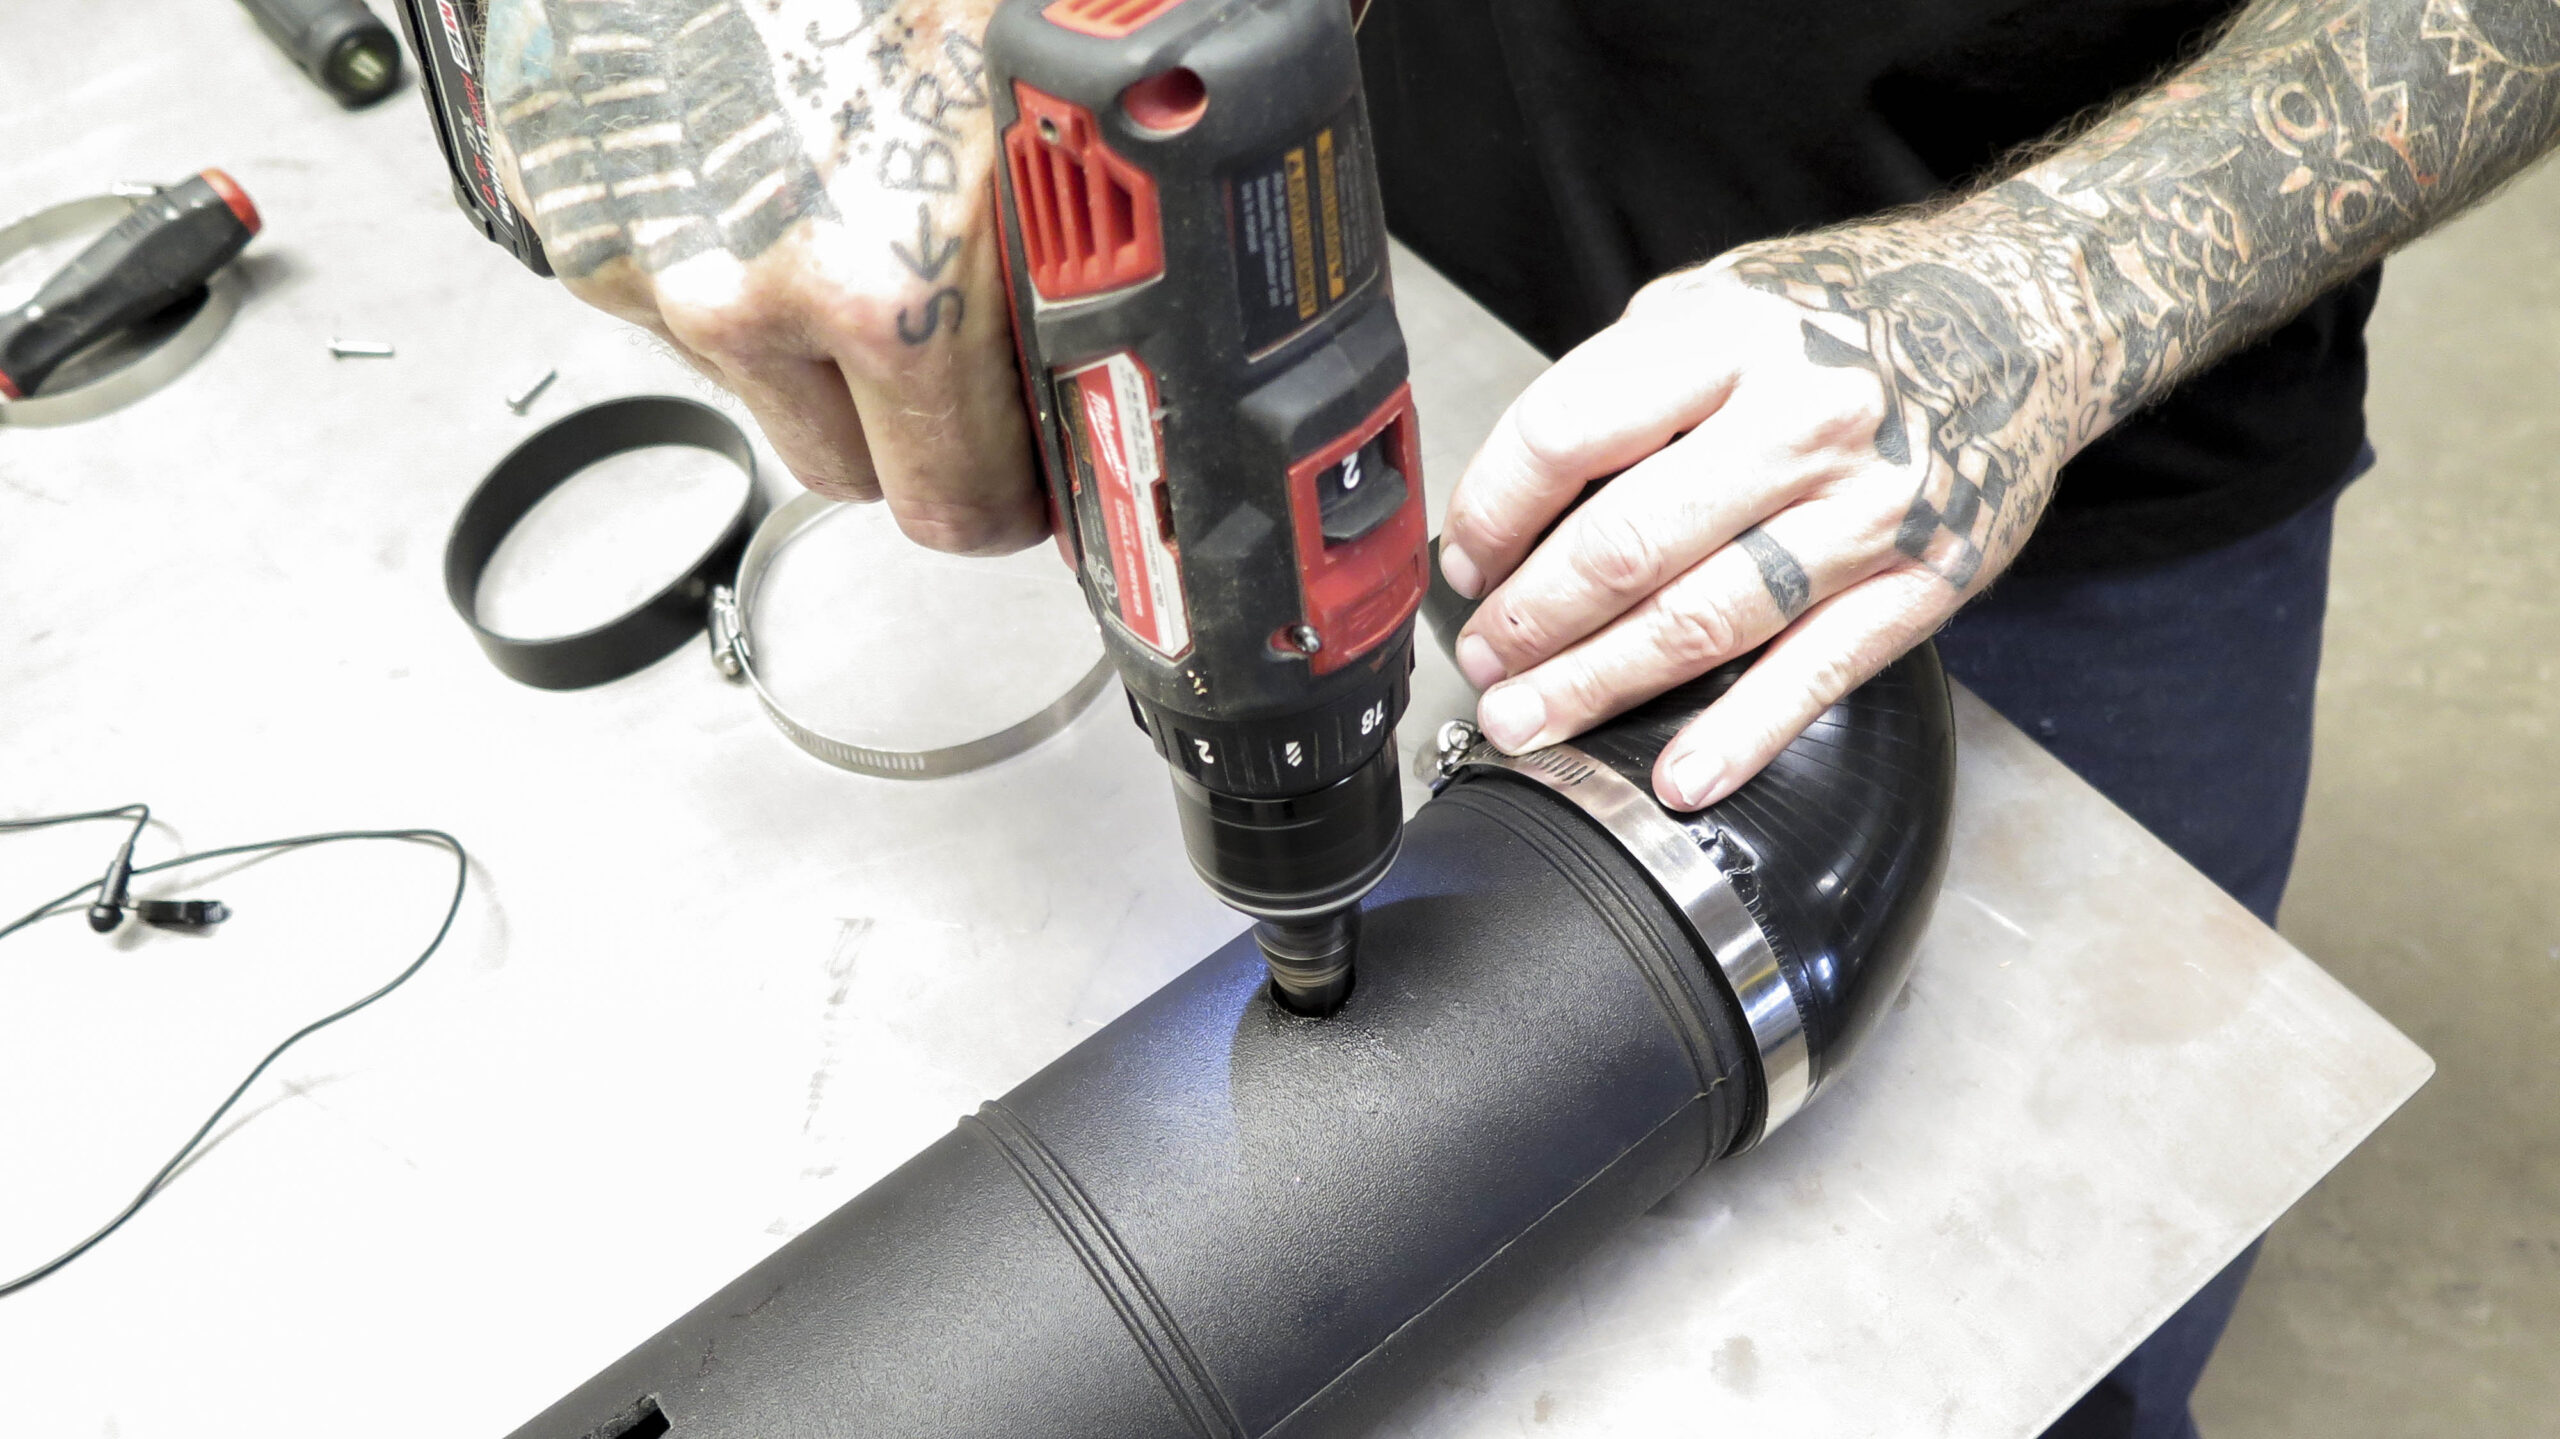
If you are using the factory breather system, you’ll need to drill a hole and use a grommet to attach one of the breathers into the intake tube.
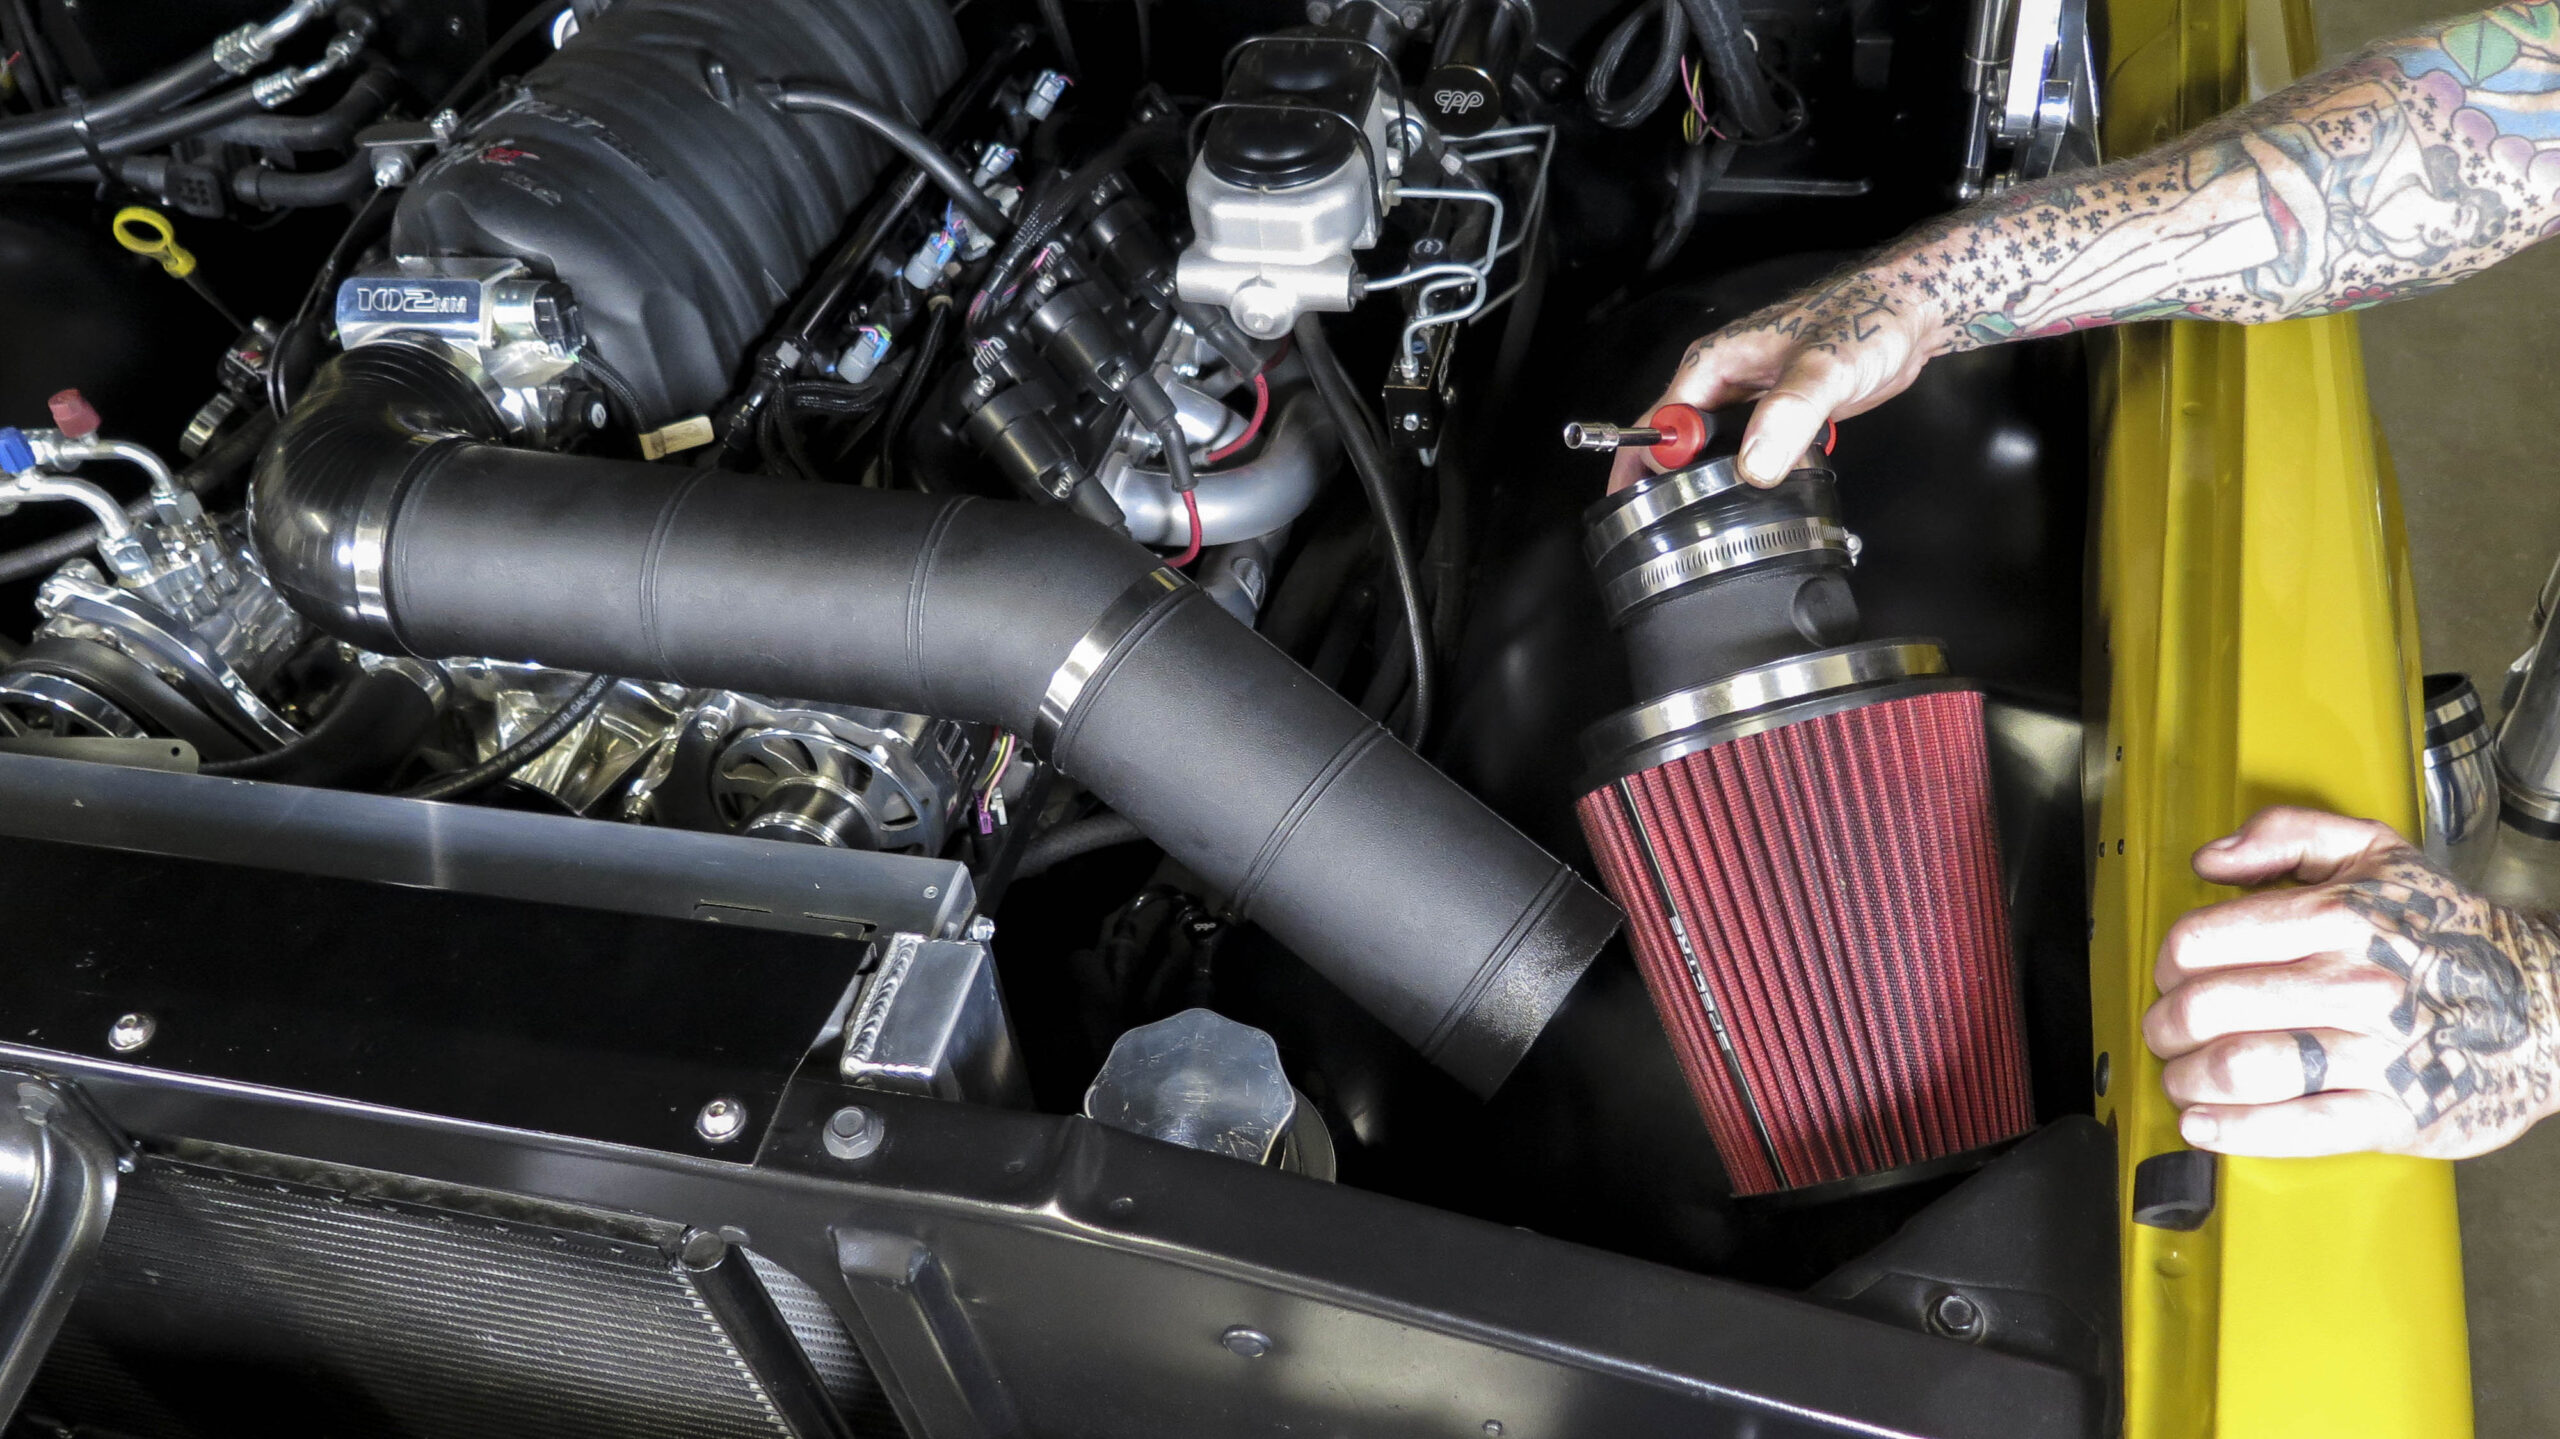
Using a 4” silicon coupler, you can install the final piece of the puzzle: the cone filter.
The end result of the ABS plastic intake is a clean and simple system.
Note: most intake systems will benefit from a brace to support the tubing. Keep reading or watch the video to see the bracket we made for the polished aluminum system.
Polished Aluminum LS Swap Air Intake System: No Cutting Required!
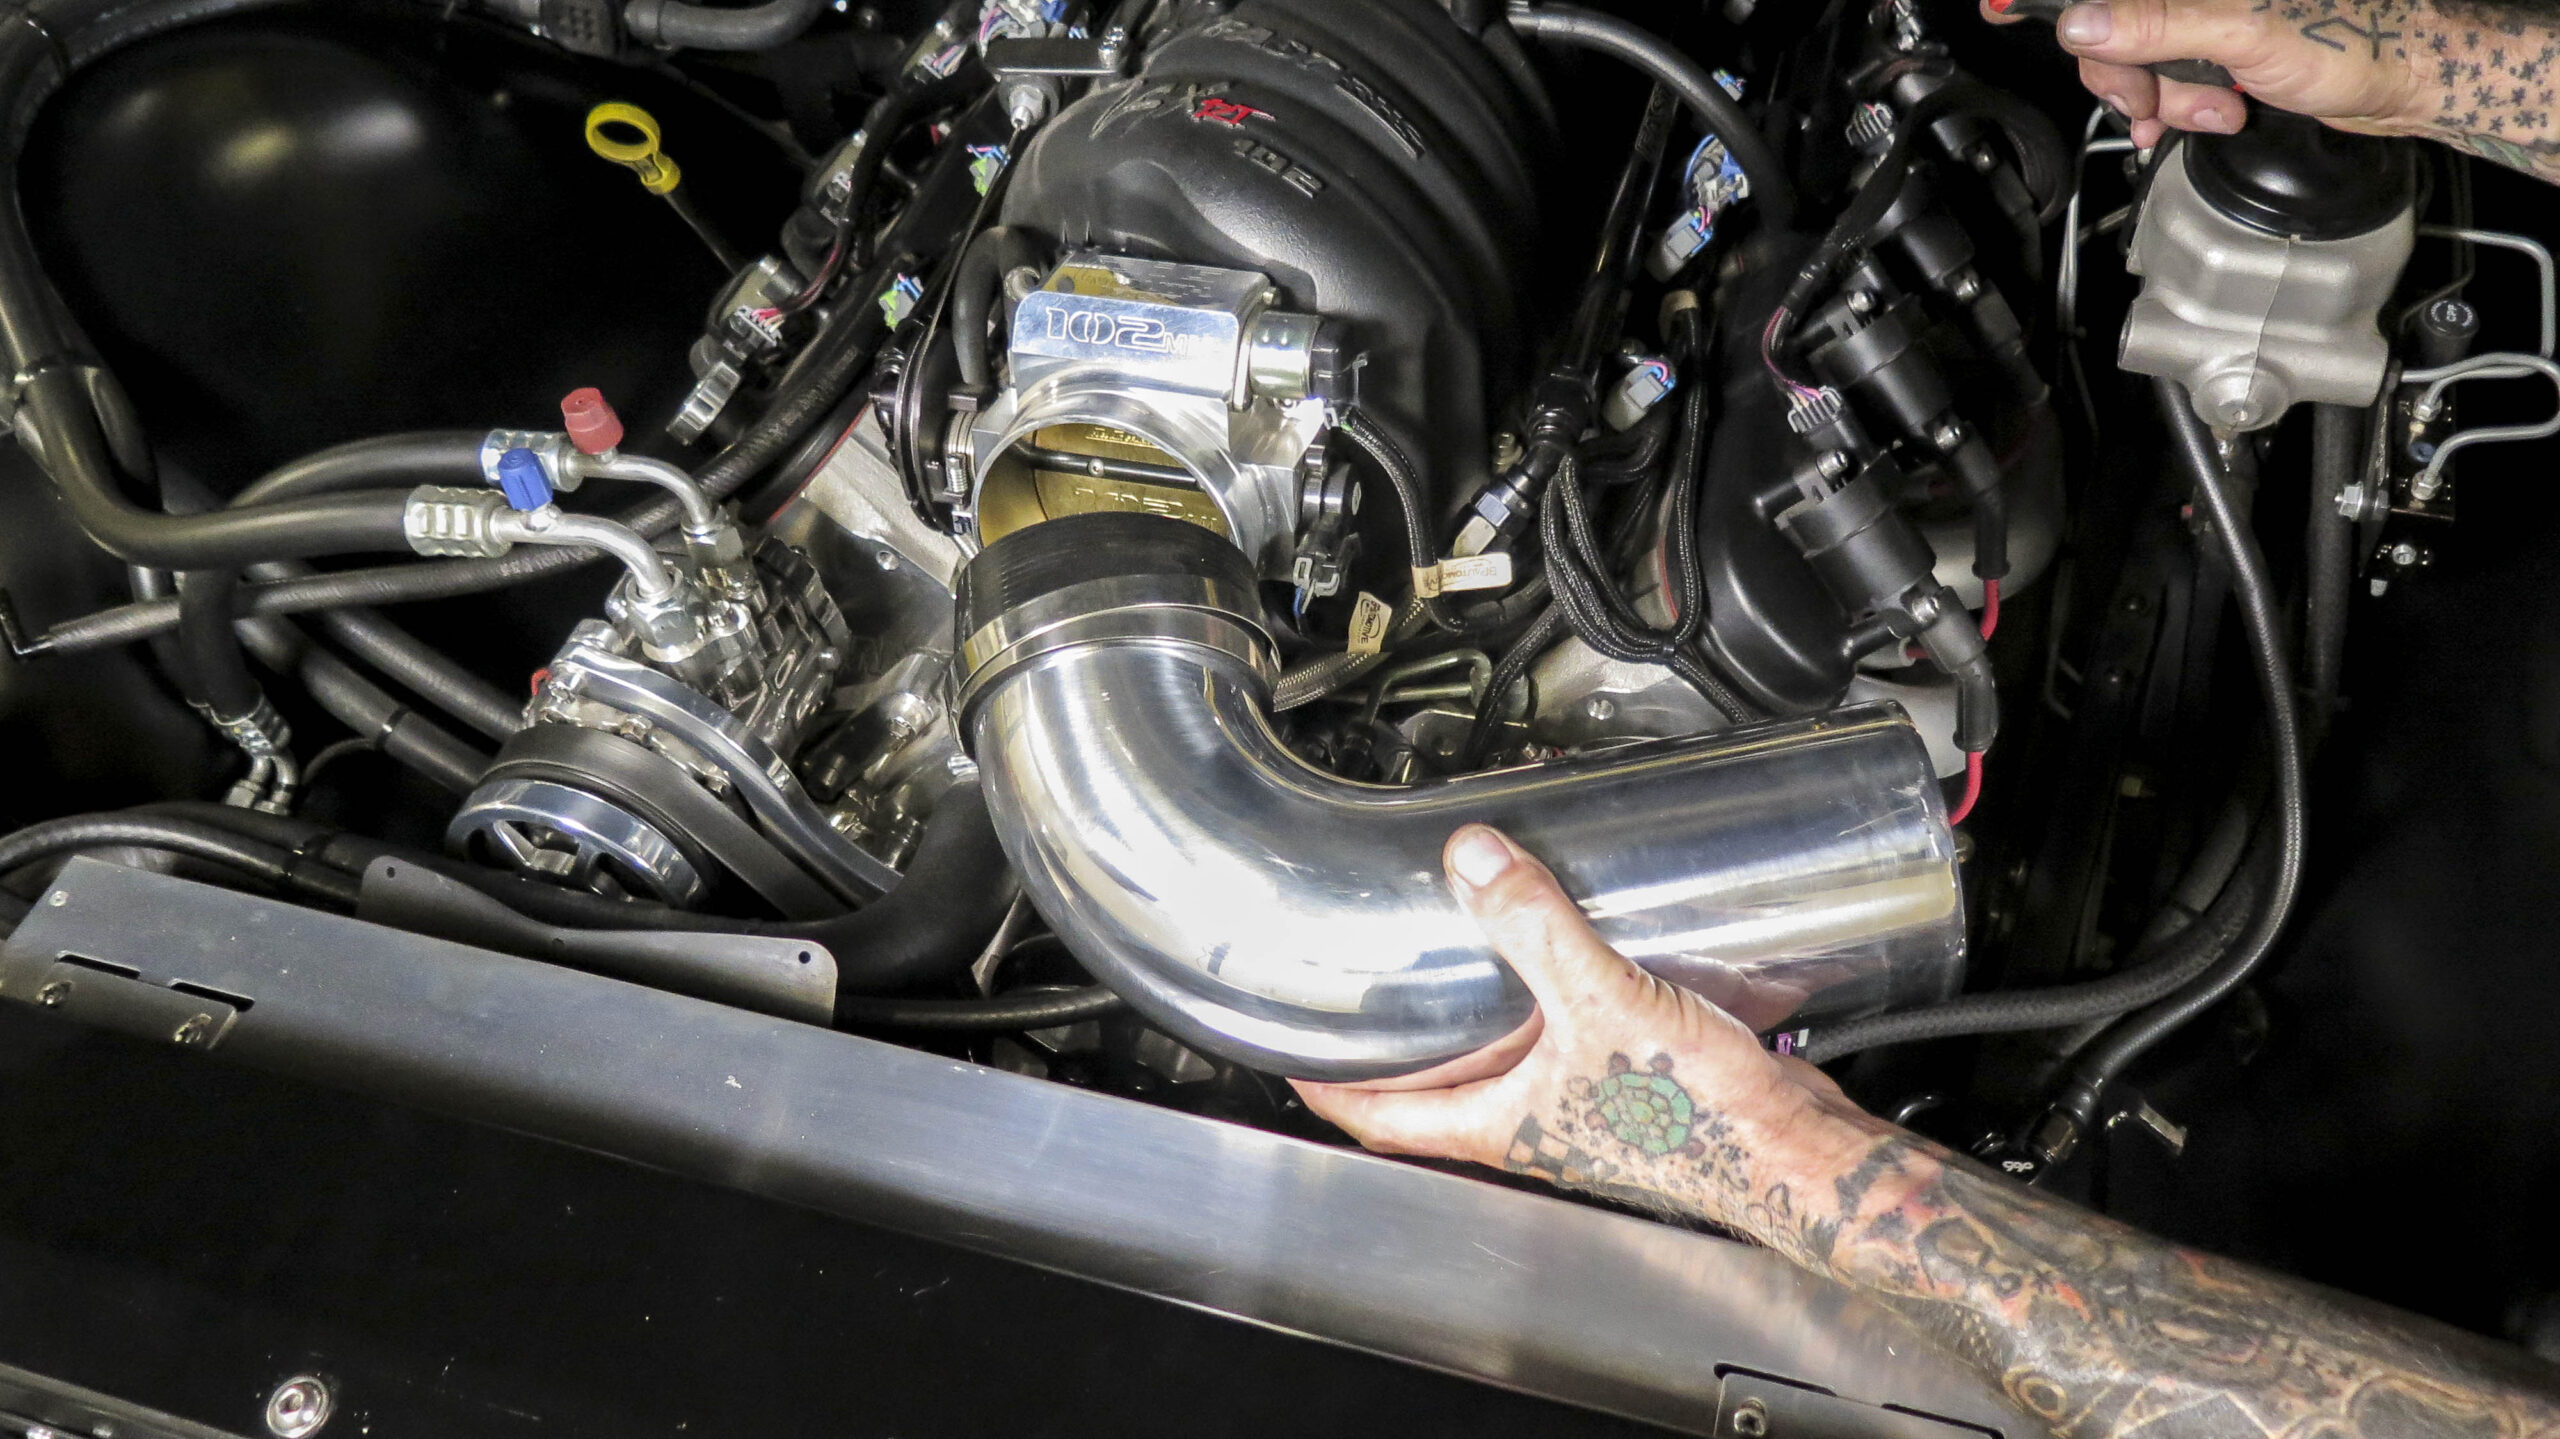
We started building out aluminum LS intake system using a silicon coupler and 90-degree section of pipe.
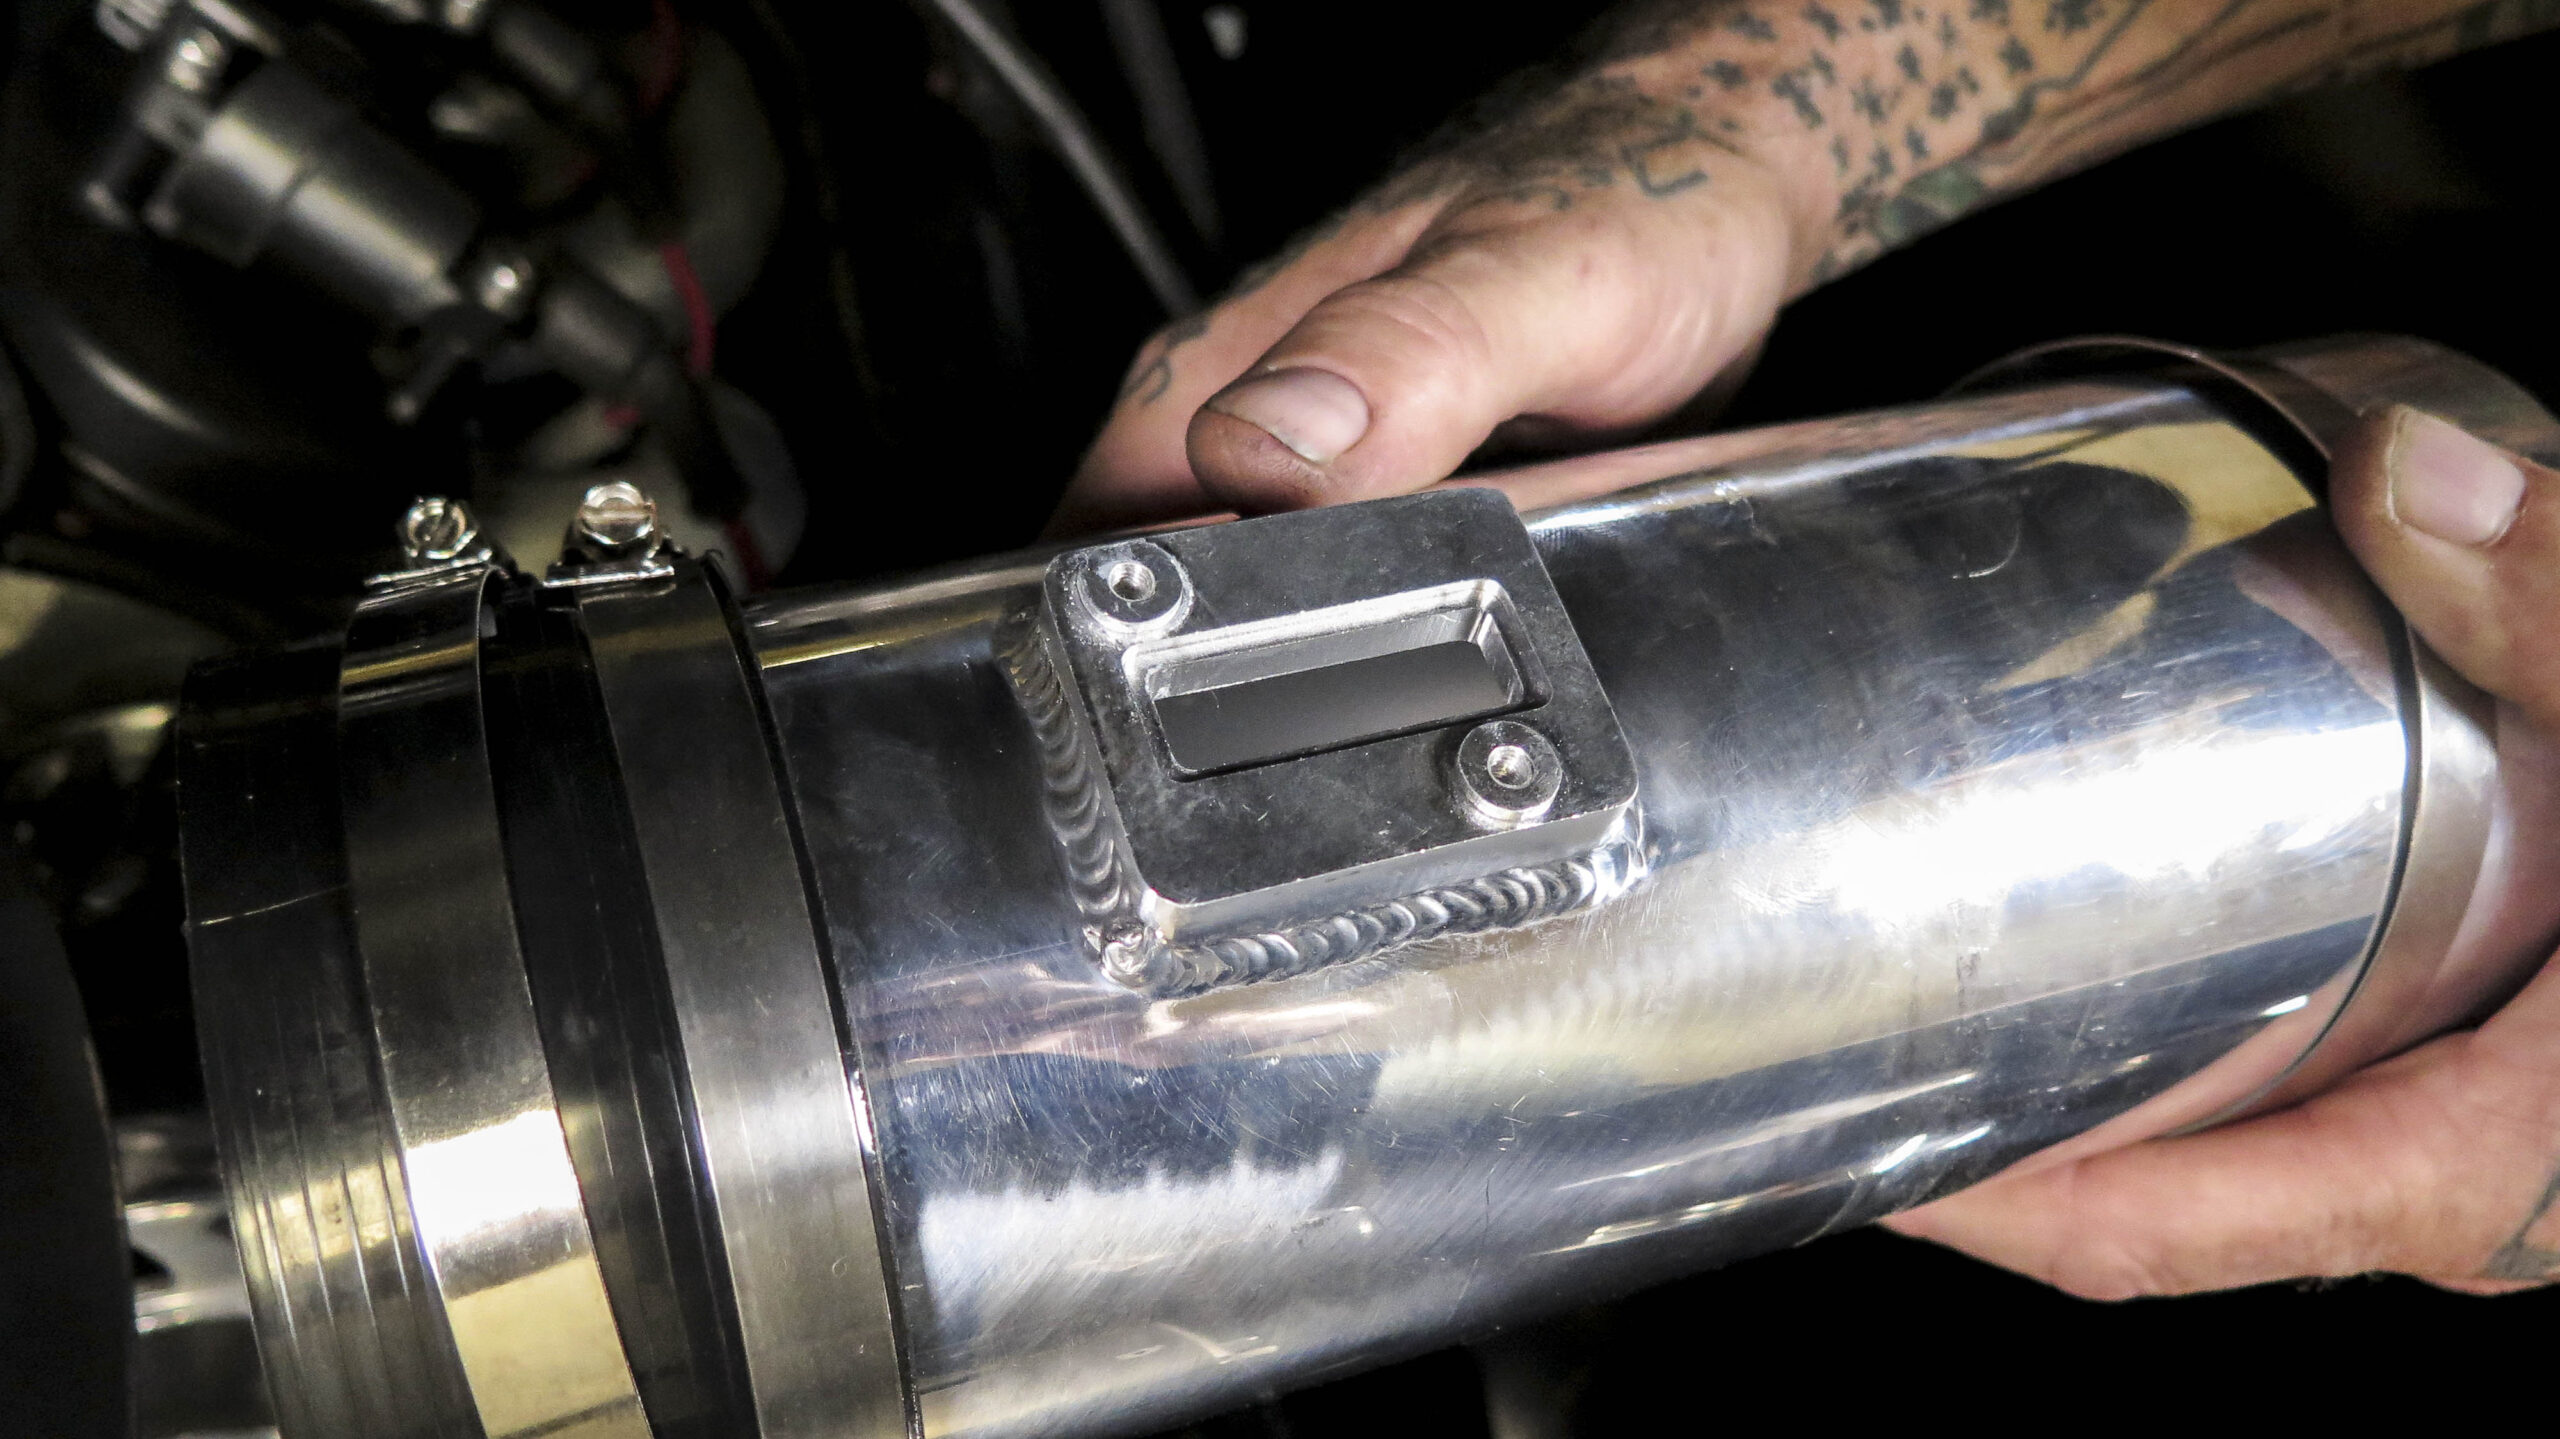
Then we attached the straight section with another silicon coupler. Unlike the ABS plastic, the polished aluminum can be bought with a MAF sensor bung already installed.
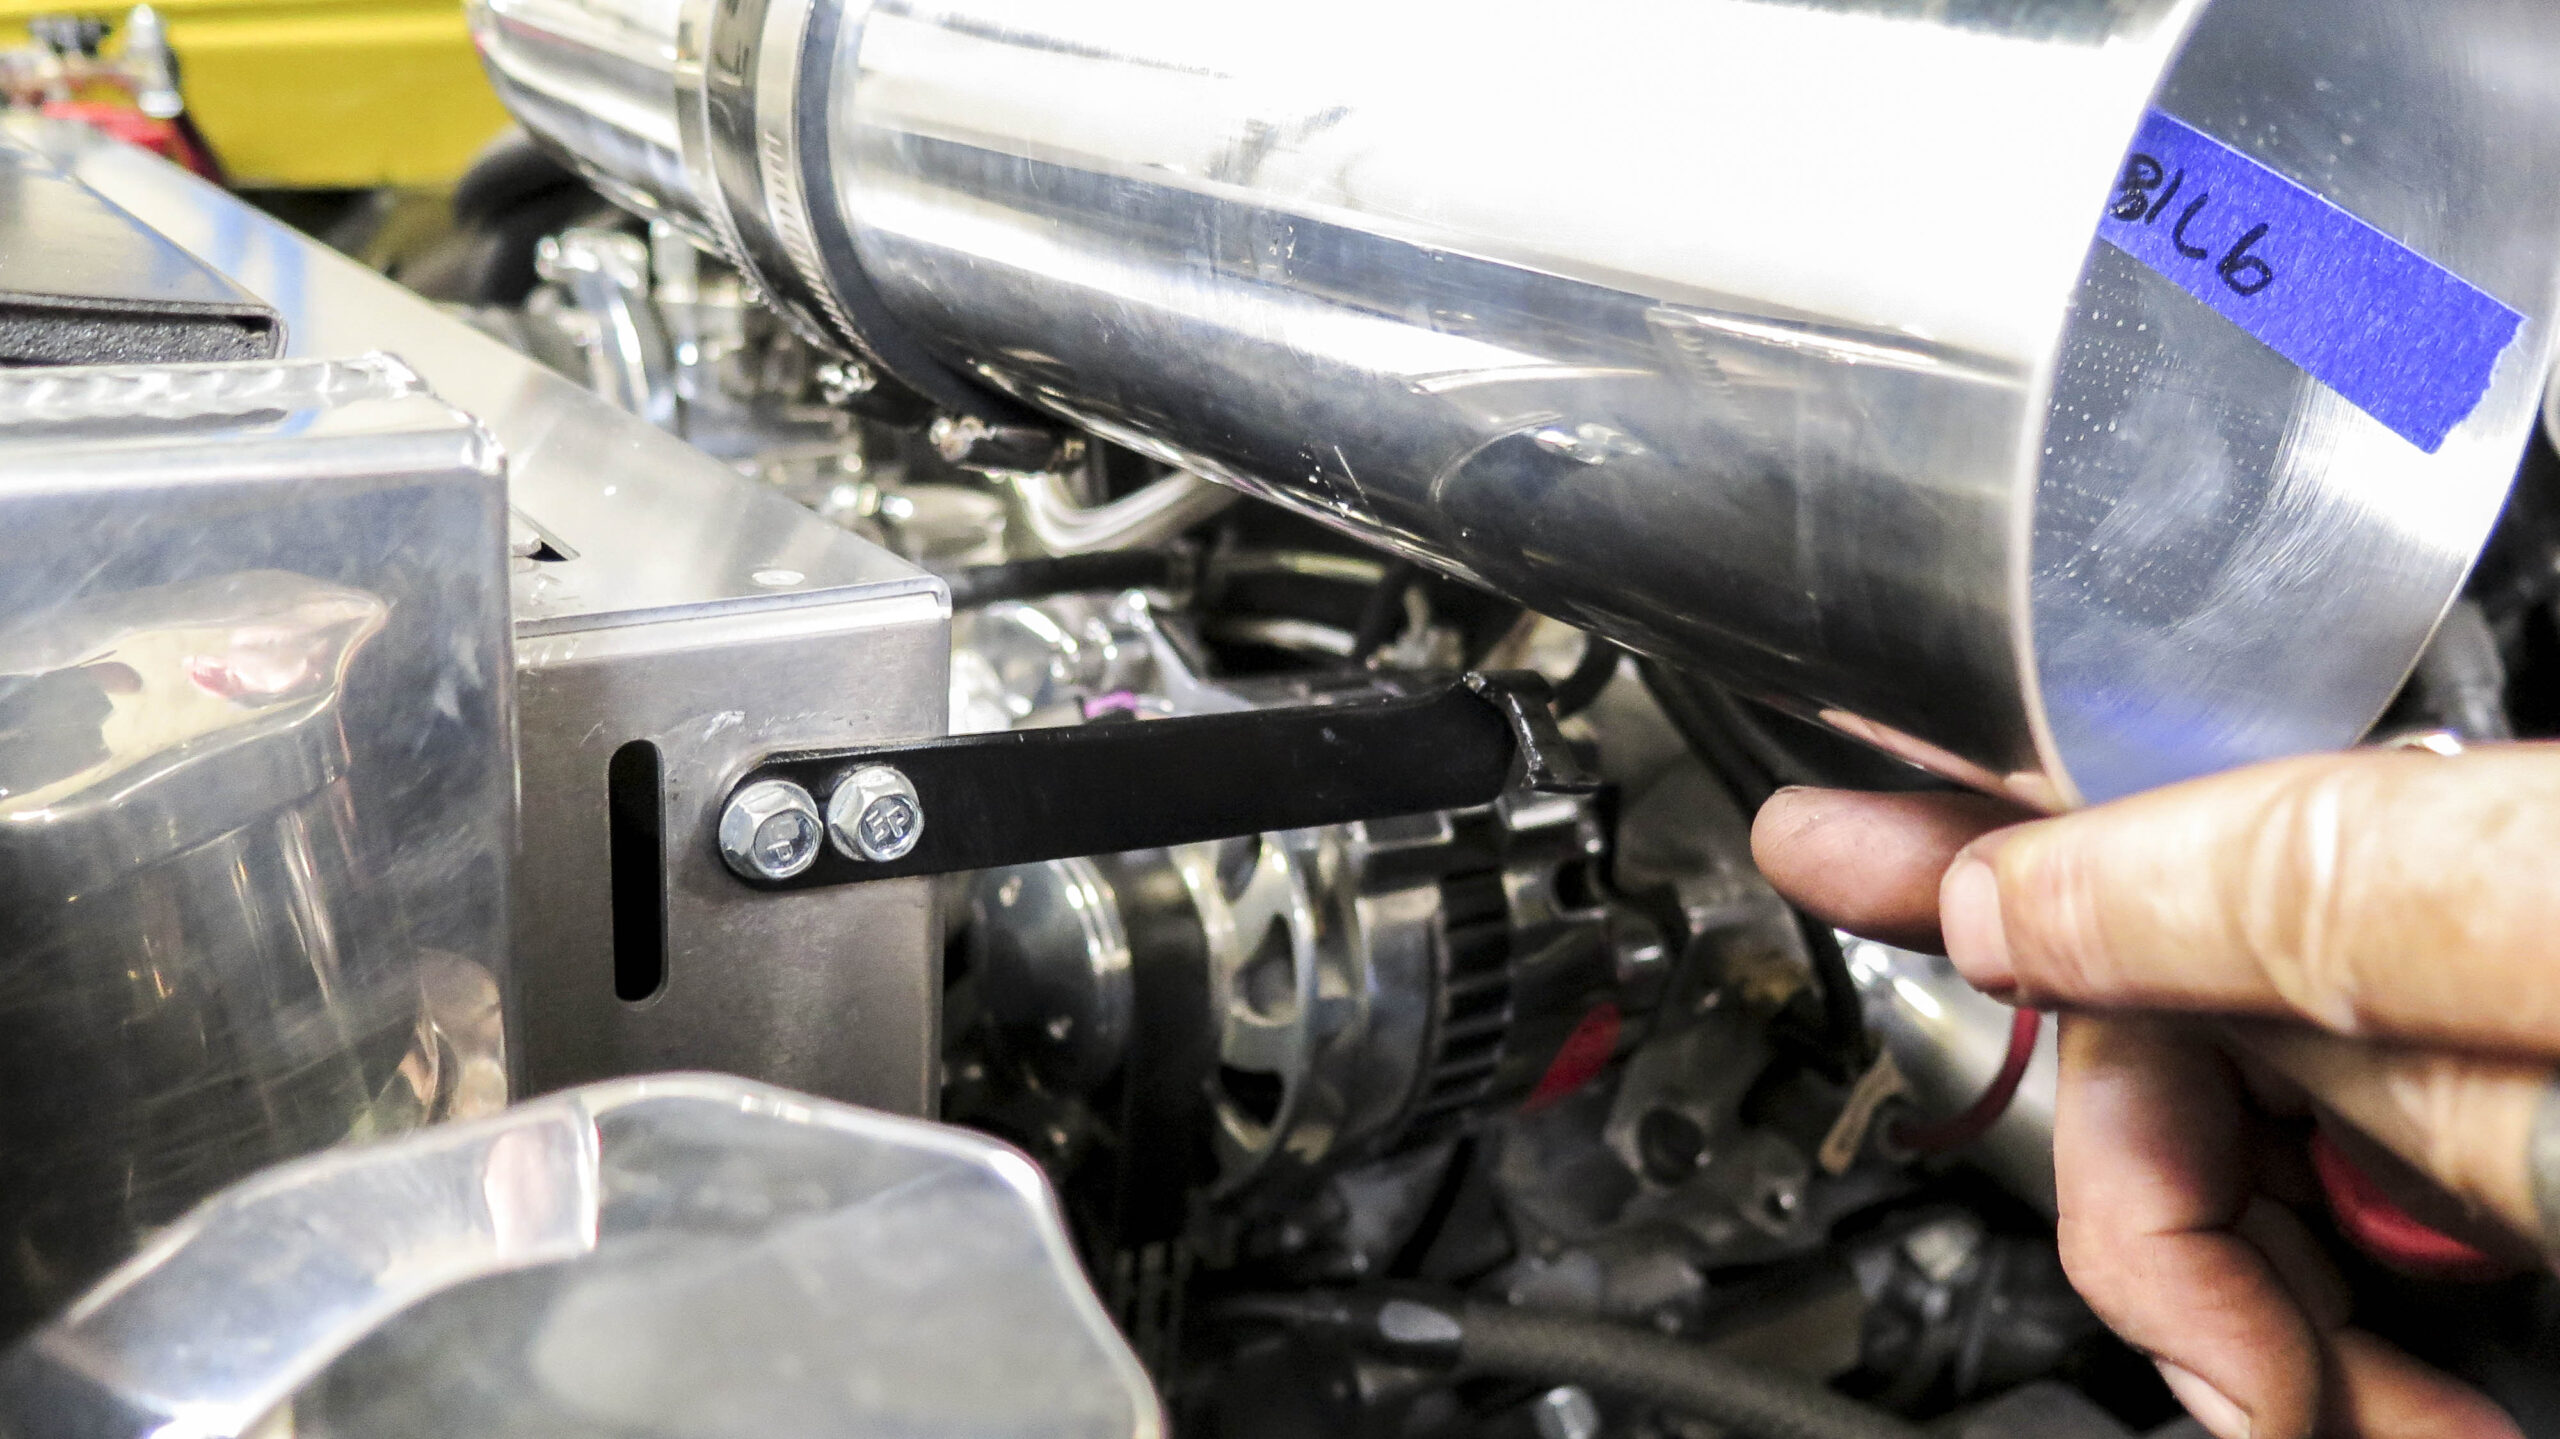
When assembling a lengthy intake system, it is important to support the pipe somehow. We made a simple bracket that bolts to our radiator fan shroud and holds the pipe using a hose clamp.
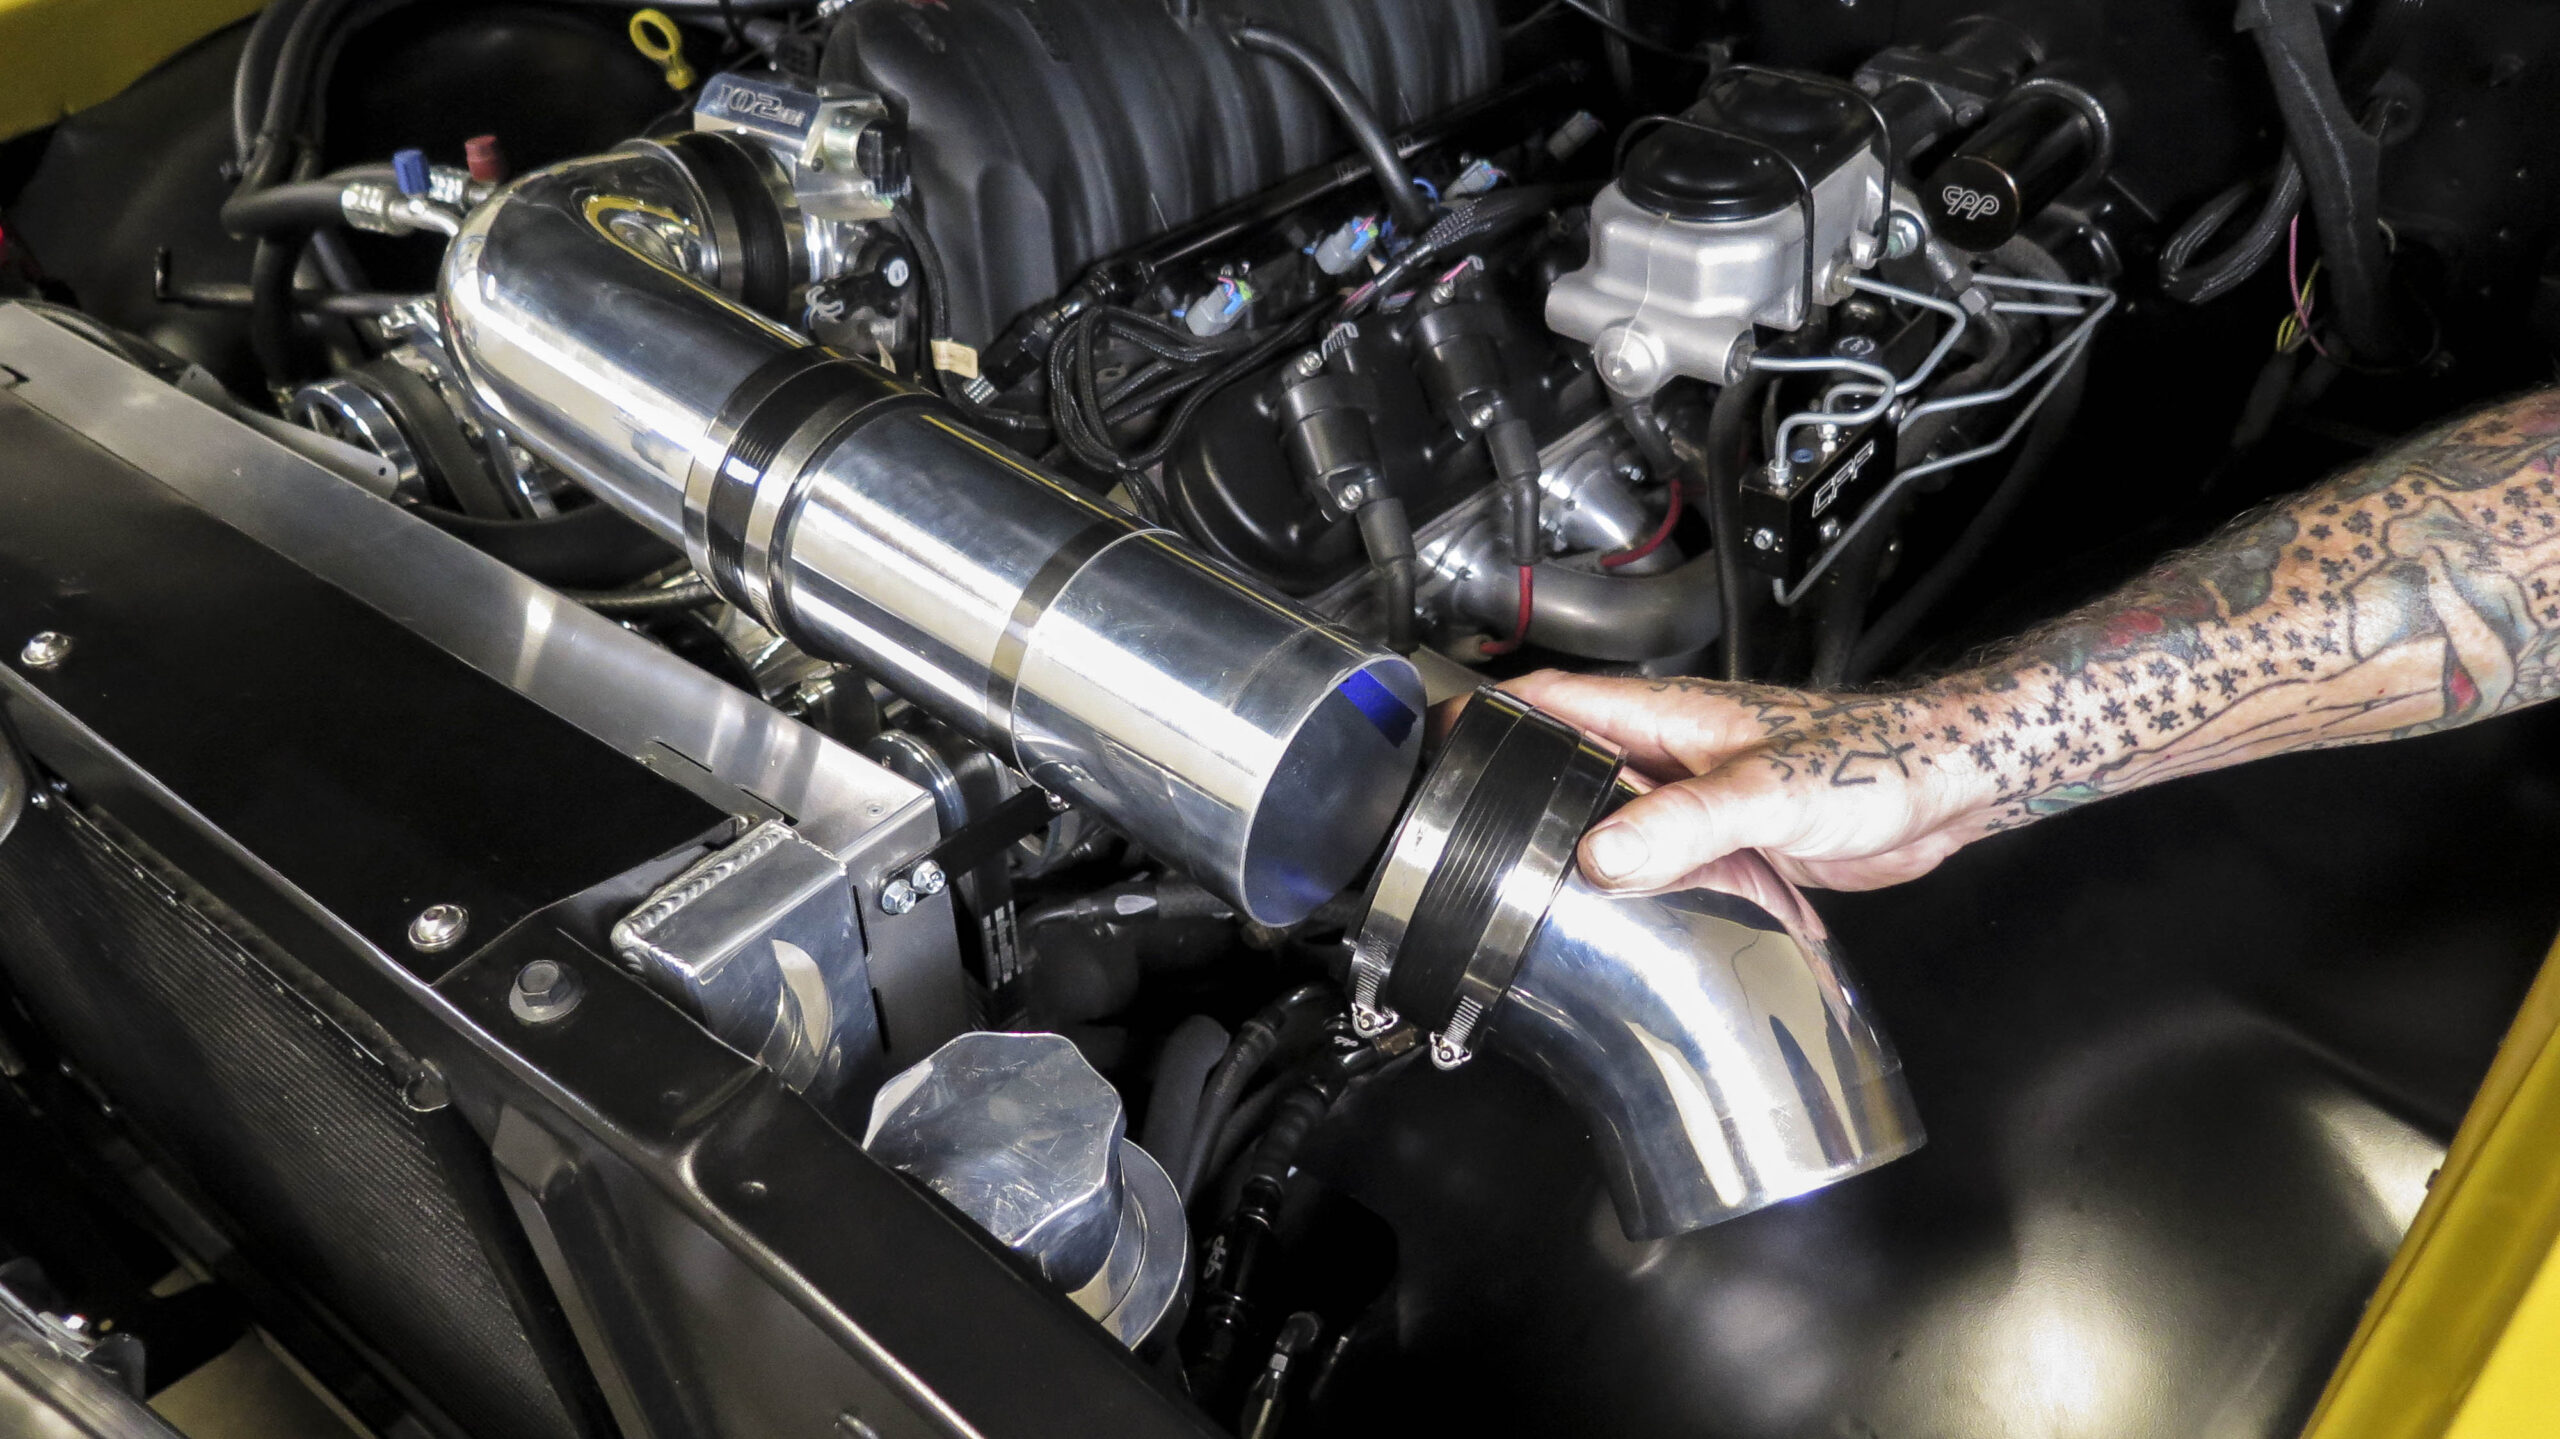
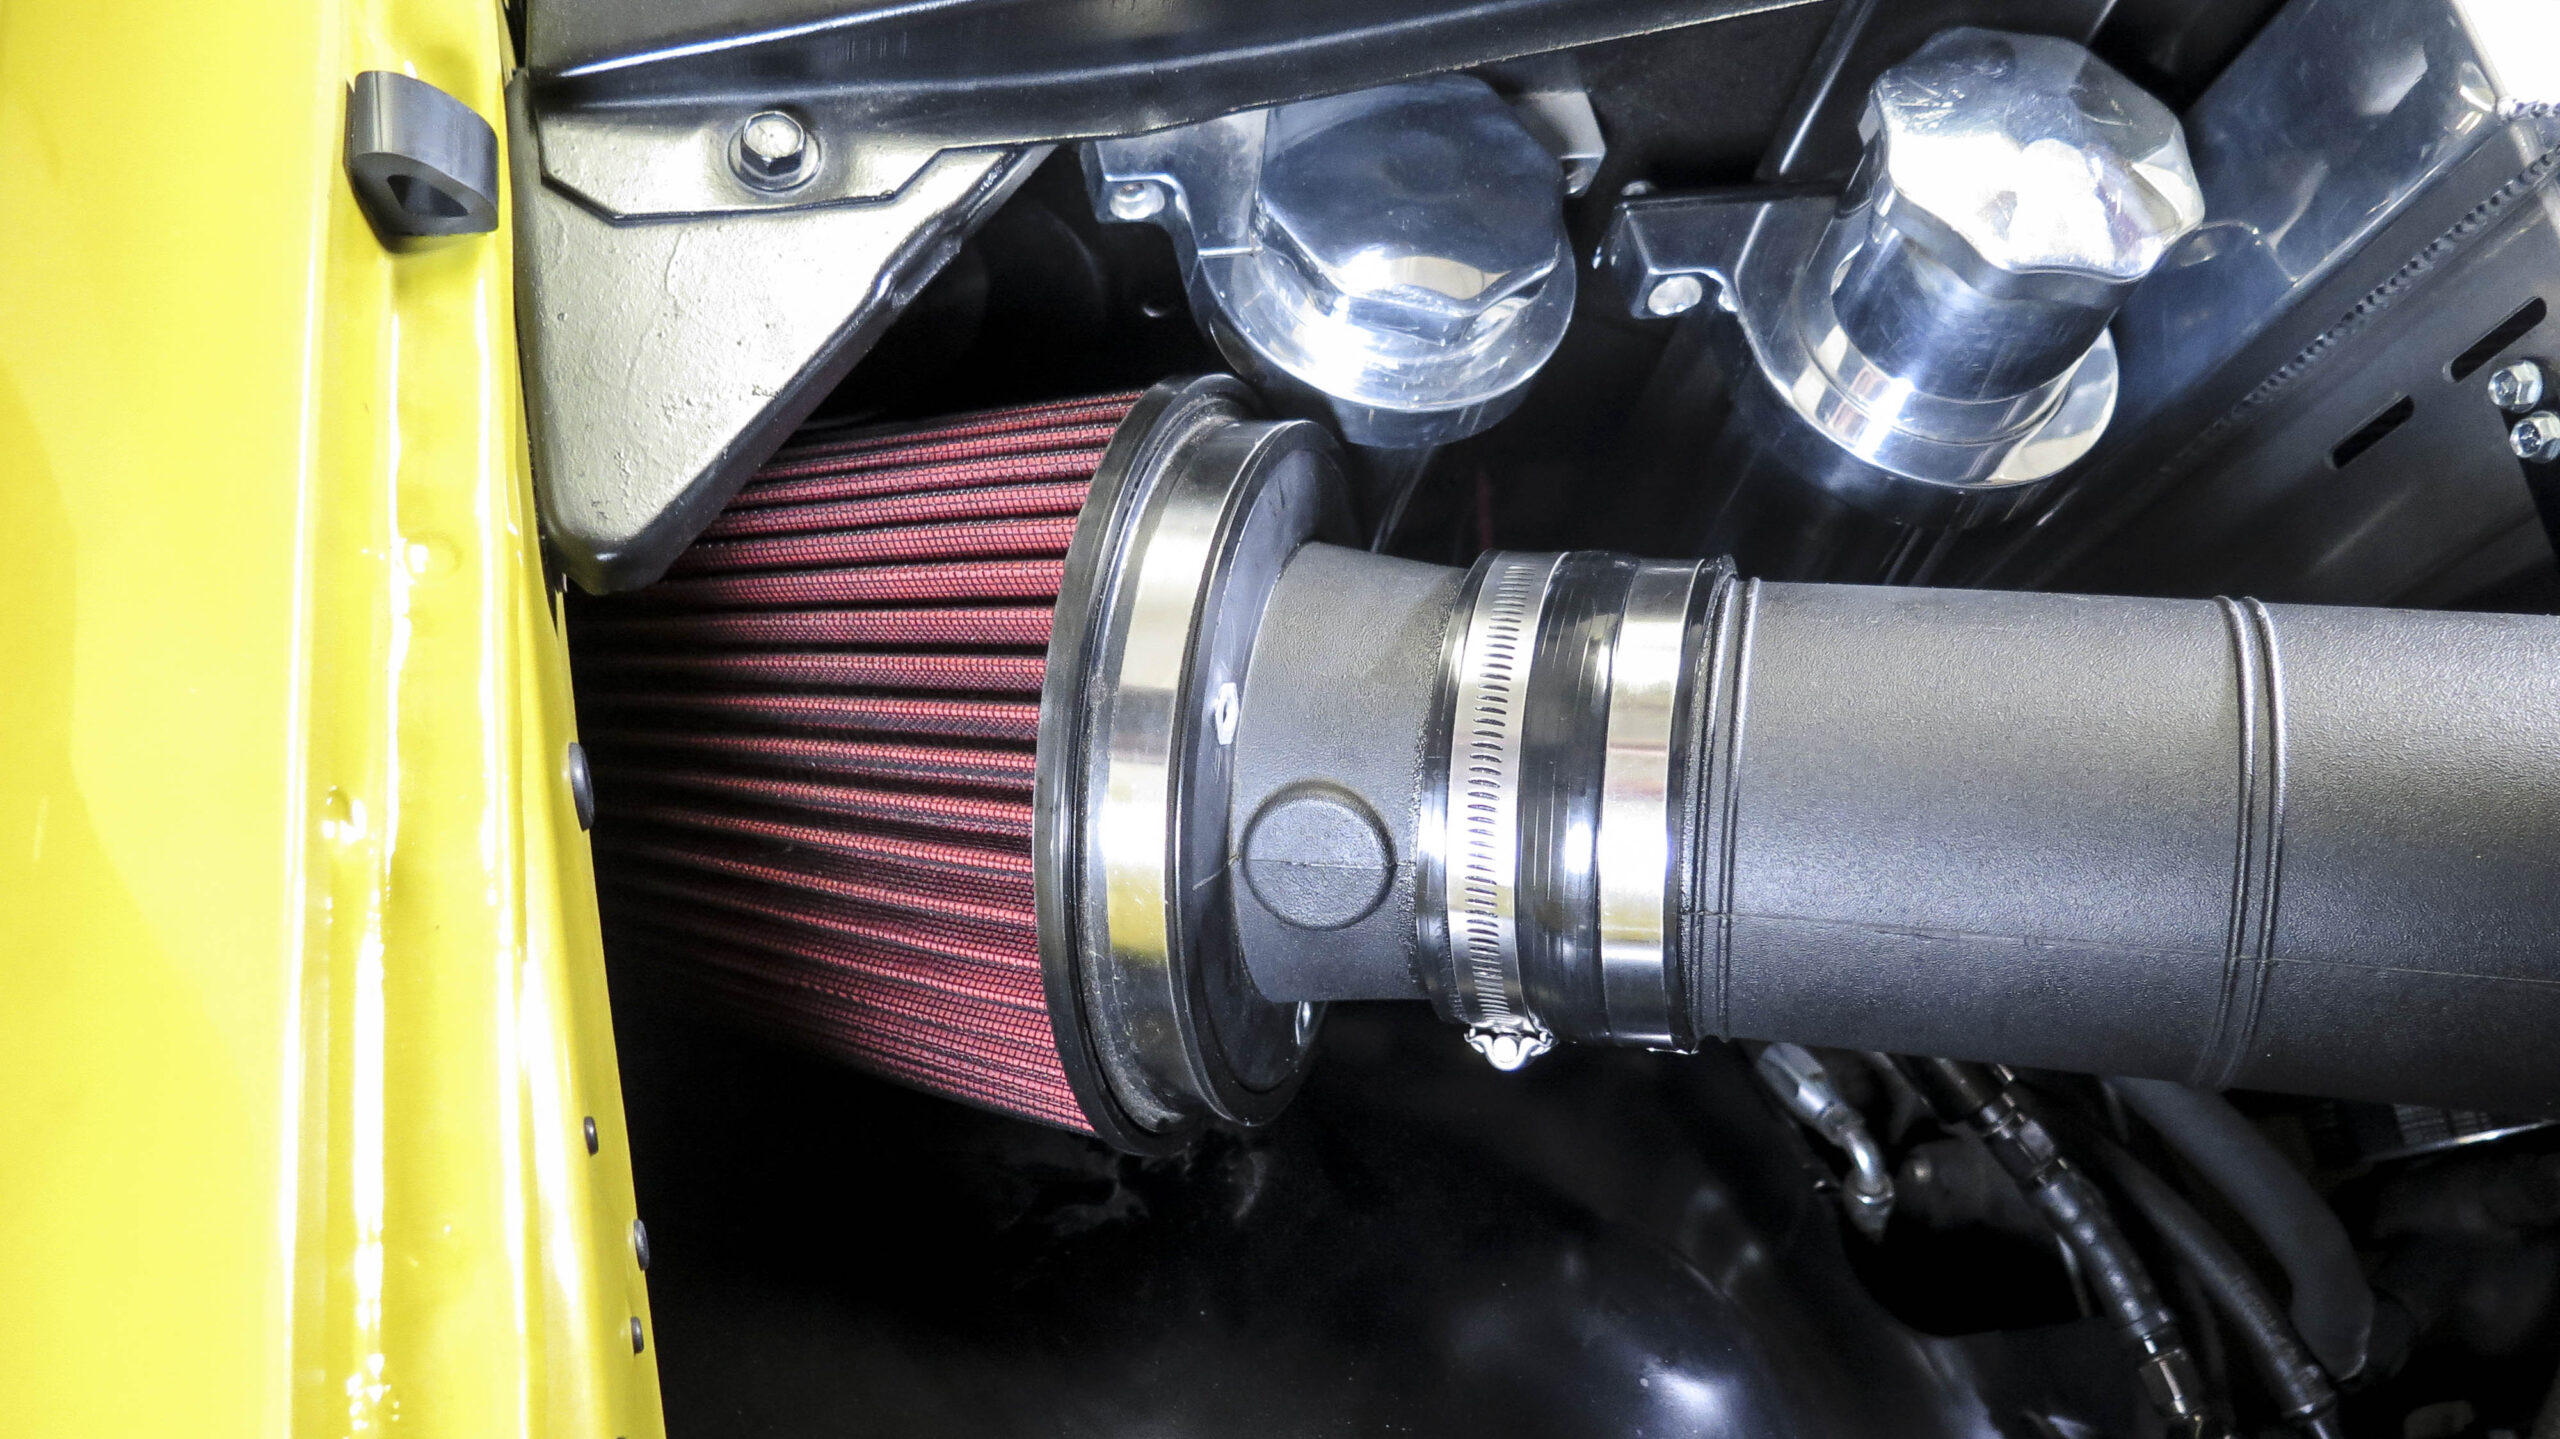
The final piece of 4” aluminum tubing we used is a 45-degree section. This helps to put the filter down in the open area behind the headlight which is as far from engine heat as possible.
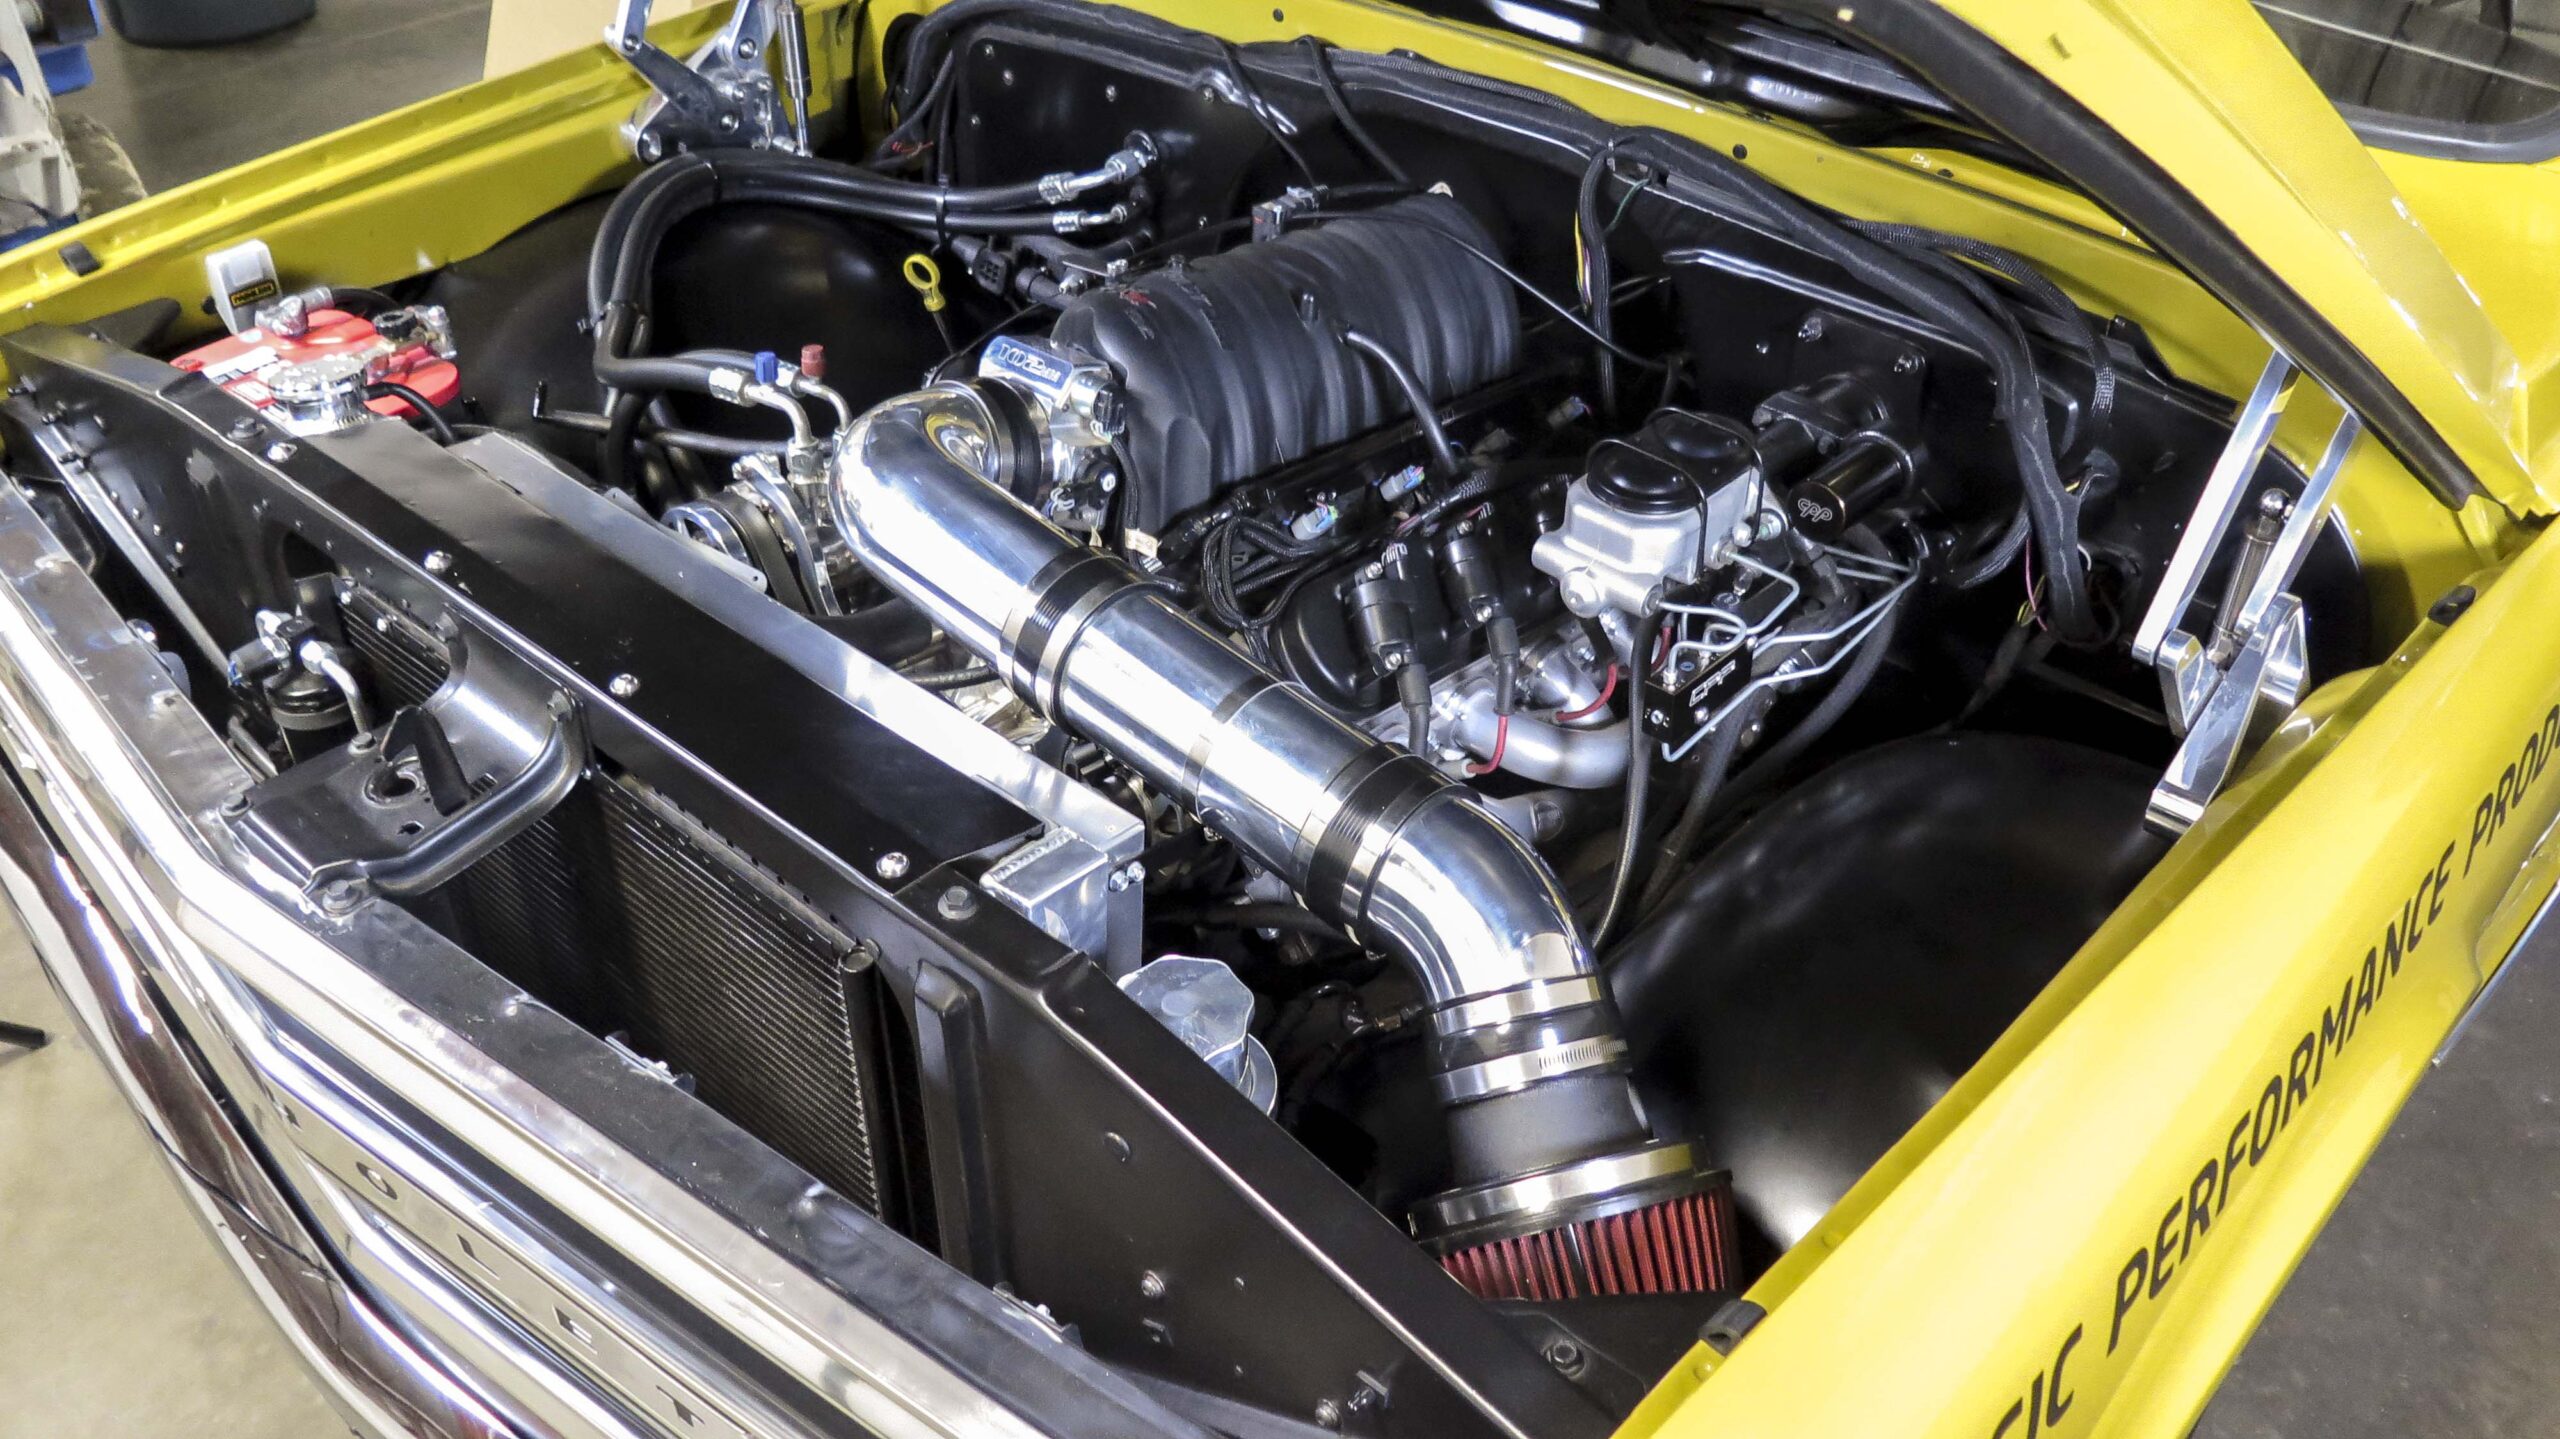
Once the cone filter is installed, we found ourselves with one snazzy looking LS swap air intake system for our 1970 C10.

[…] working on an article about assembling a custom air intake system for LS engine, we came across some valuable information. There’s a fair amount of debate on the internet […]
[…] (See the full story here) […]