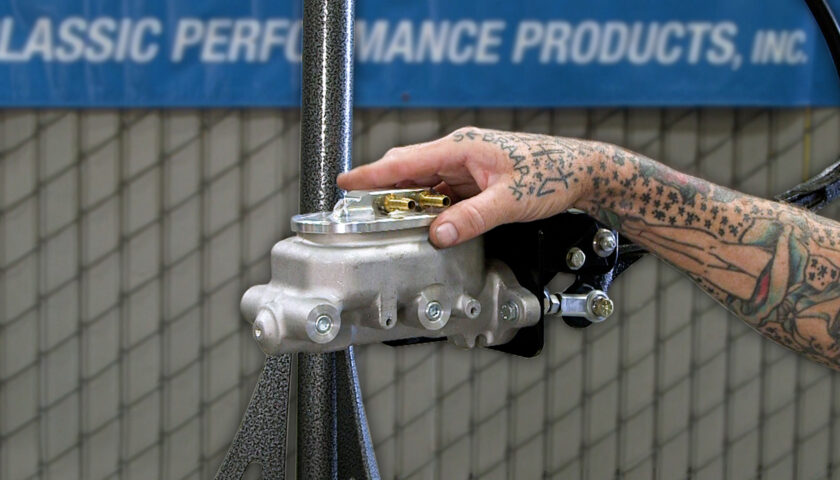
Run OE Wheels Without Sacrificing the Safety of Modern Brakes
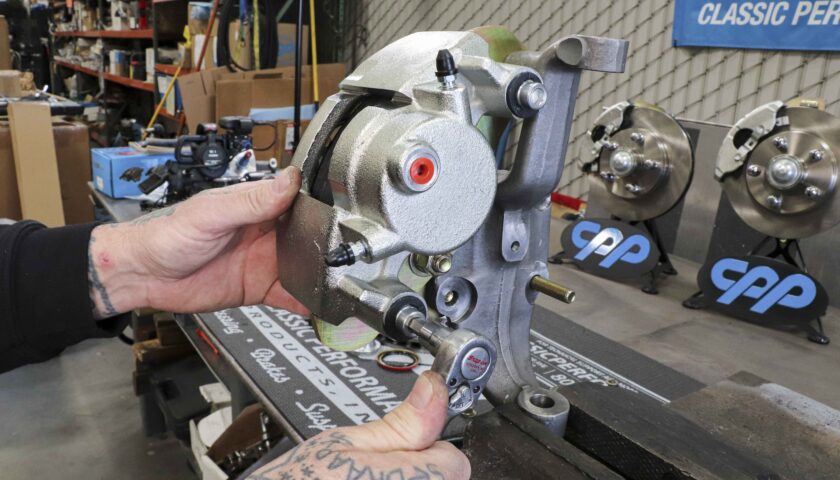
CPP offers disc brakes for 14-inch wheels, allowing you to retain your stock wheels without sacrificing safety. Disc brake kits are available with stock or 2″ drop spindles and do not move the wheels out from the factory drum position. Kits can be ordered with or without spindles and with or without steering arms to accommodate a wide variety of installation needs.
In the video, Jason Scudellari walks through the process of installing CPP’s disc brake kit for 1955, 1956, and 1957 Chevy designed to fit 14-inch wheels. This installation also applies to A/F/X and 1959-’64 Impala disc brakes for 14-inch wheels (Skip to “Final Assembly” Chapter for these applications).
Part numbers:
- 1955-’57 Chevy: 5557WBK-S-OE
- 1959-’64 Impala: 5964WBK-S-OE
- 1964-early ’65 Chevelle: 6465WBK-S-OE
- Late 1965-72 Chevelle, 1967-69 Camaro, 1968-74 Nova: 6574WBK-S-OE
How To Install CPP Disc Brake Kit for 14-Inch Wheels:
Installation note: For the kit to work properly the steering arm may need to be modified to safely clear the caliper. We suggest doing a “dry run” and assembling the brackets and caliper on the spindle to check clearance.
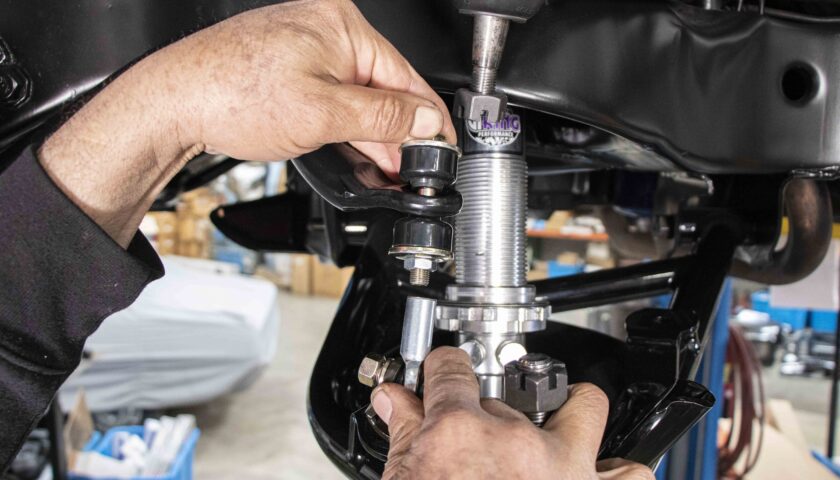
1. Begin by installing the upper caliper bracket using the large 5/8” bolt, making sure to leave everything a little loose until the other bracket bolts have been installed.
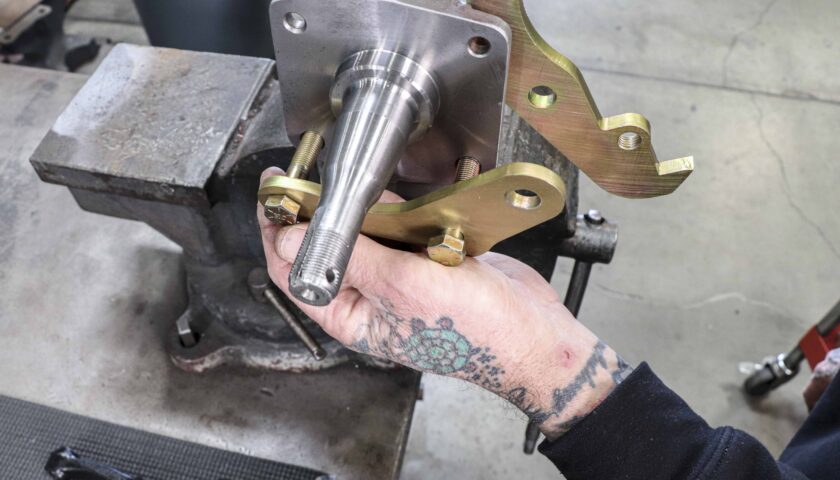
2. Then use the two longer bolts to install the spindle bracket.
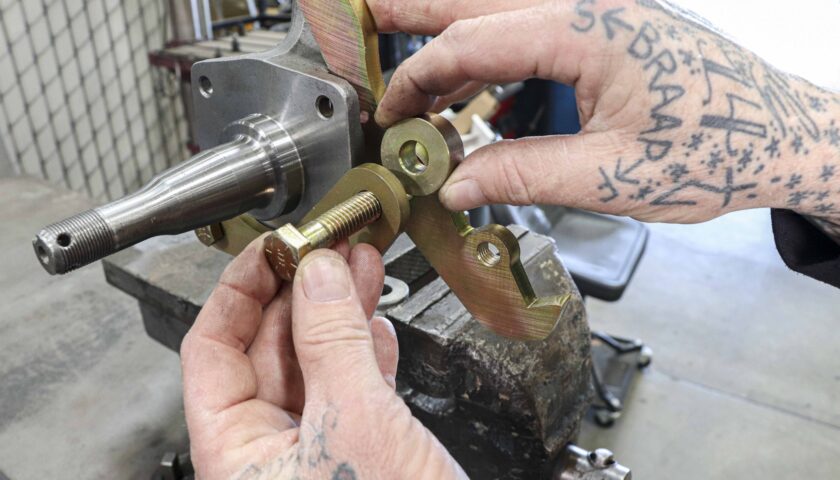
3. The two brackets are held together with a spacer between as shown.
Caution: Do not add washers between the head of the bolt and the outer face of the spindle bracket as this may cause an interference with the rotor.
4. Install a washer, lock washer and nut on the back side of the lower caliper bracket. Tighten the hardware until snug but do not fully torque.
5. Then snug up the upper 5/8” bolt on the upper caliper bracket.
6. Attach the caliper to the bracket and snug up both caliper bolts. It is not necessary to install the brake pads or rotor at this time.
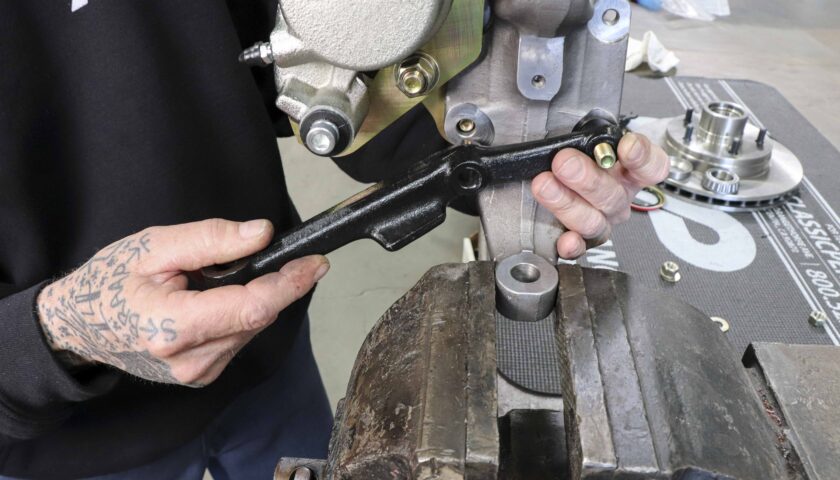
7. Fit the steering arm to the spindle with the steering stop on the bottom. Use only the outer most bolt to hold it in place while checking to see how much clearance is needed.
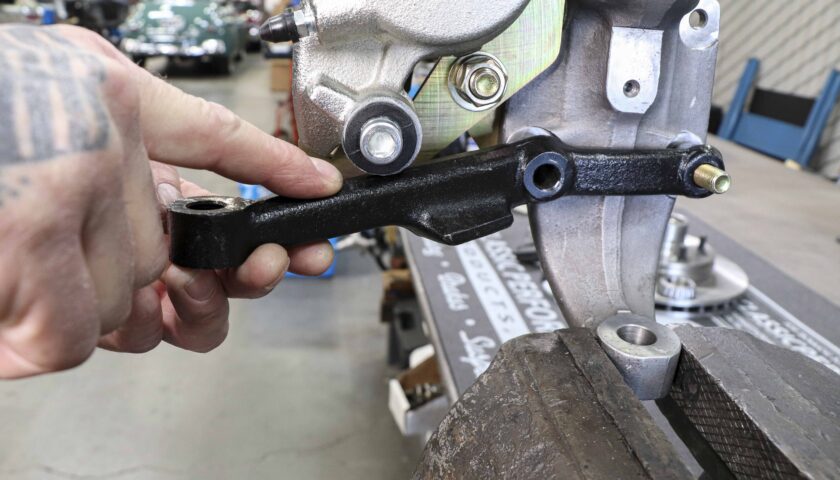
8. Remember, this is a “floating” style caliper which needs to move in and out as the brake pads wear. The caliper needs to clear the steering arm even once the pads are worn.
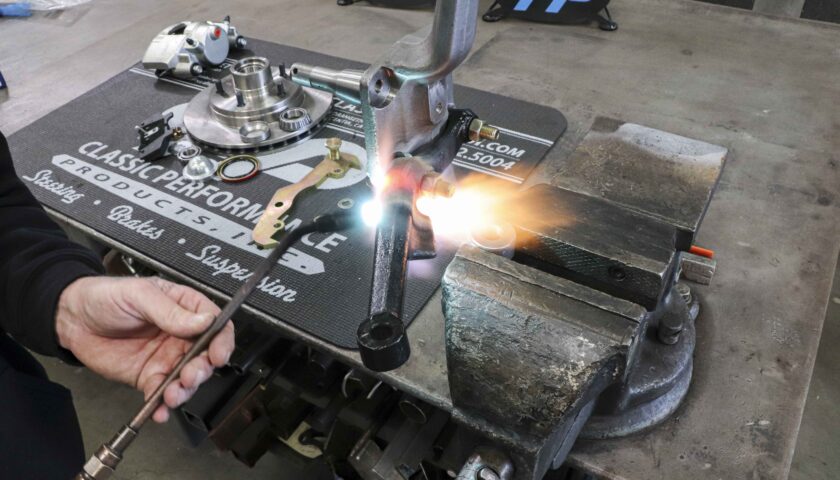
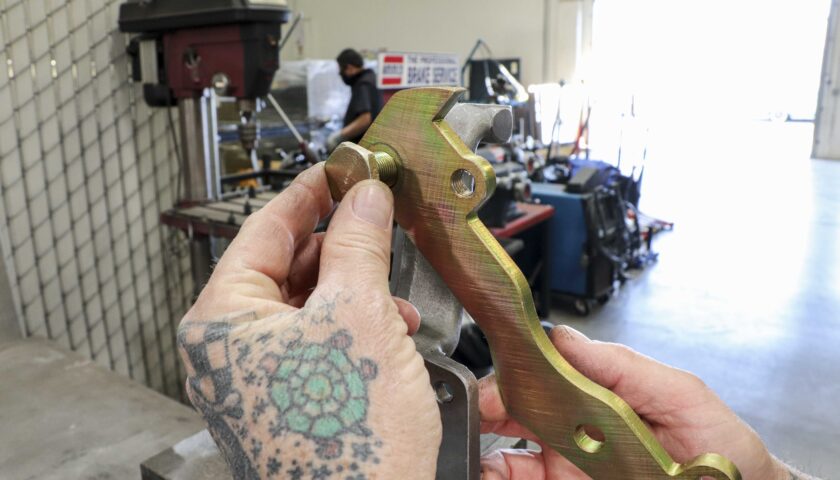
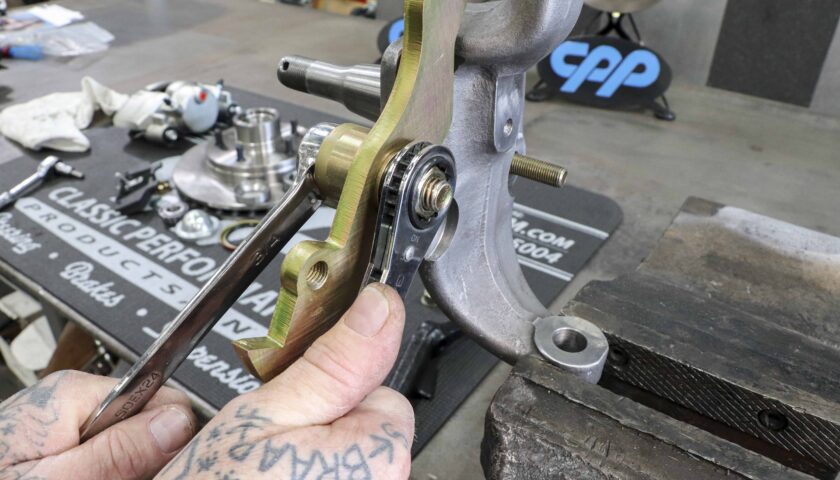
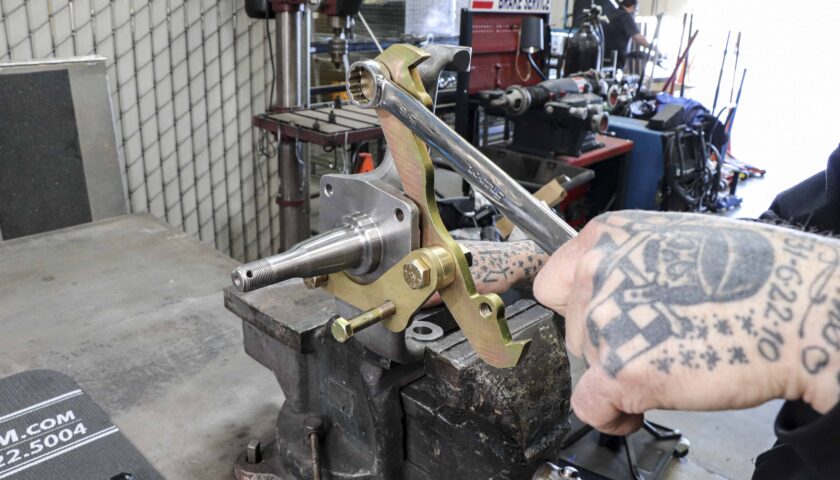
9. If clearance is needed, remove the brake caliper, fully bolt the steering arm to the spindle and use an acetylene torch to heat up the spindle between the steering stop and mounting hole.
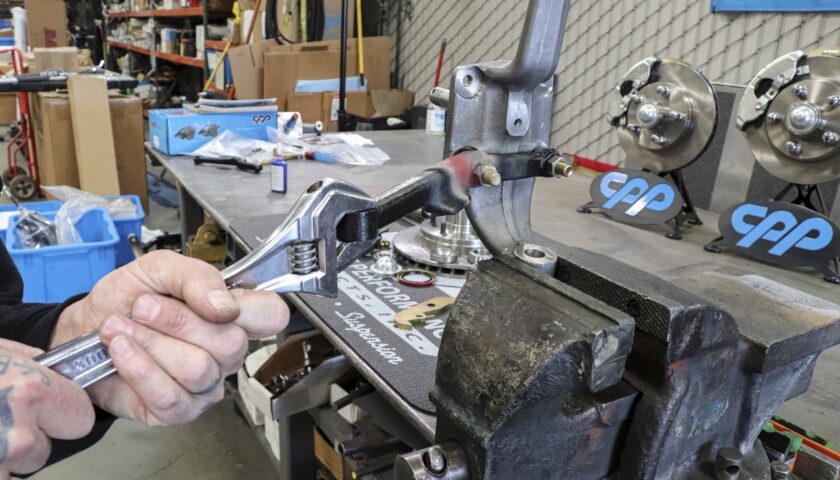
10. Once the area is glowing red, use a large crescent wrench to bend the steering arm down just enough to clear the caliper. Let the steering arm air cool then reinstall the caliper to see if the proper clearance has been made.
Caution: We do not suggest using a grinder make the necessary clearance because this can weaken the strength of the parts. We do suggest this modification method because the steering arms are forged and thus there is no structural compromise when heating and slightly bending them.
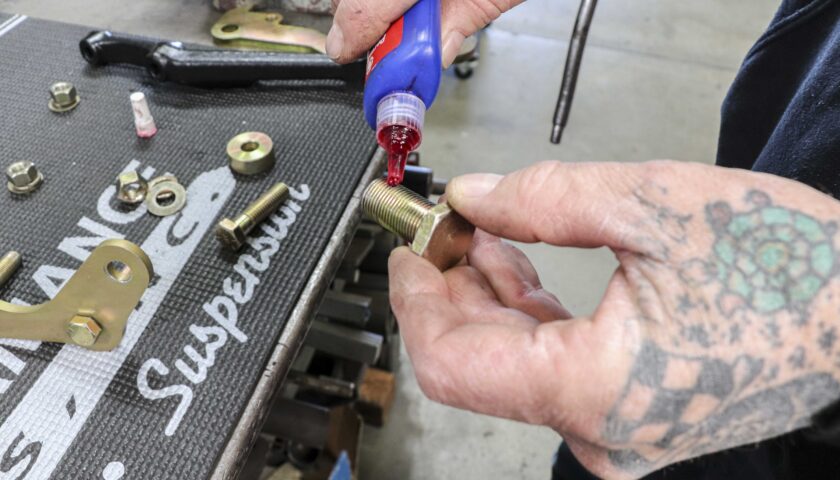
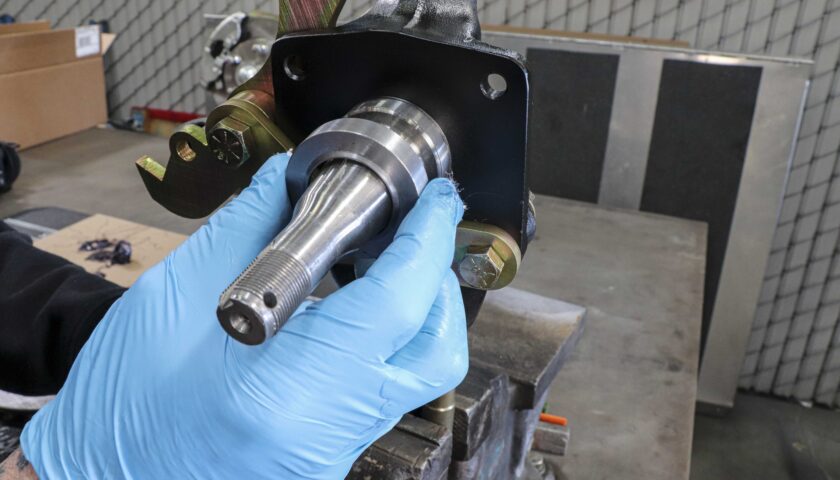
11. Once there is deemed to be enough clearance, proceed to re-install the caliper brackets for the final time. Make sure to use lock tight when install the large 5/8” bolt.
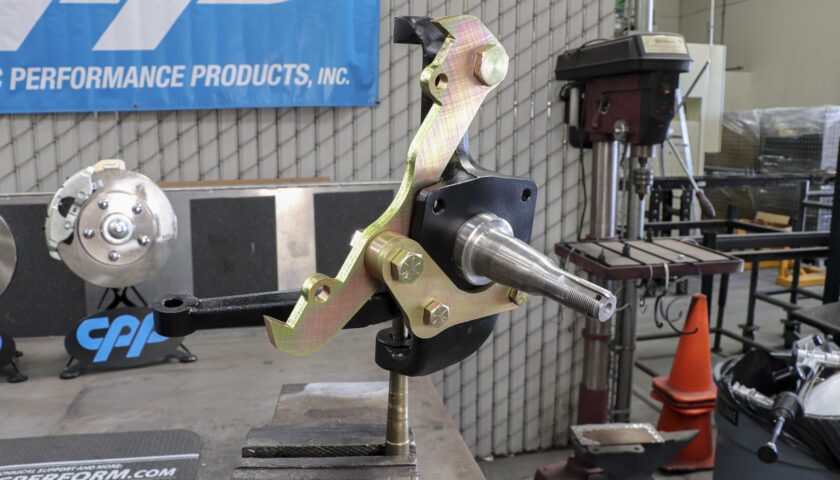
12. Before finally assembly, we took time to paint the spindle and steering arm to protect them from rust. Torque all hardware to their proper specifications.
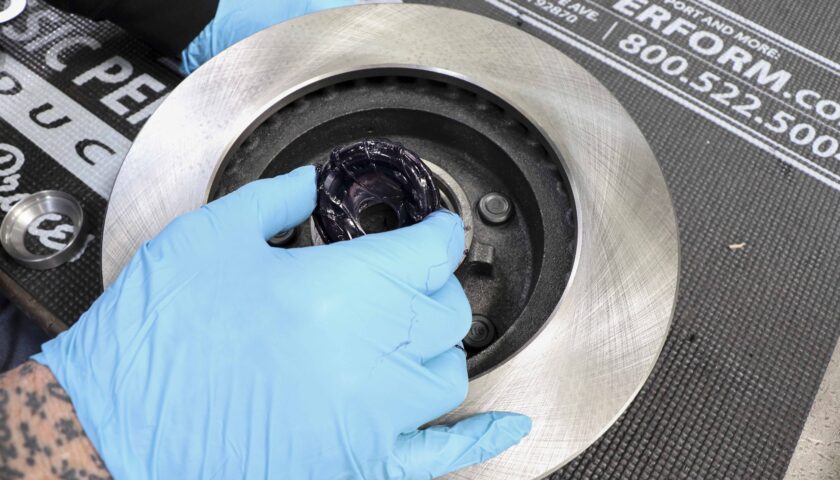
13. Next, make sure the bearings are packed before placing them in the brake rotor.
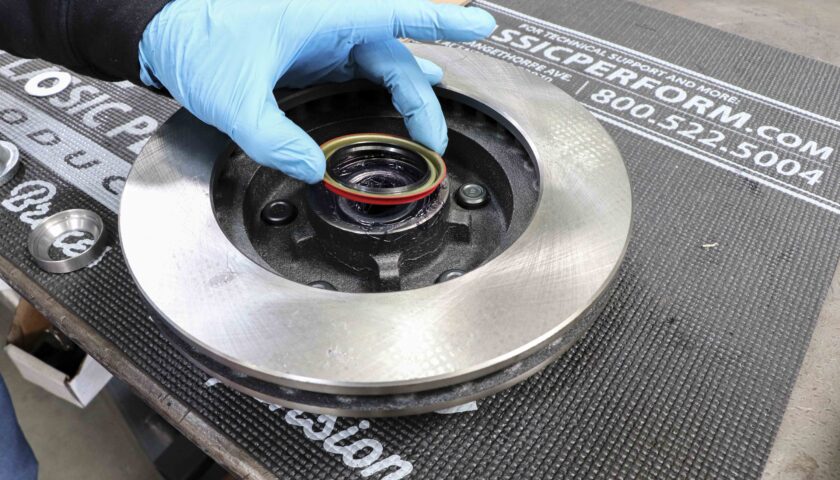
14. Install the inner bearing followed by the seal.
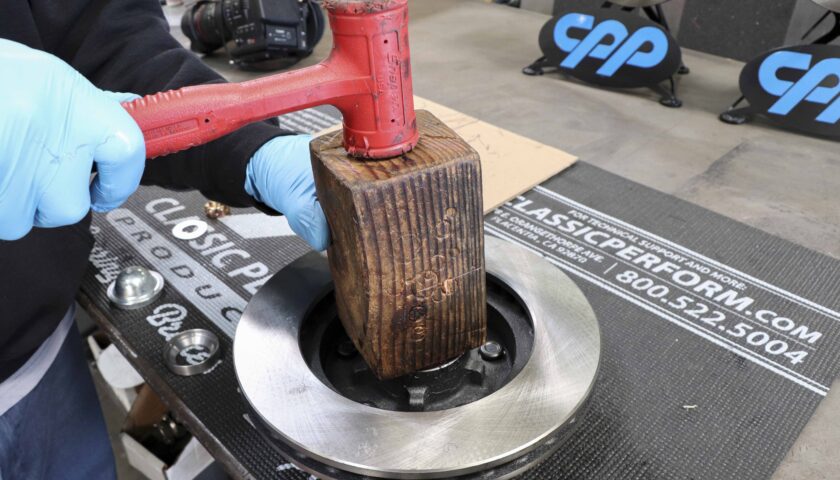
15. A properly-sized piece of wood can be used in place of a seal installer tool to seat the bearing seal on the rotor.
16. Before installing the rotor to the spindle, slide on the bearing spacer.
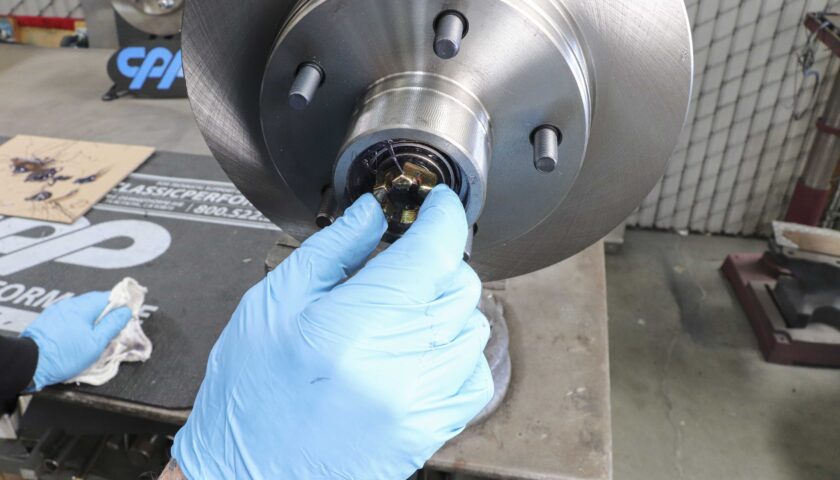
17. Then fit the brake rotor to the spindle followed by the outer wheel bearing, the indexed washer and the spindle nut.
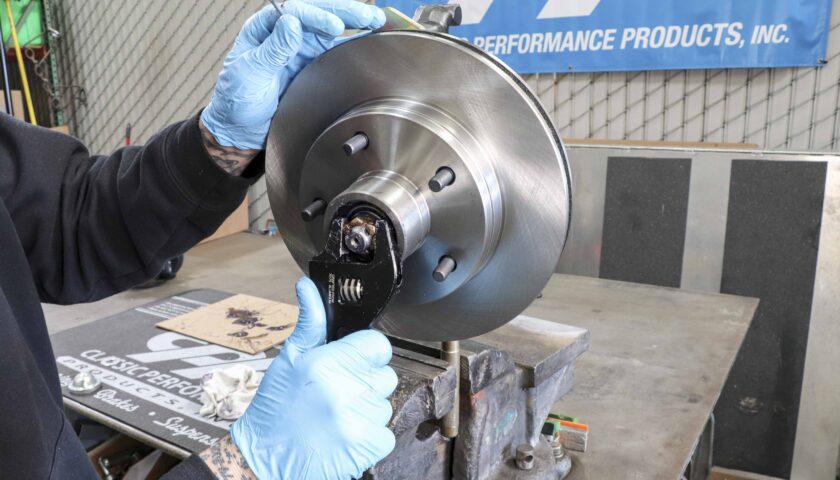
18. Tighten the spindle nut while using your other hand to make sure the rotor can still spin. Once the bearings are fully seated, back off the spindle nut just a bit.
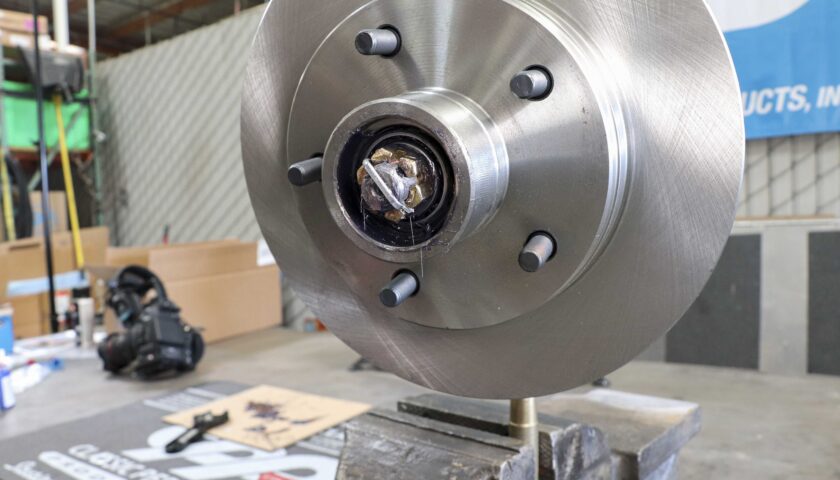
19. Install a new cotter pin to secure the spindle nut.
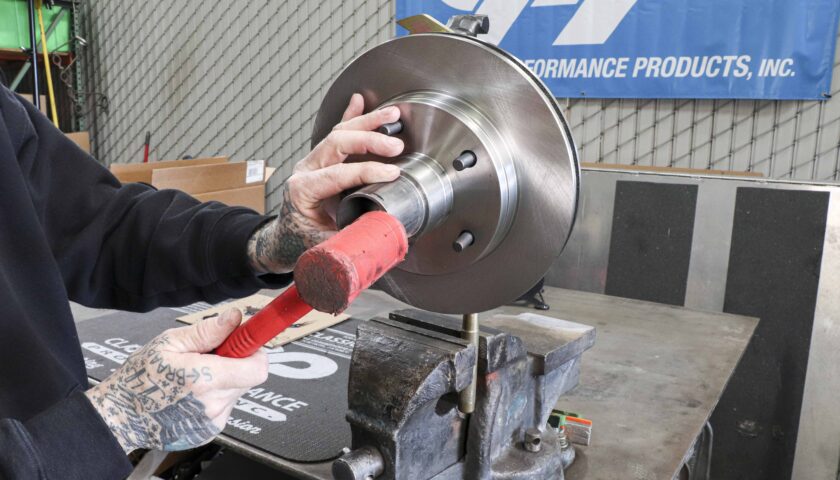
20. Then use a large, properly-sized socket or specialized installation tool to tap on the dust cap.
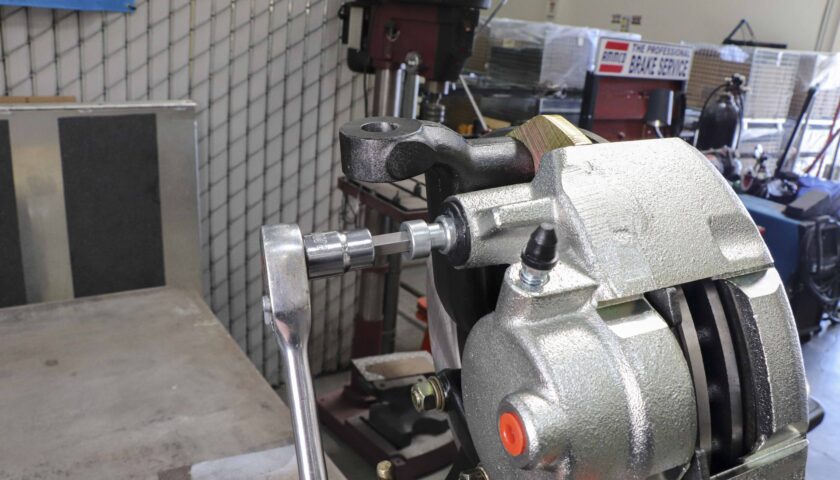
21. Next re-install the brake caliper and pads, tightening the two bolts to spec.
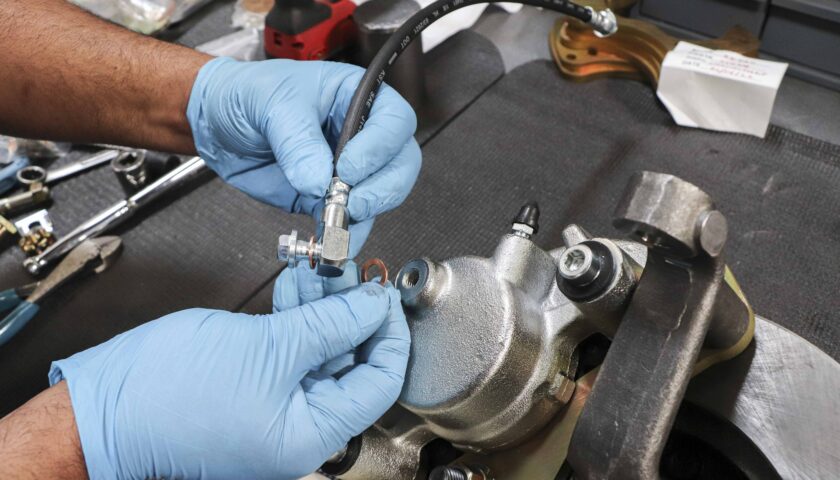
22. Finally, install the brake hose with a crush washer on either side.