Want to learn more about these new columns? Check out this article: CPP Premium Tilt Steering Column: Top Notch Quality, Unbeatable Price
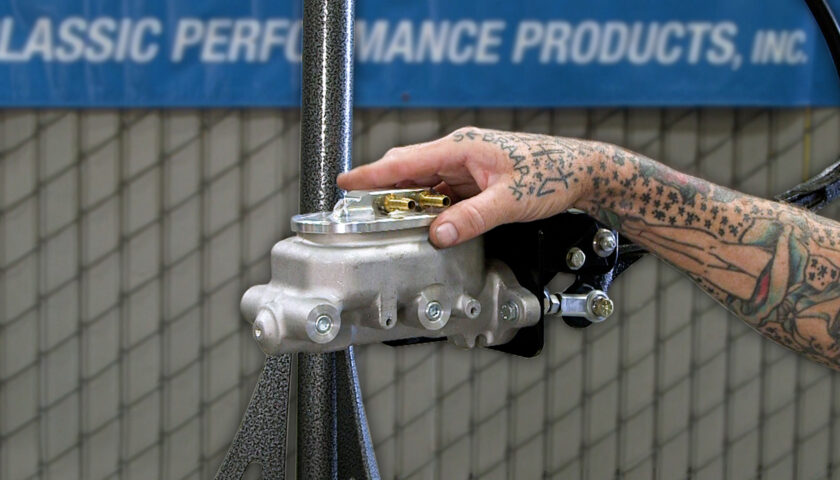
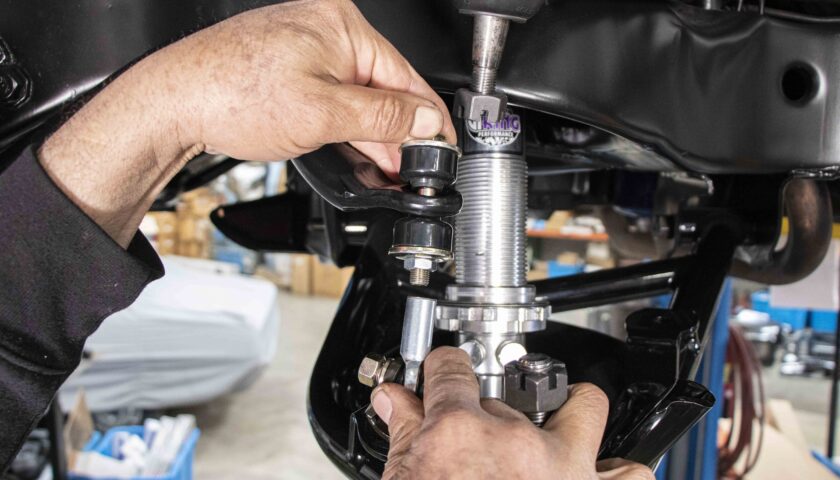
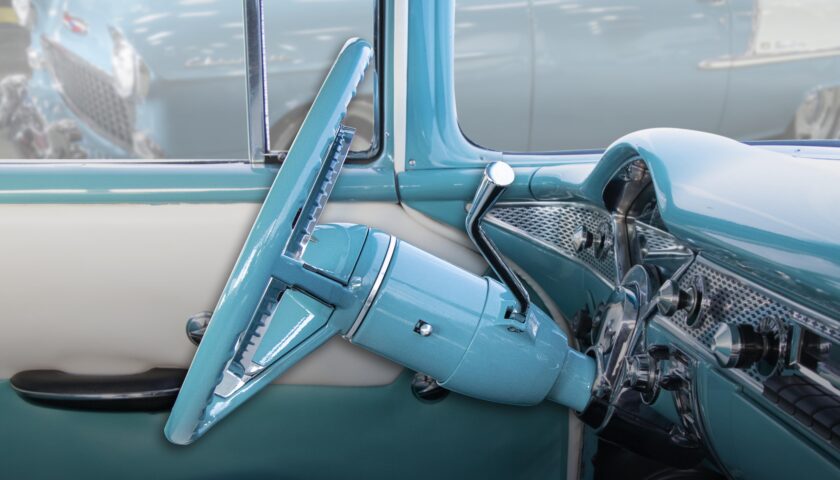
If you want to learn how to install a CPP Premium Tilt Steering Column, then you’ve come to the right place. Whether you’re putting together one of our new Universal Premium Tilt Columns or installing a Classic Fit Premium Tilt Column in a 1967 to 1972 GM truck, this should get you going in the right direction. We even have both video and photo instructions, so use whichever works best for you.
Preparing the Column for Installation
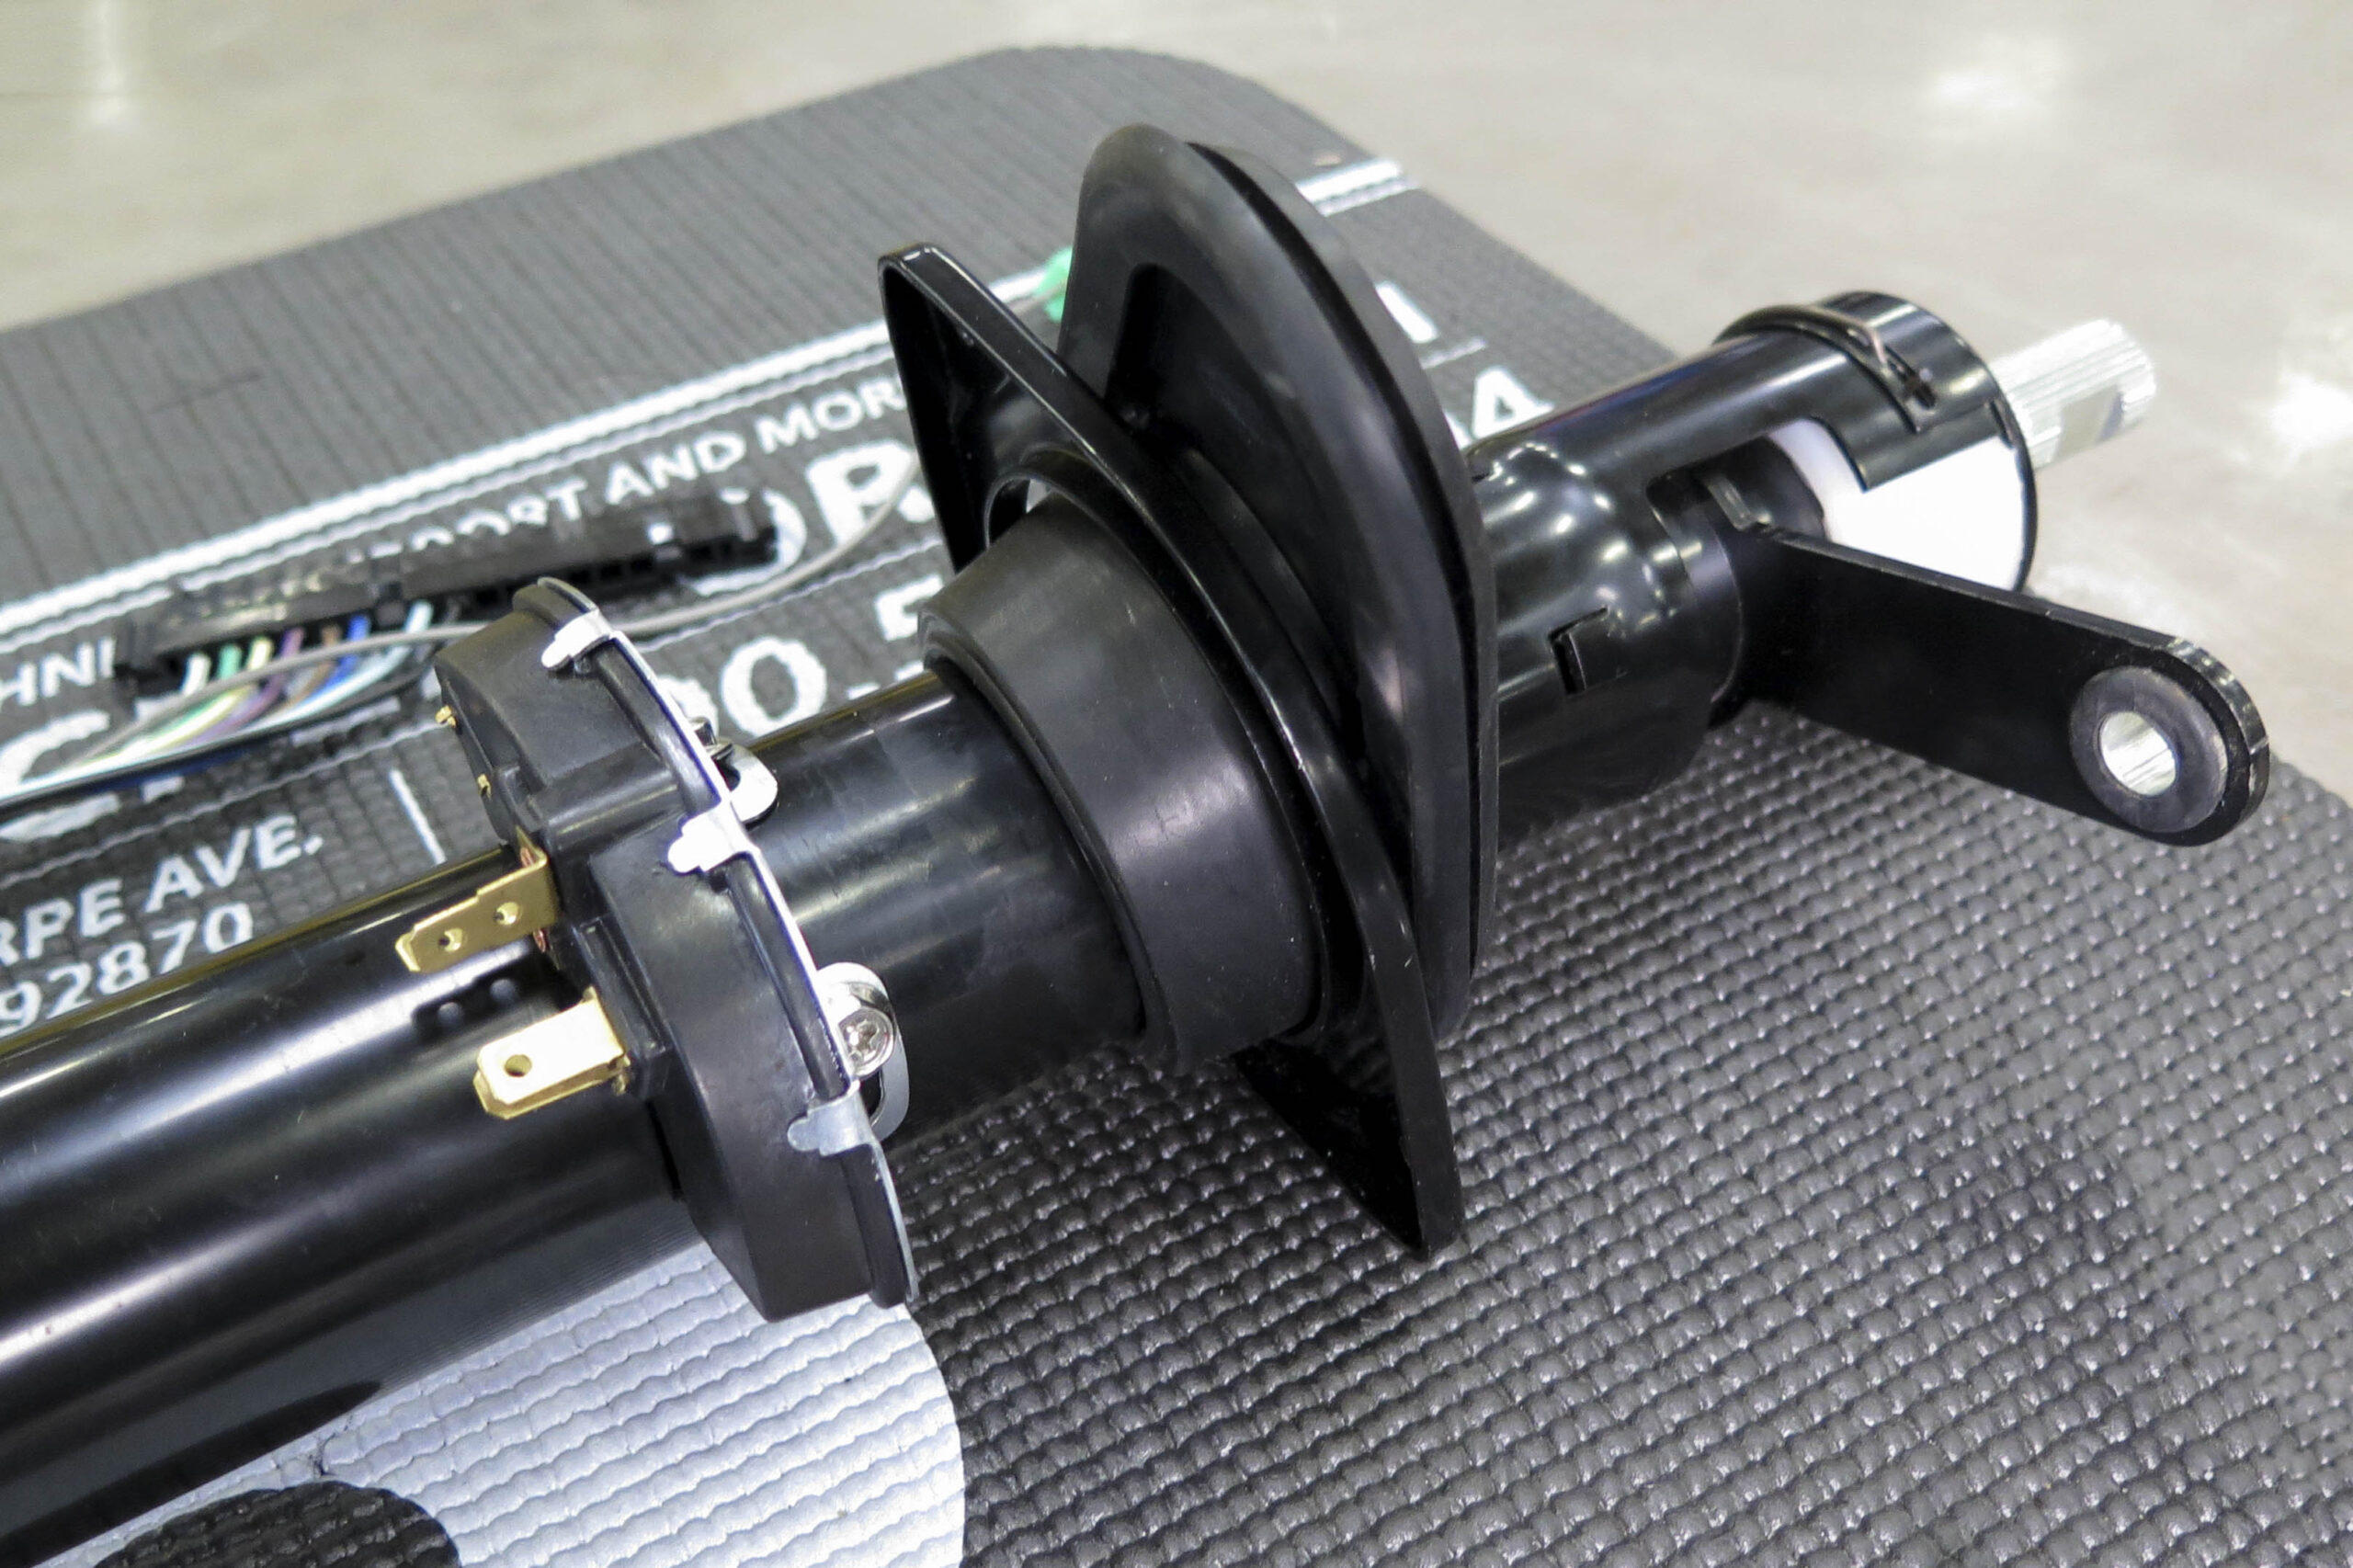
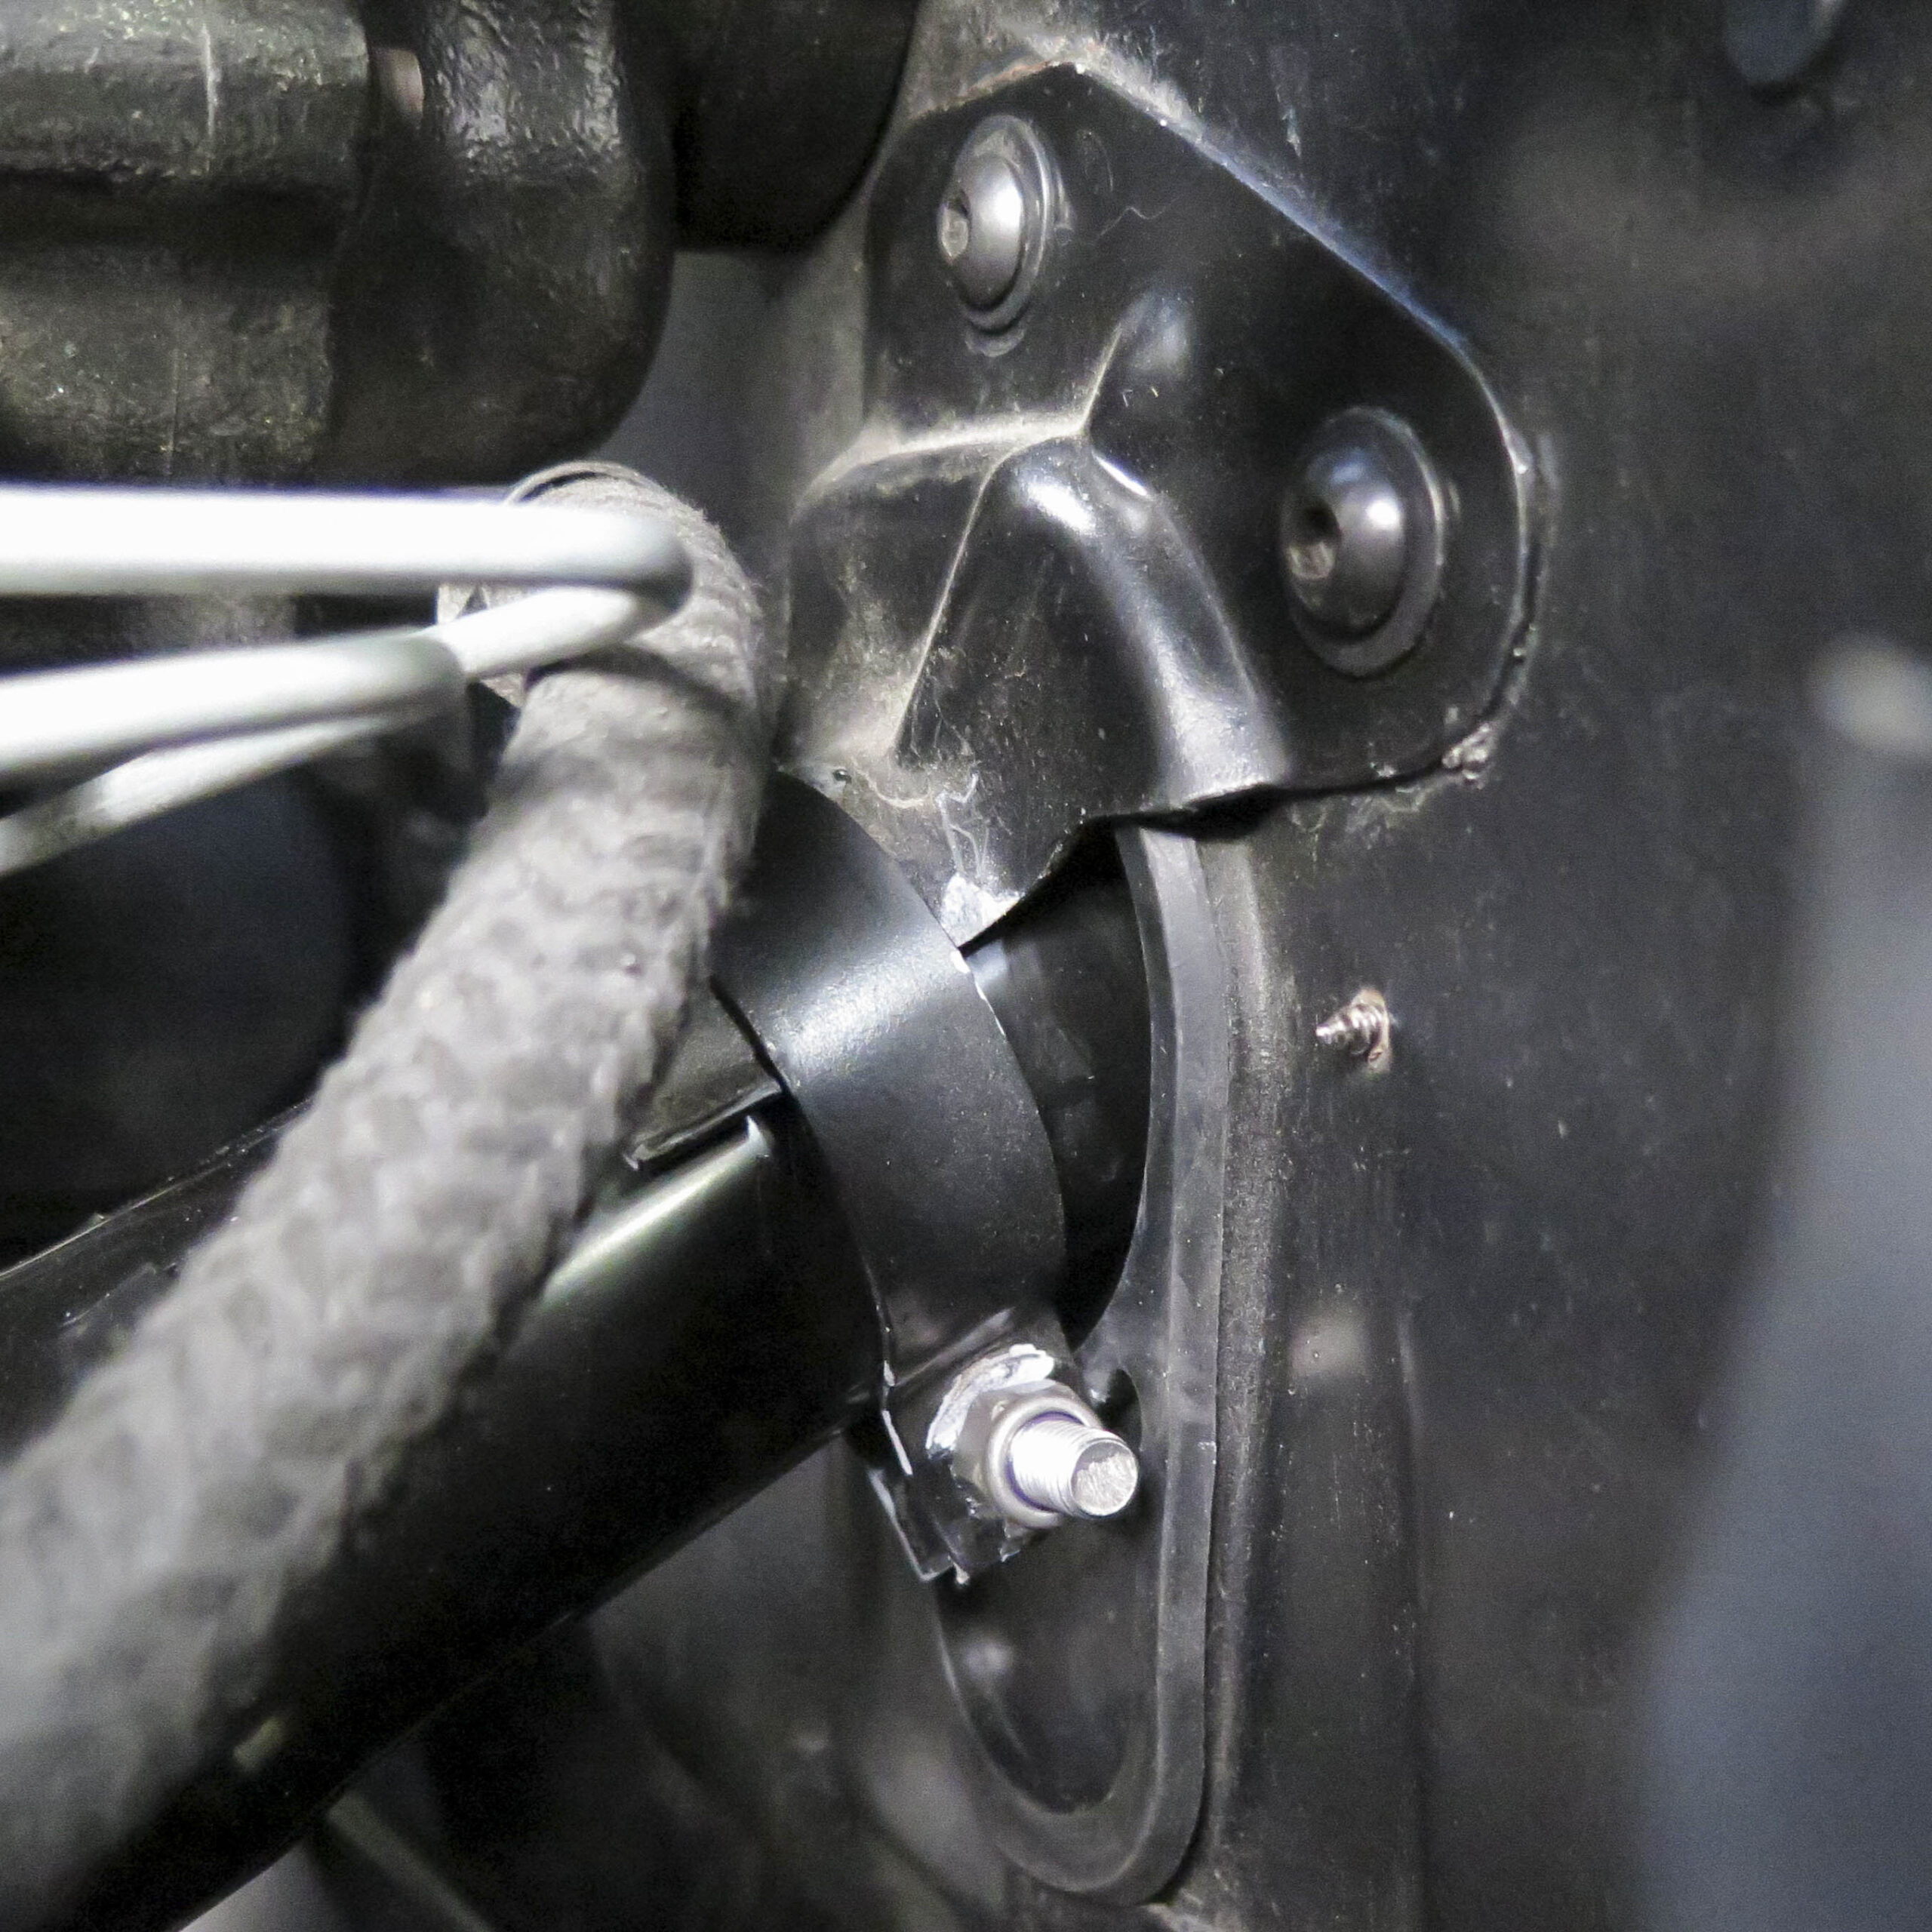
The first step is to install the neutral safety switch on the column but before doing so, make sure the retaining plate and grommet are positioned between the neutral safety switch and shift arm as shown in the above photo.
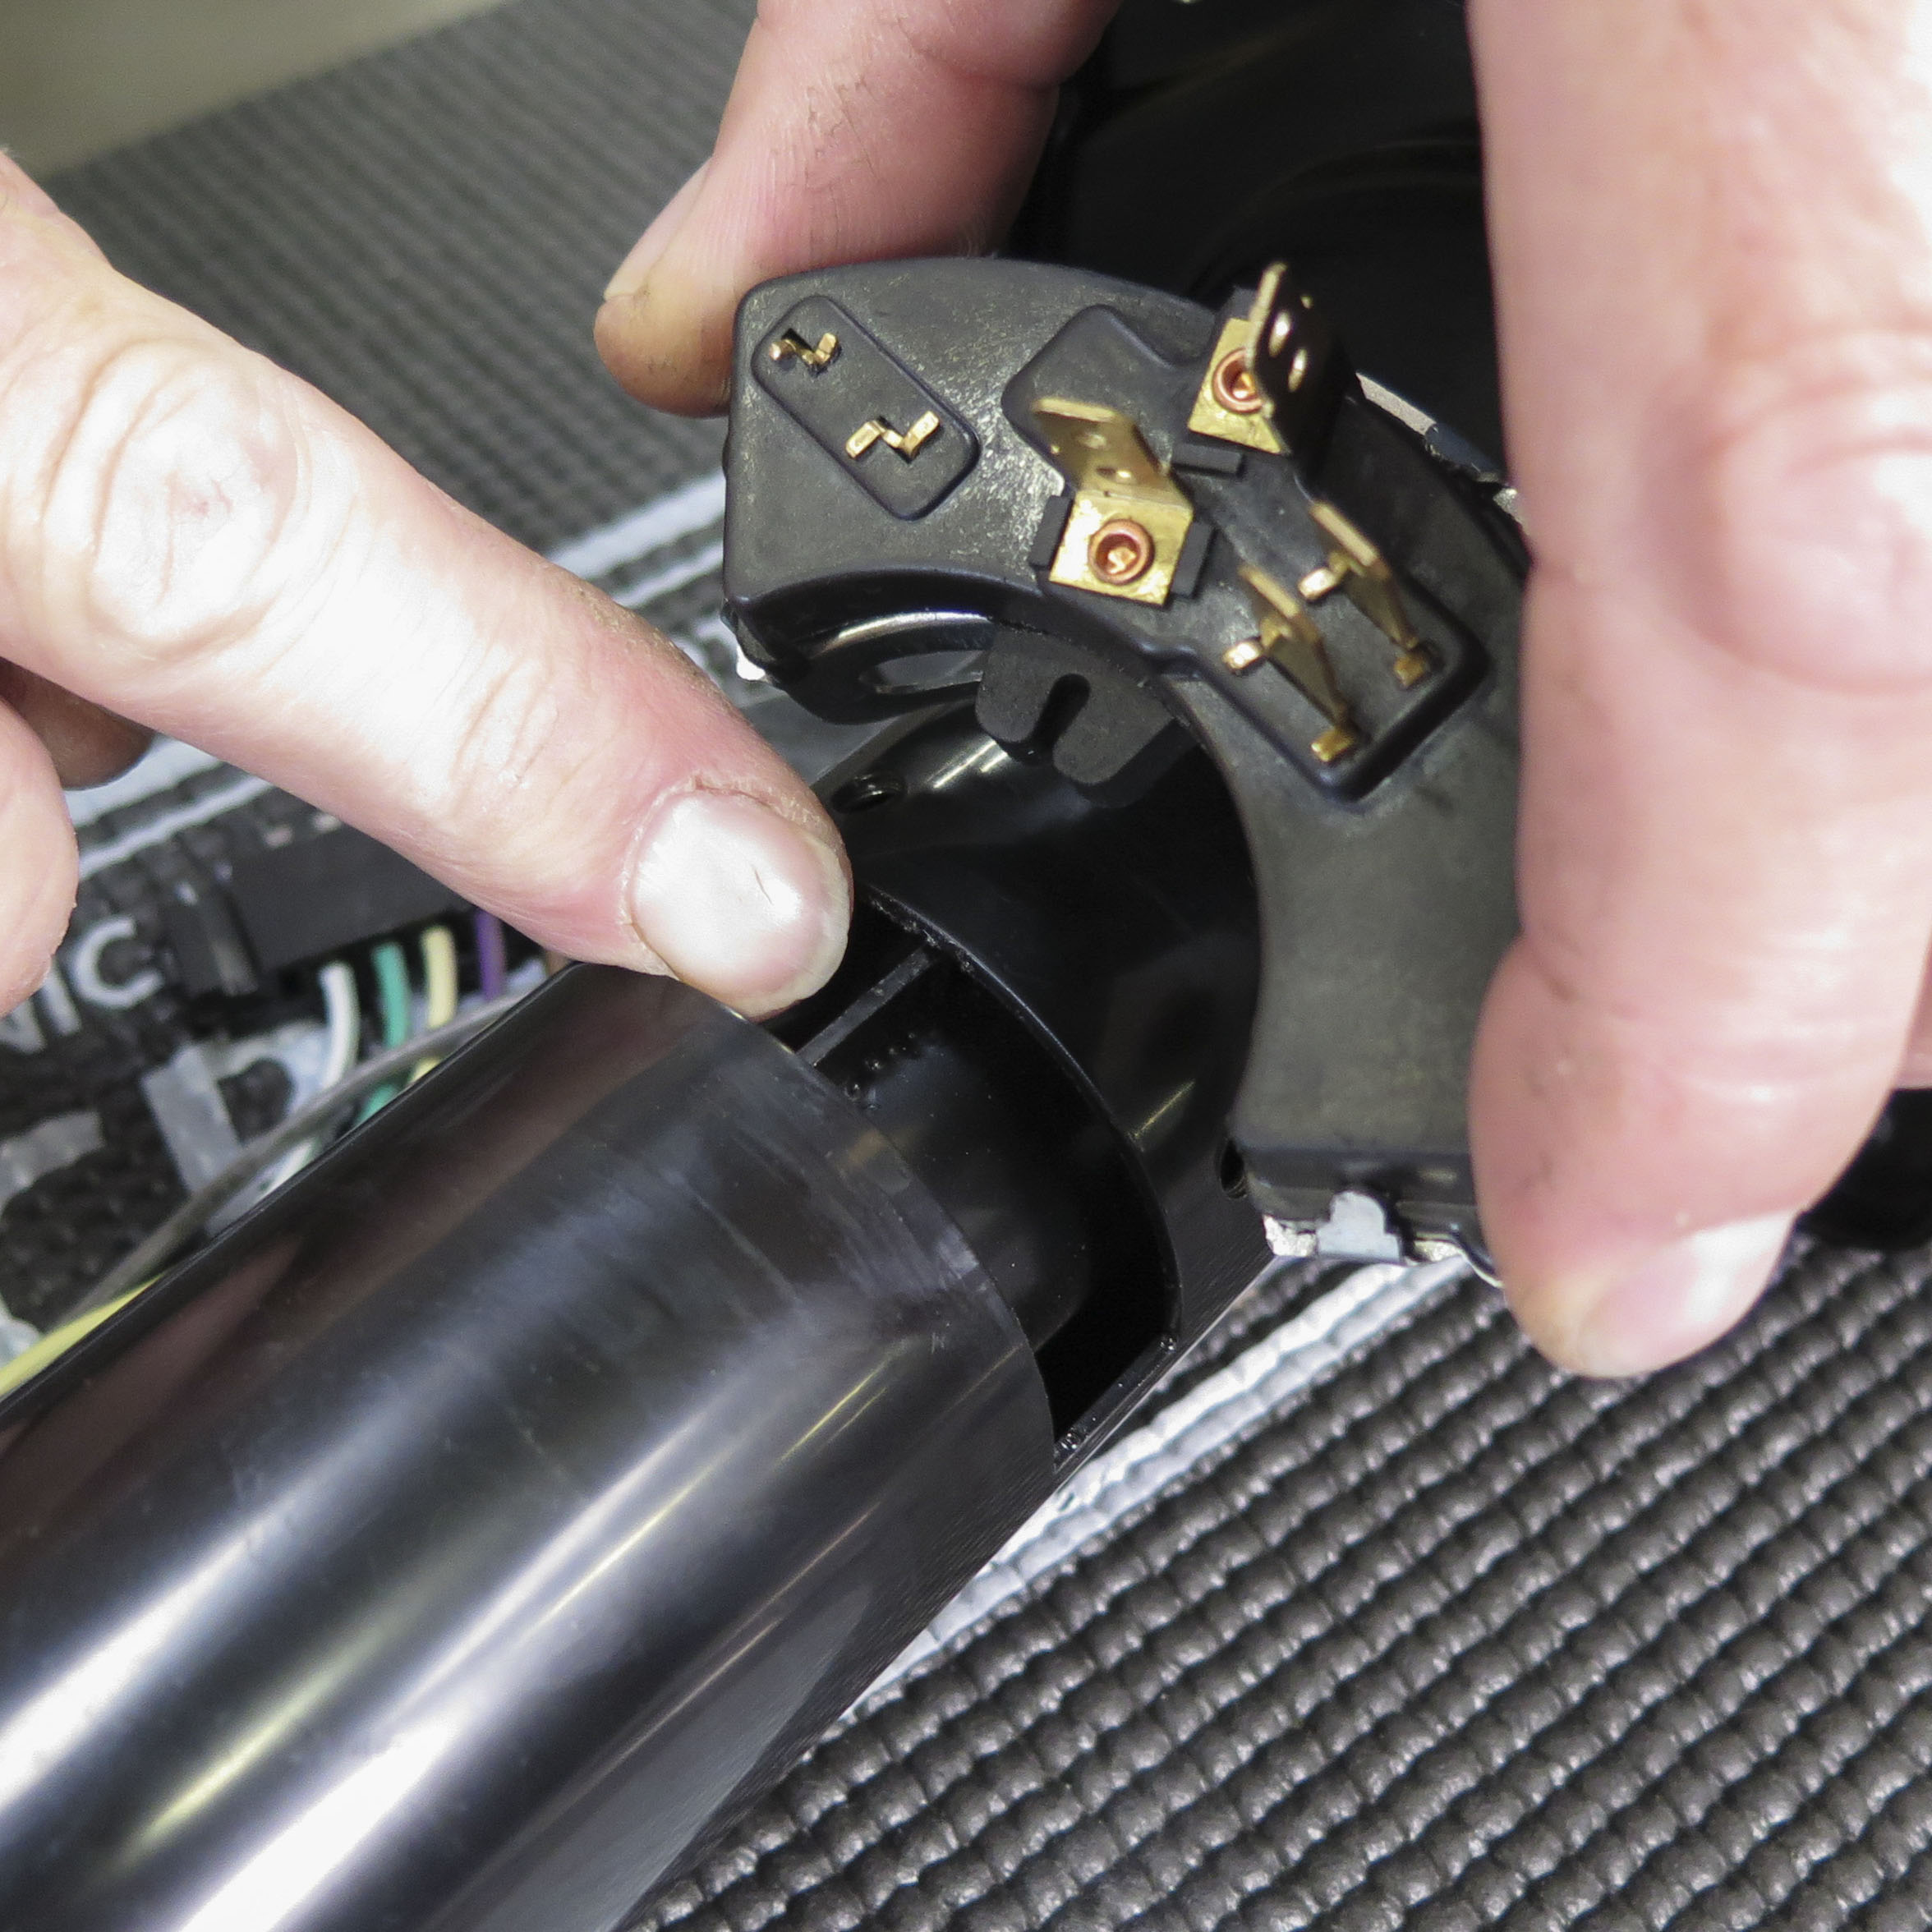
Then proceed to install the adjustable neutral safety switch, making sure to index the switch on the tab in the column.
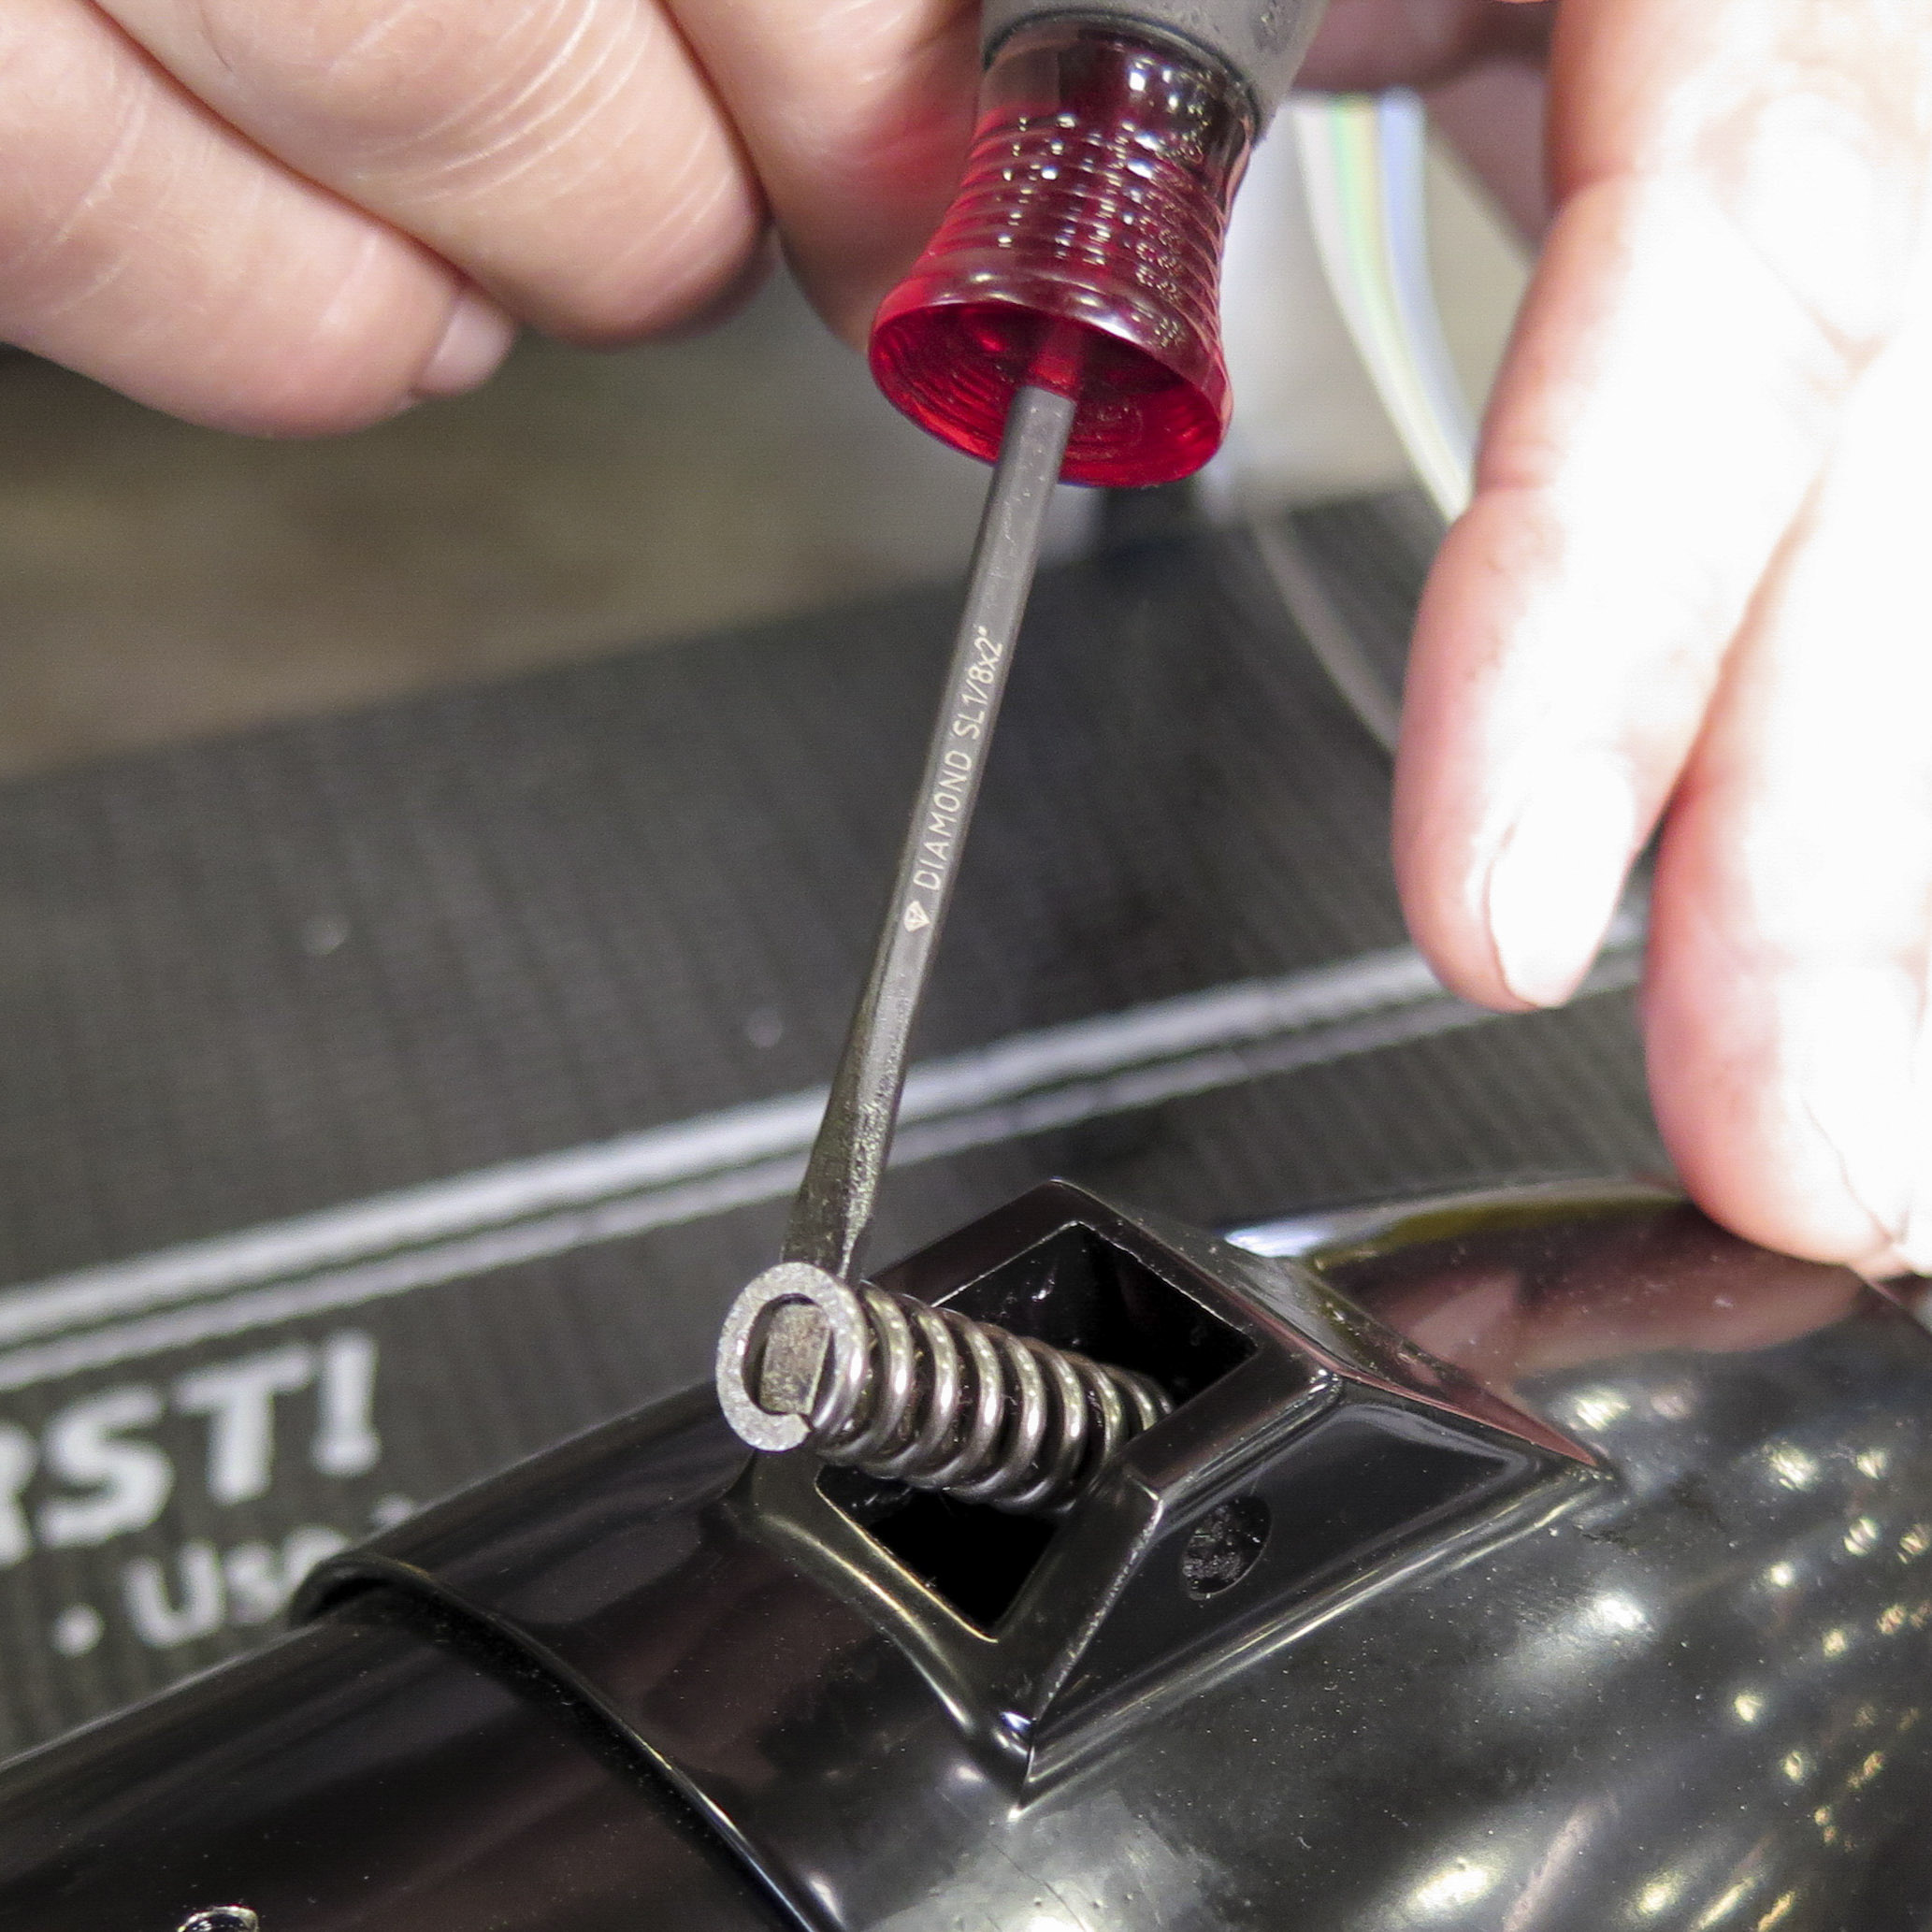
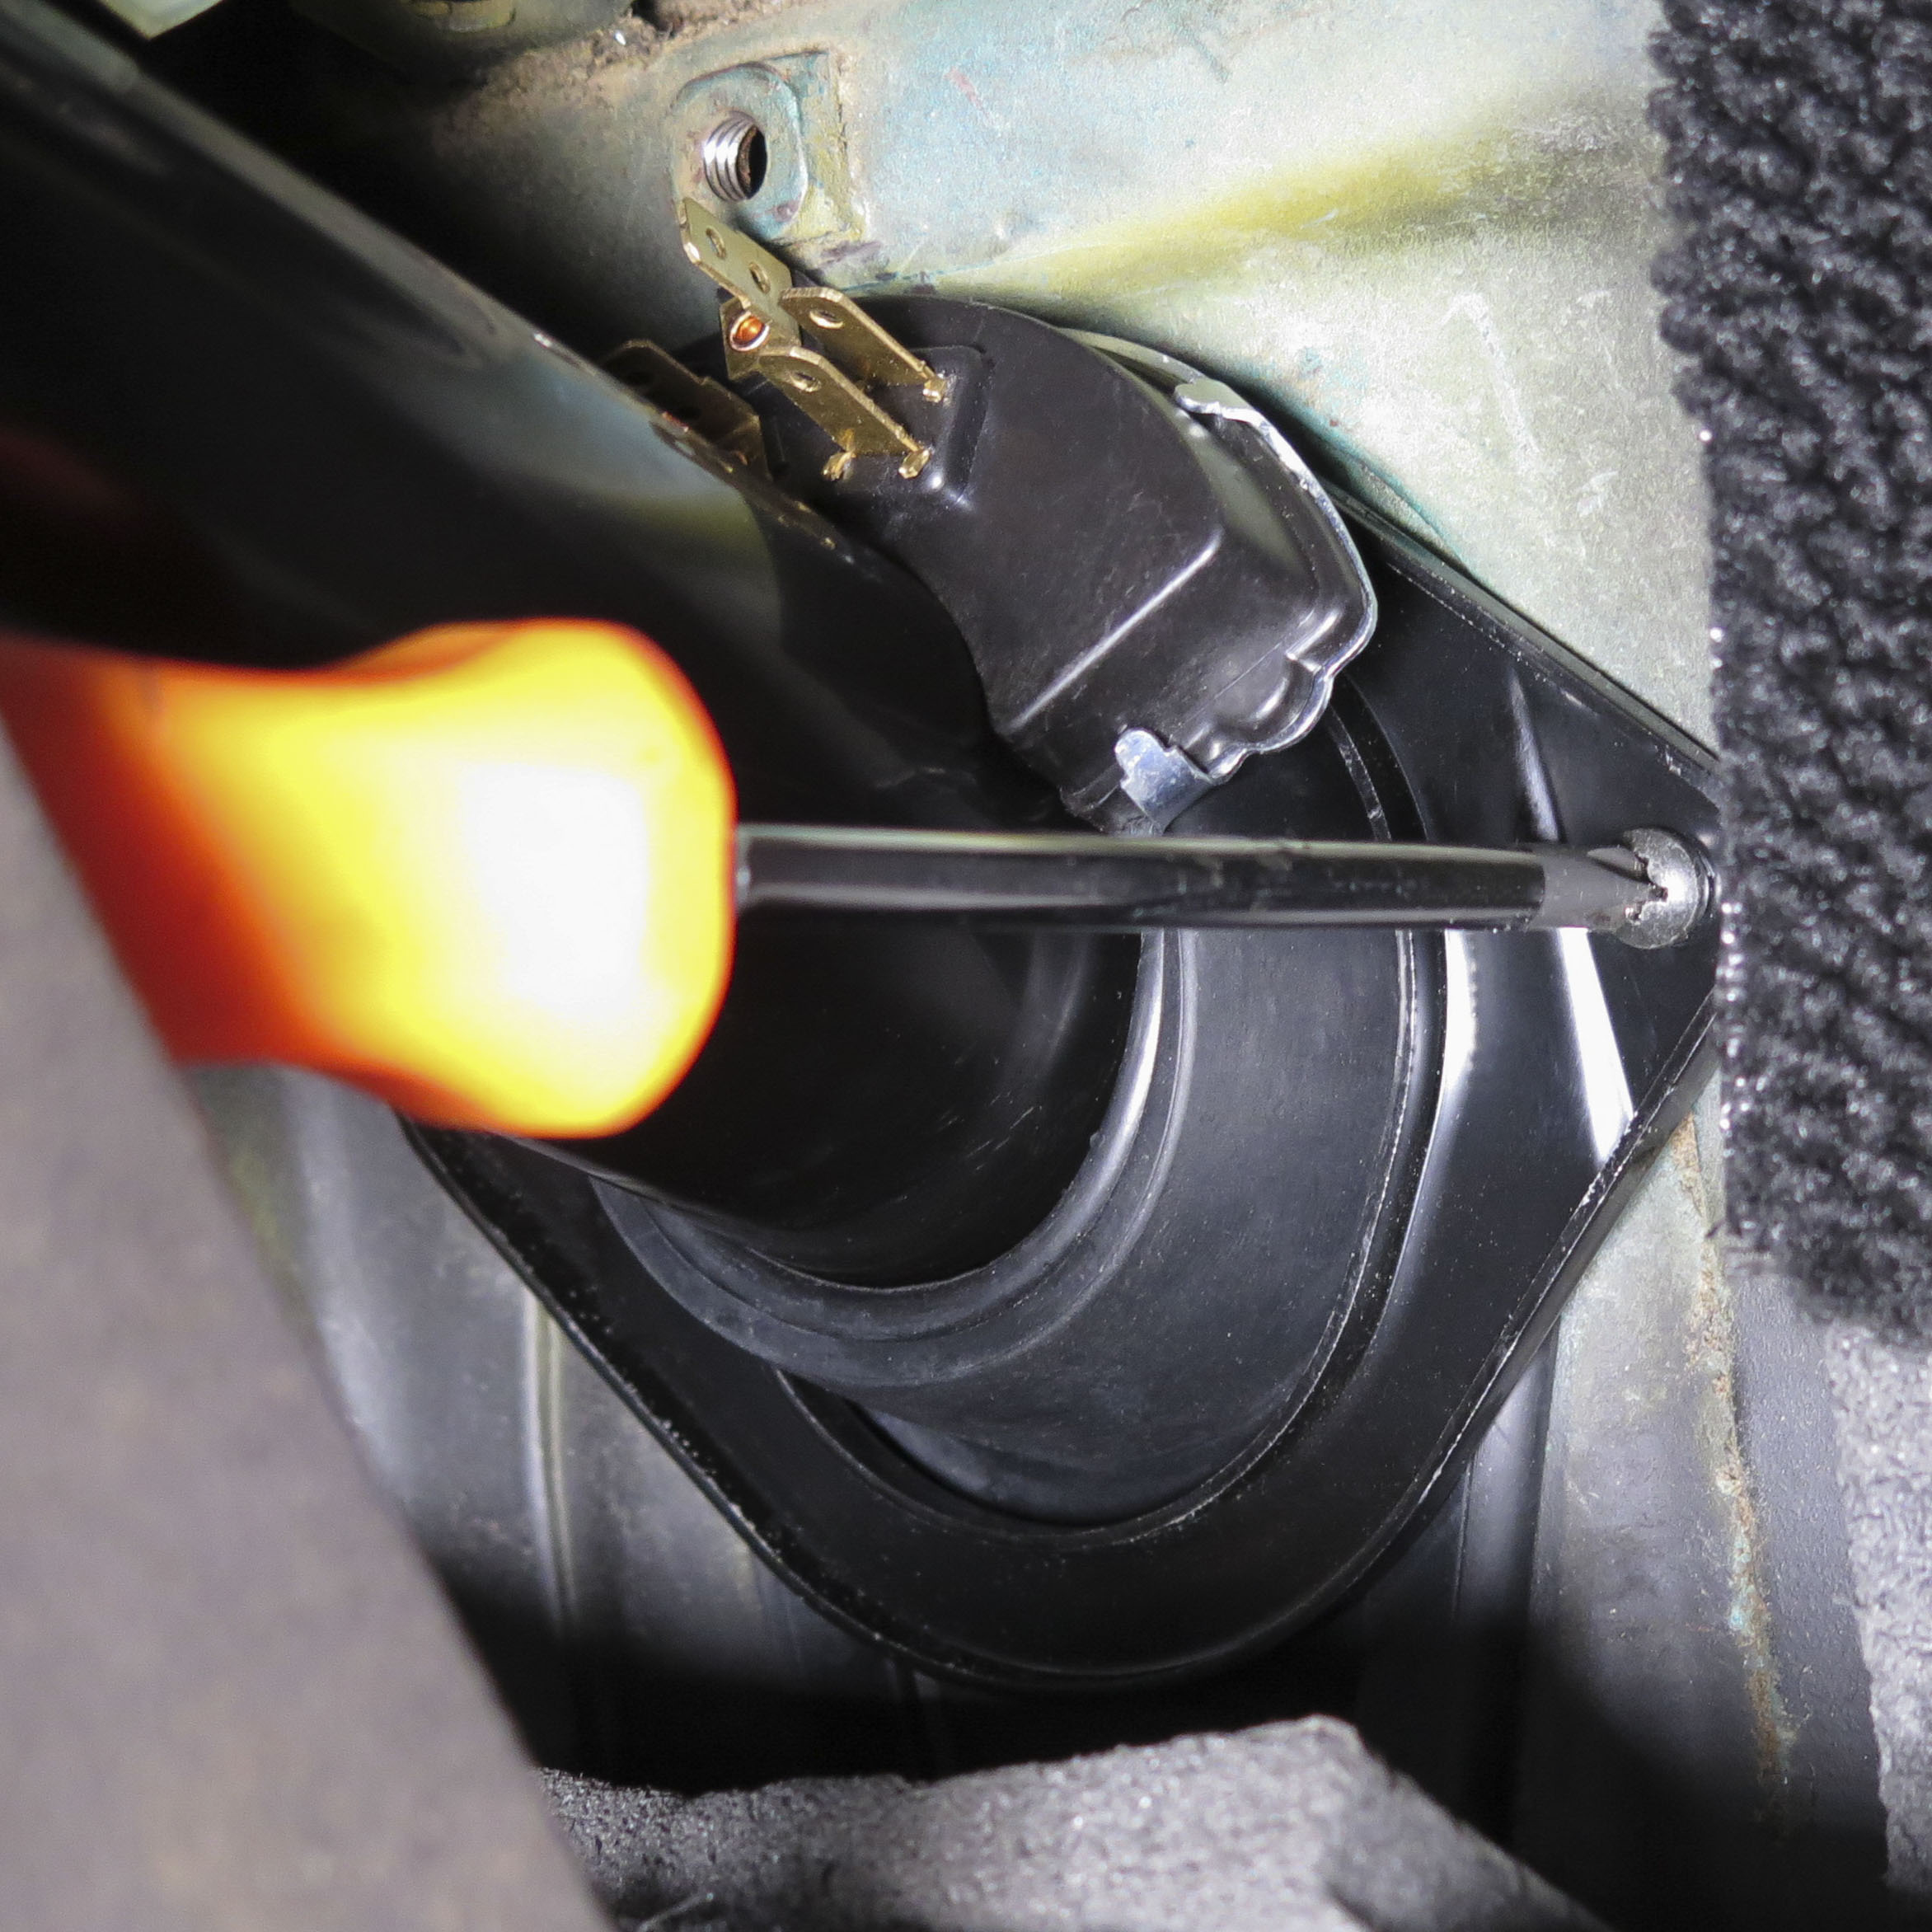
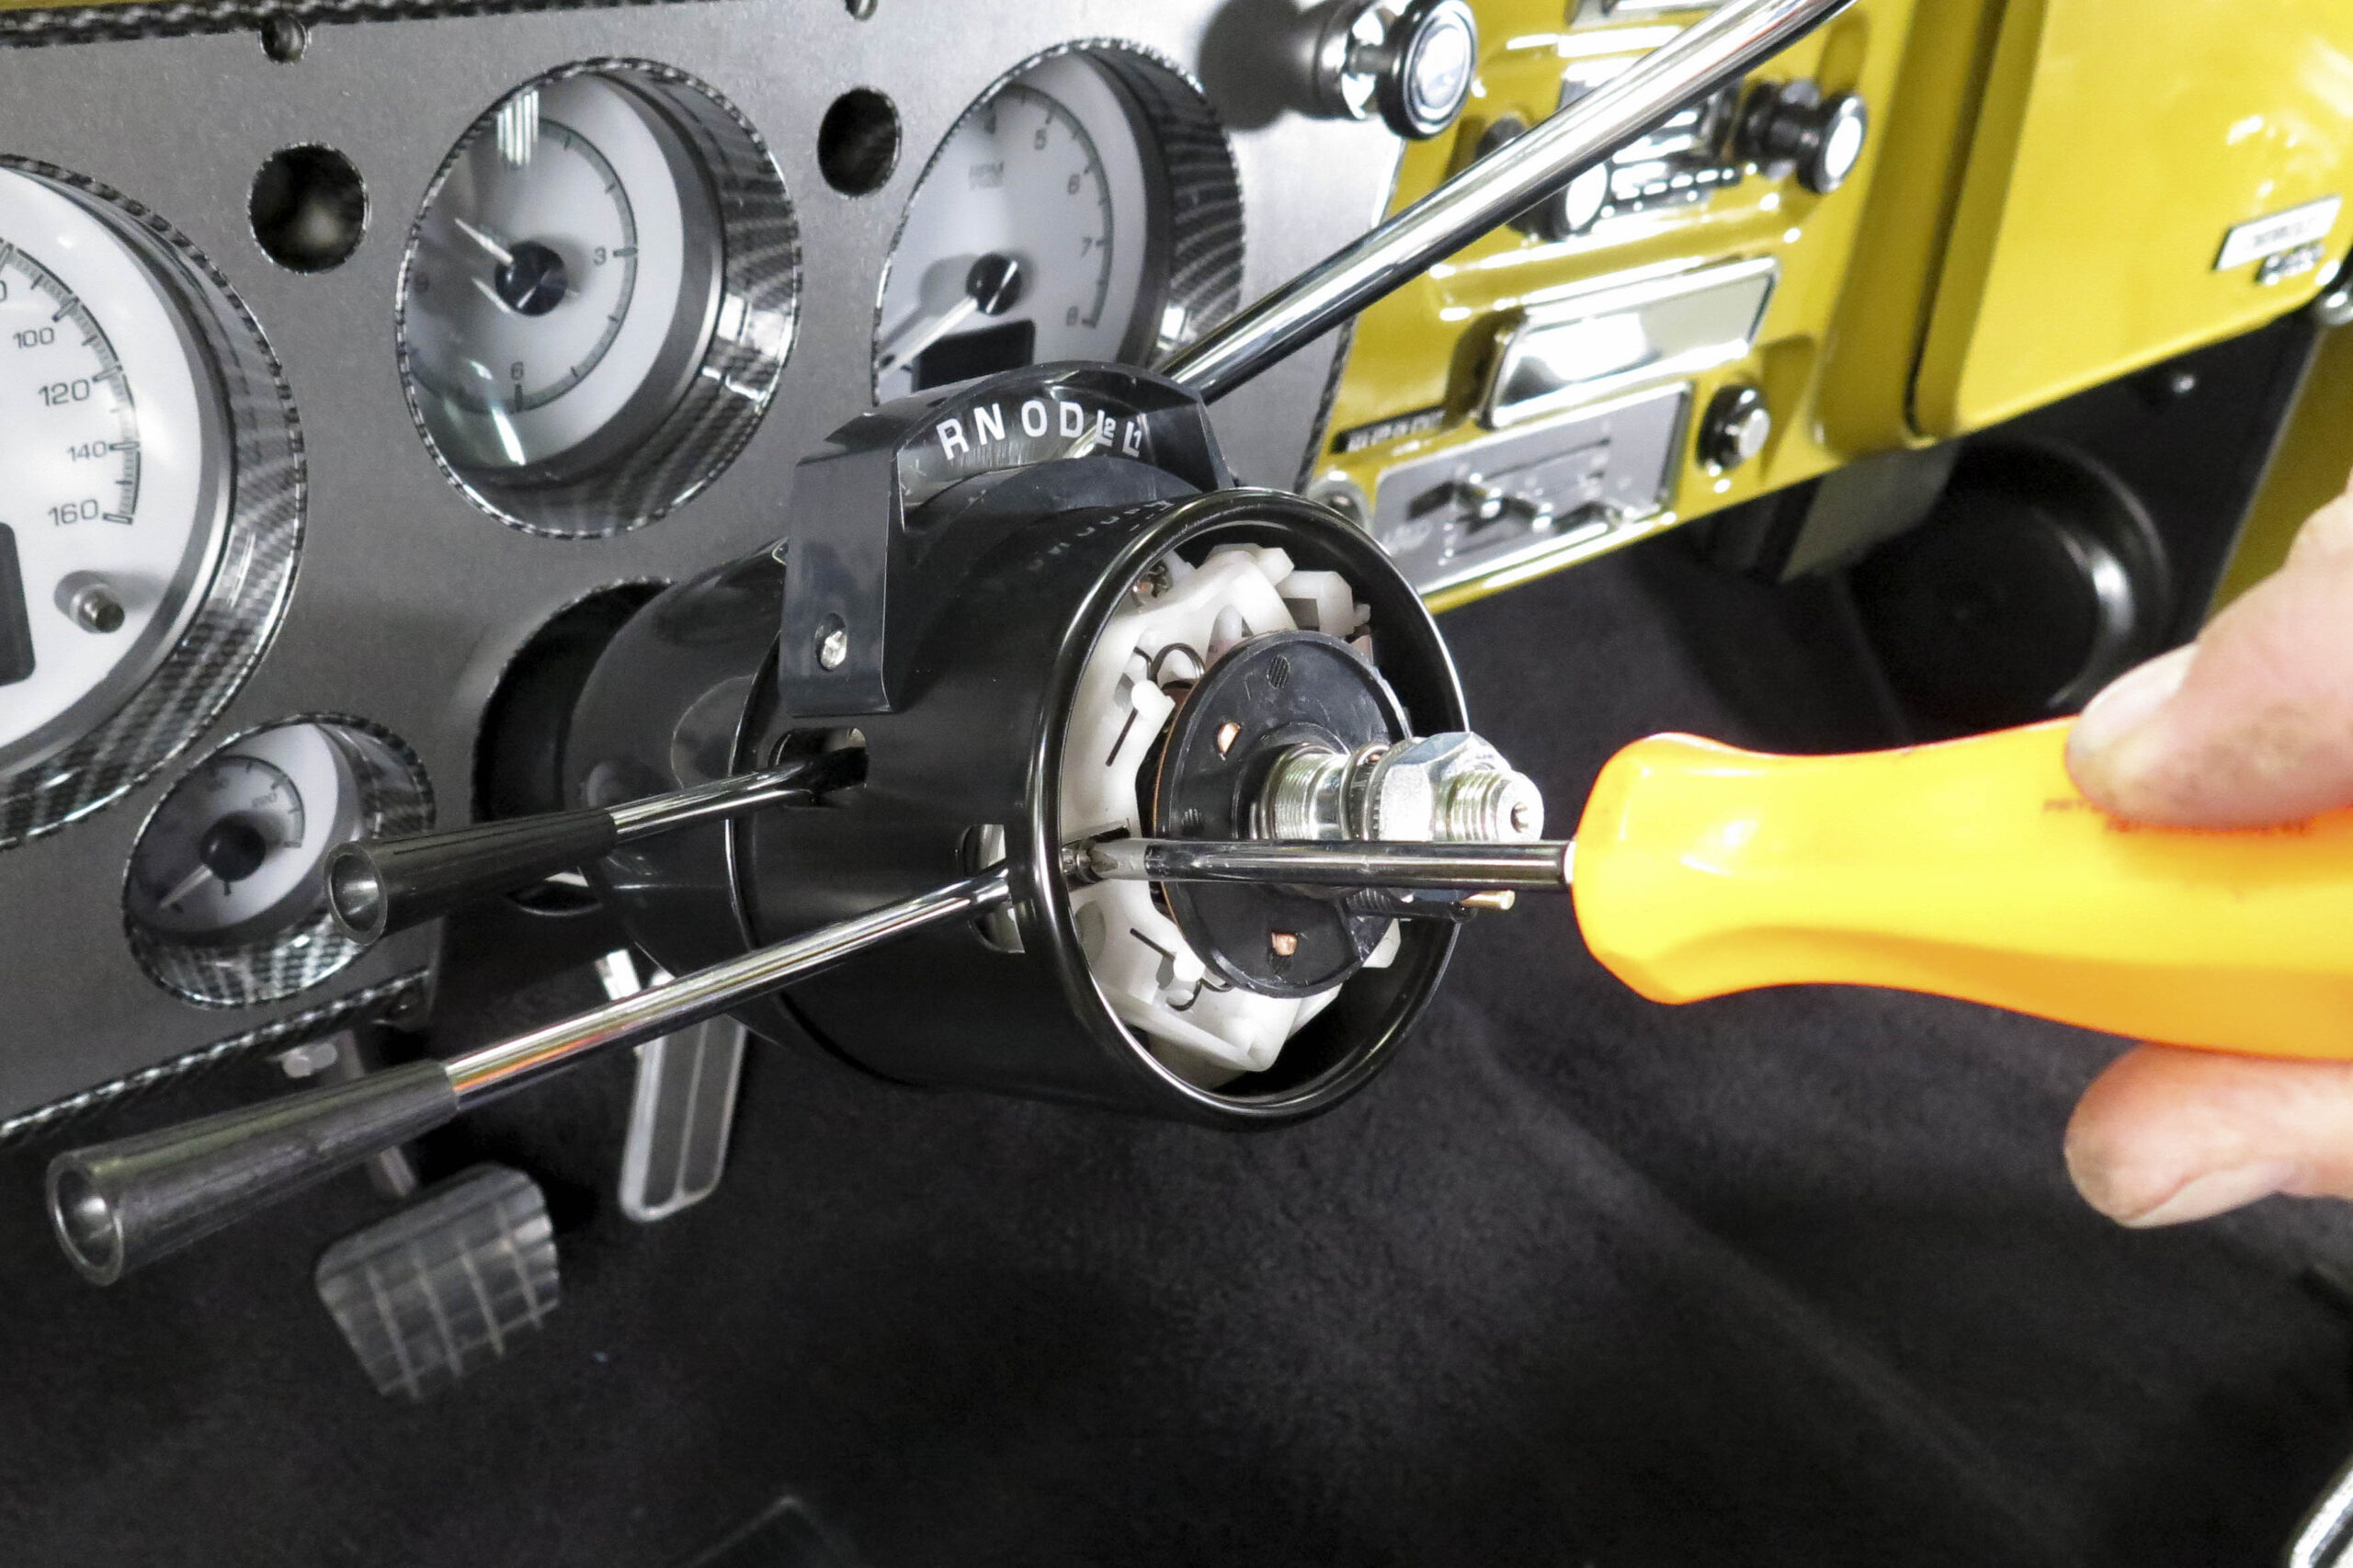
Install the shift lever spring into the head of the column using a screwdriver as shown in Photo.
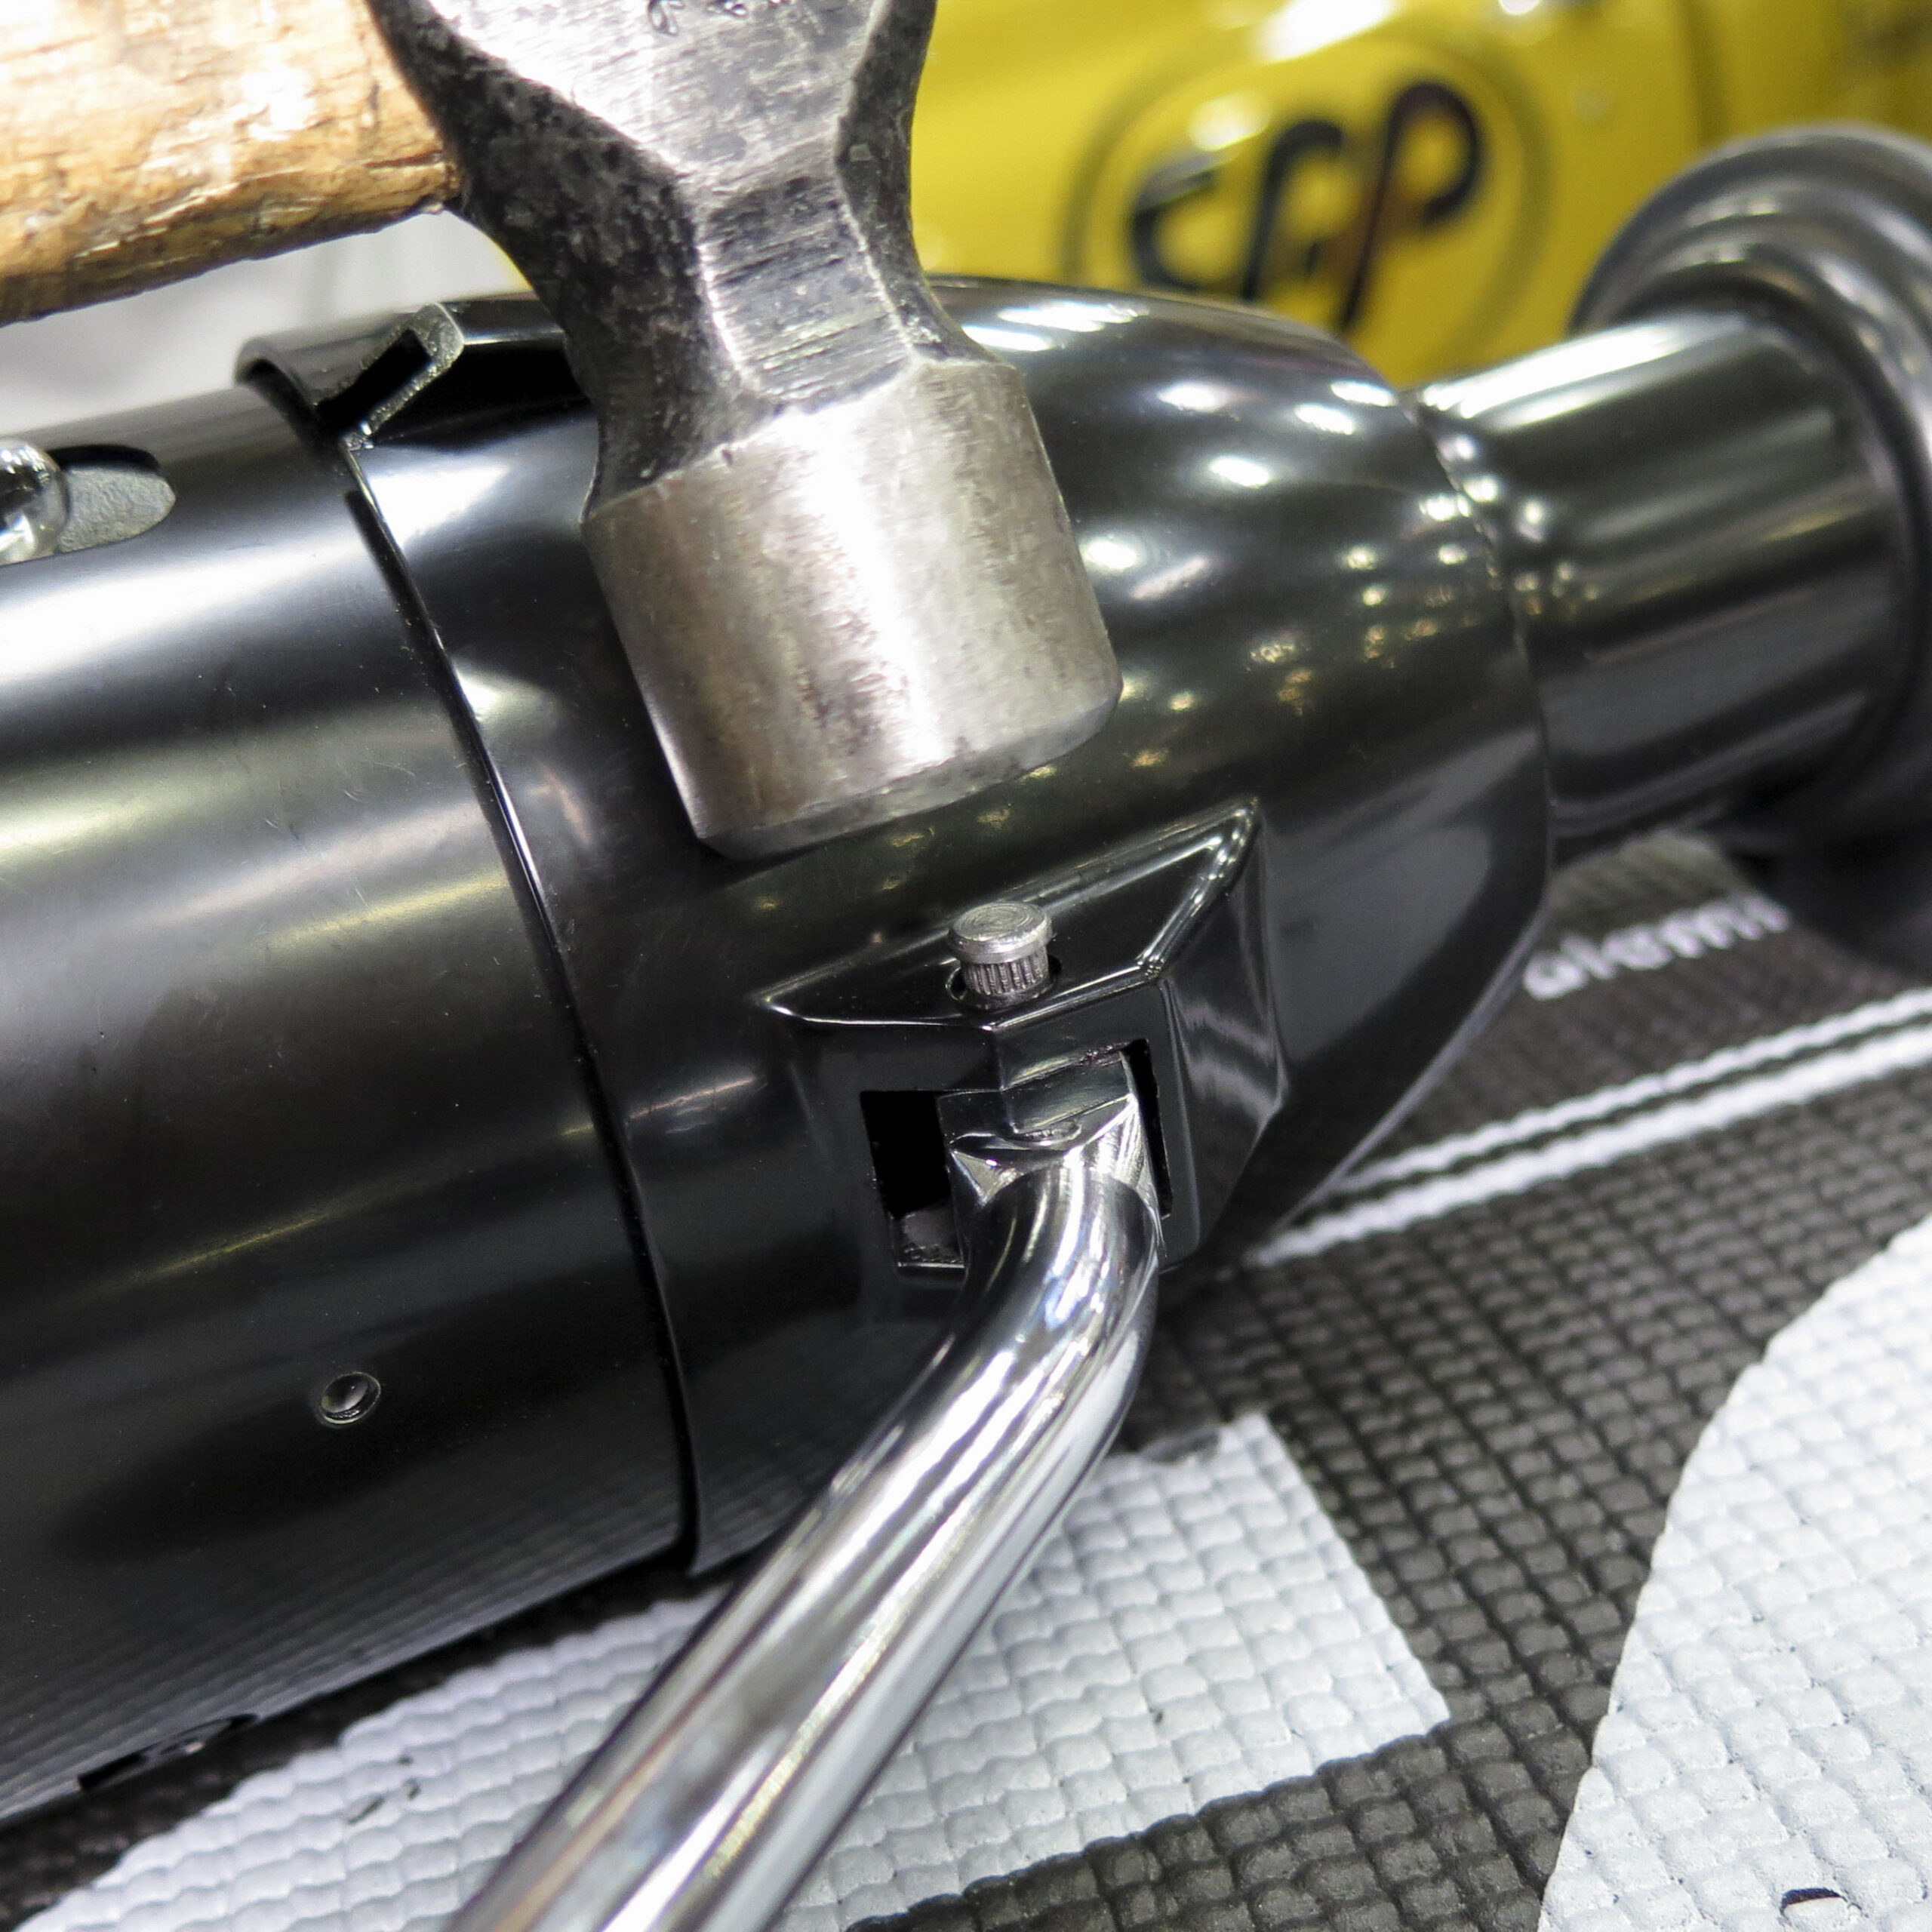
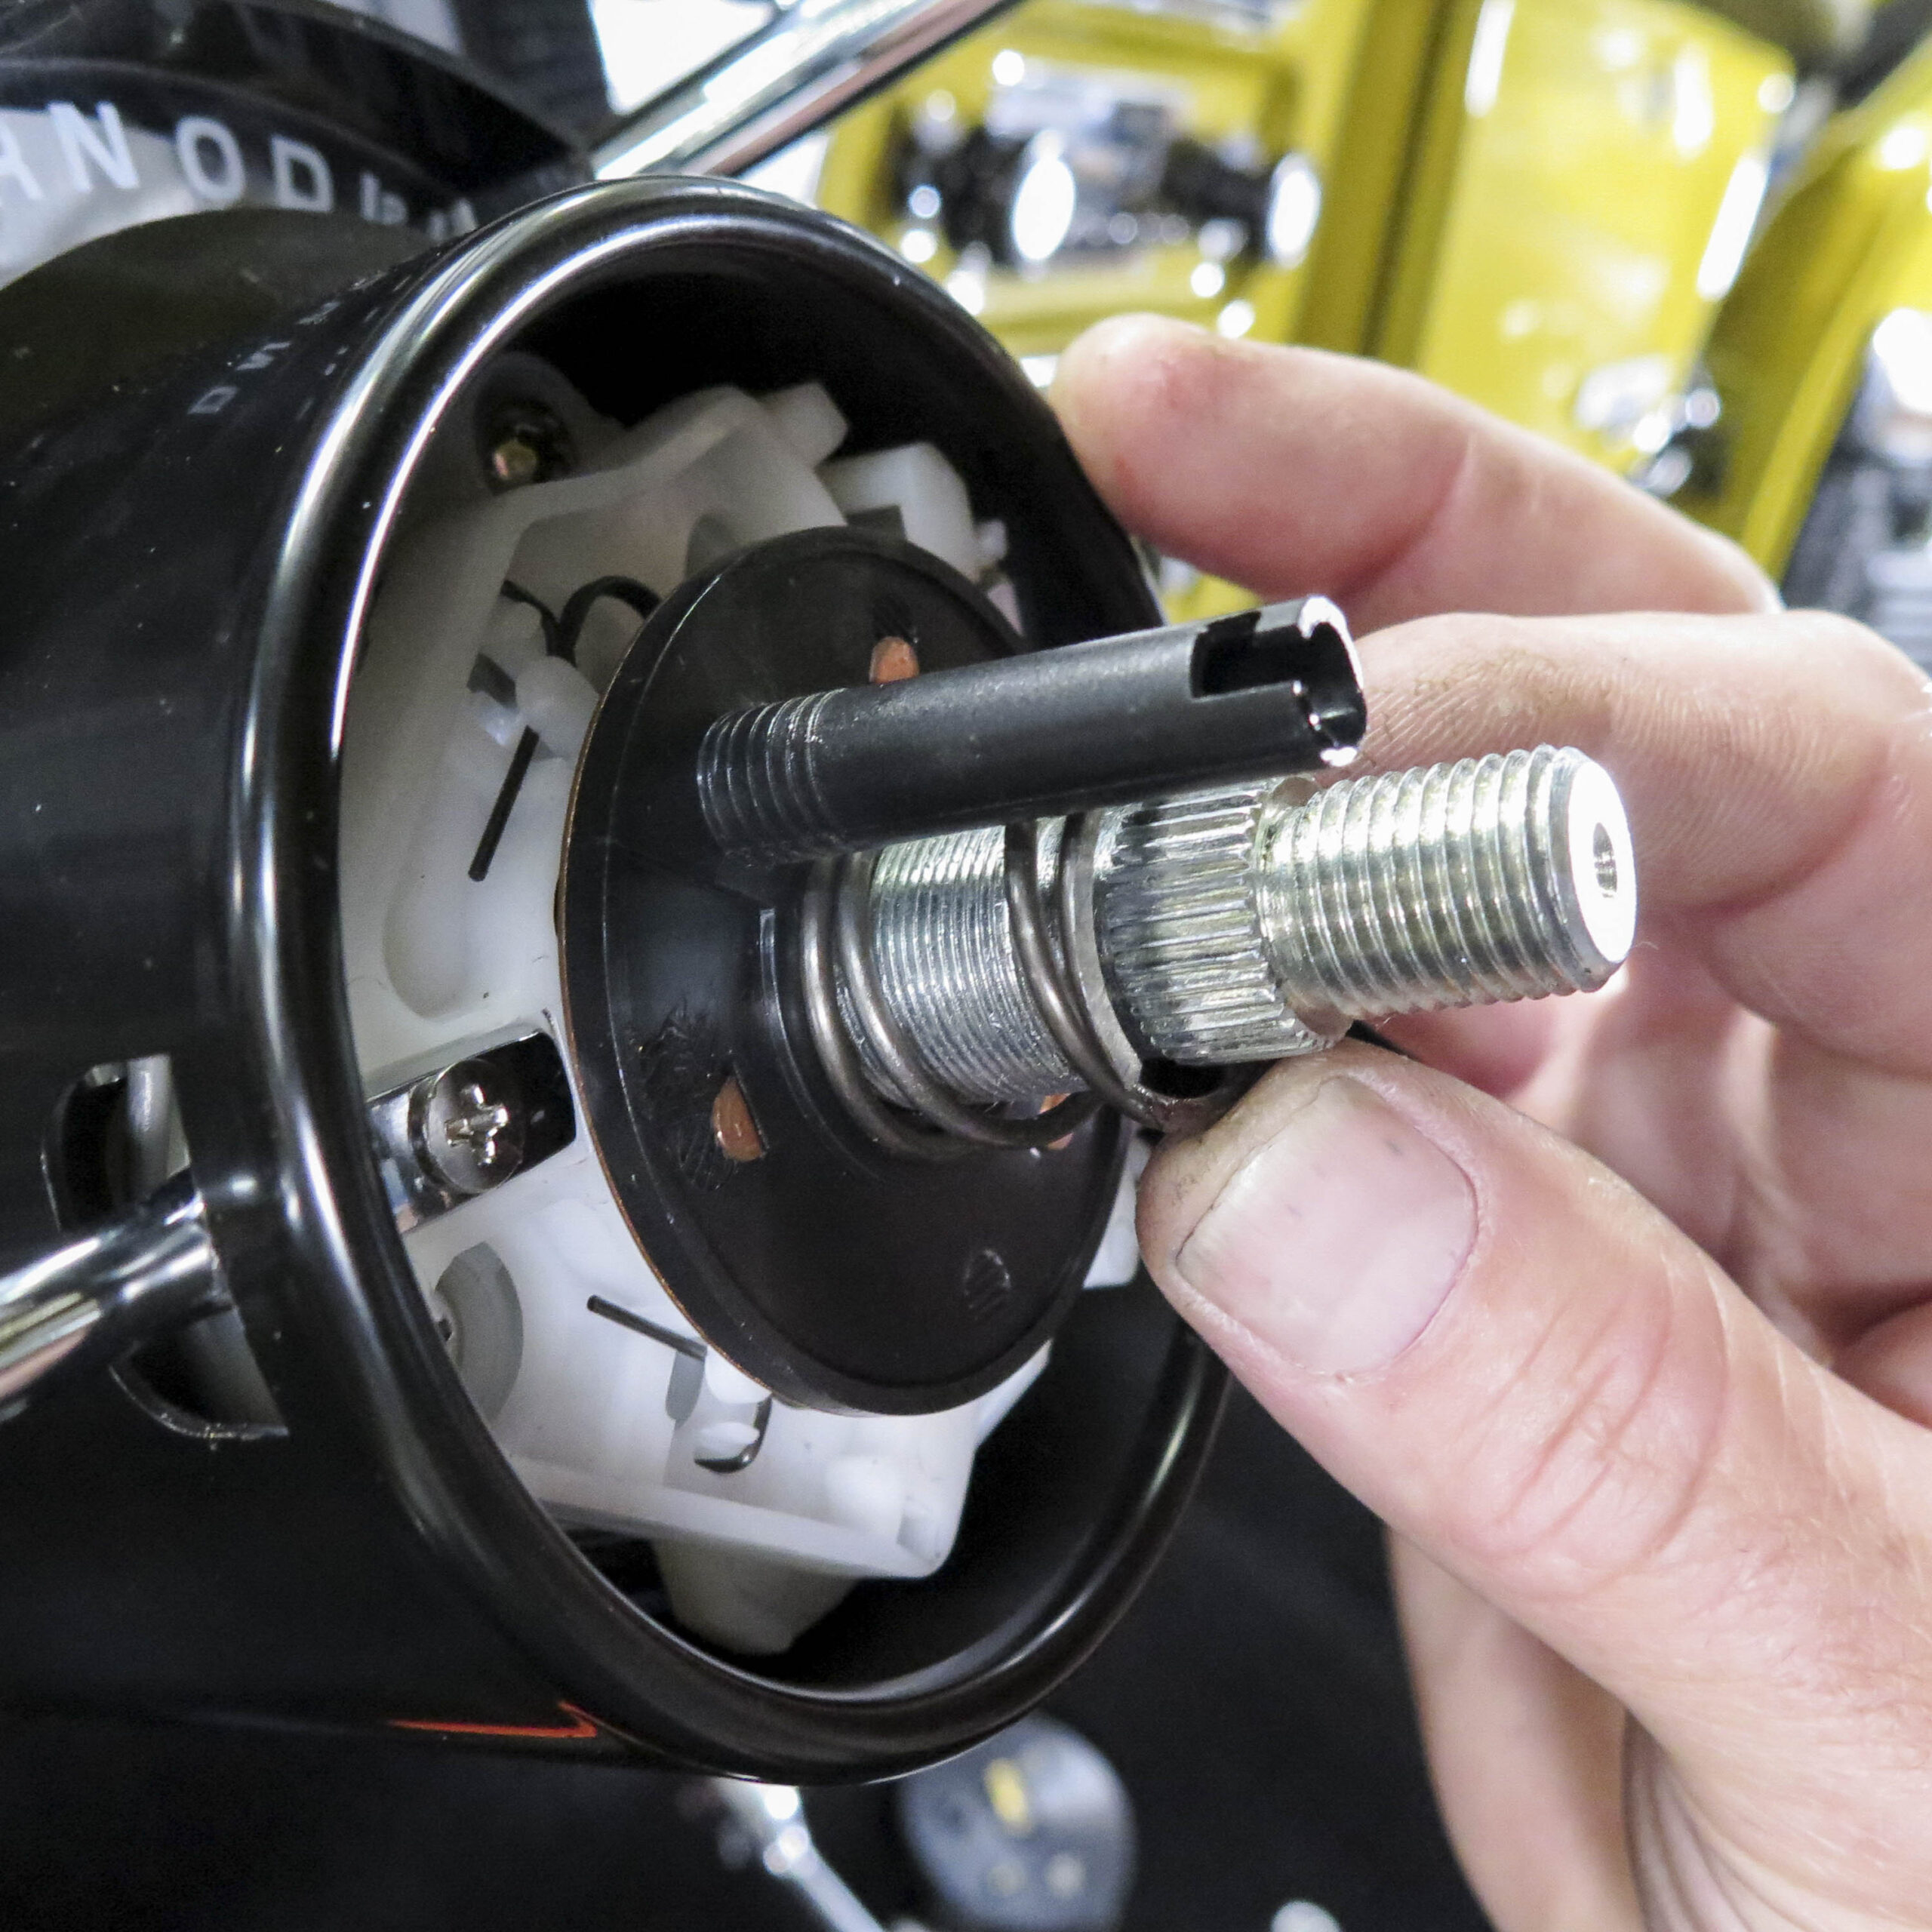
Then insert the shift lever into the head of the column and secure it by tapping in the supplied knurled pin.
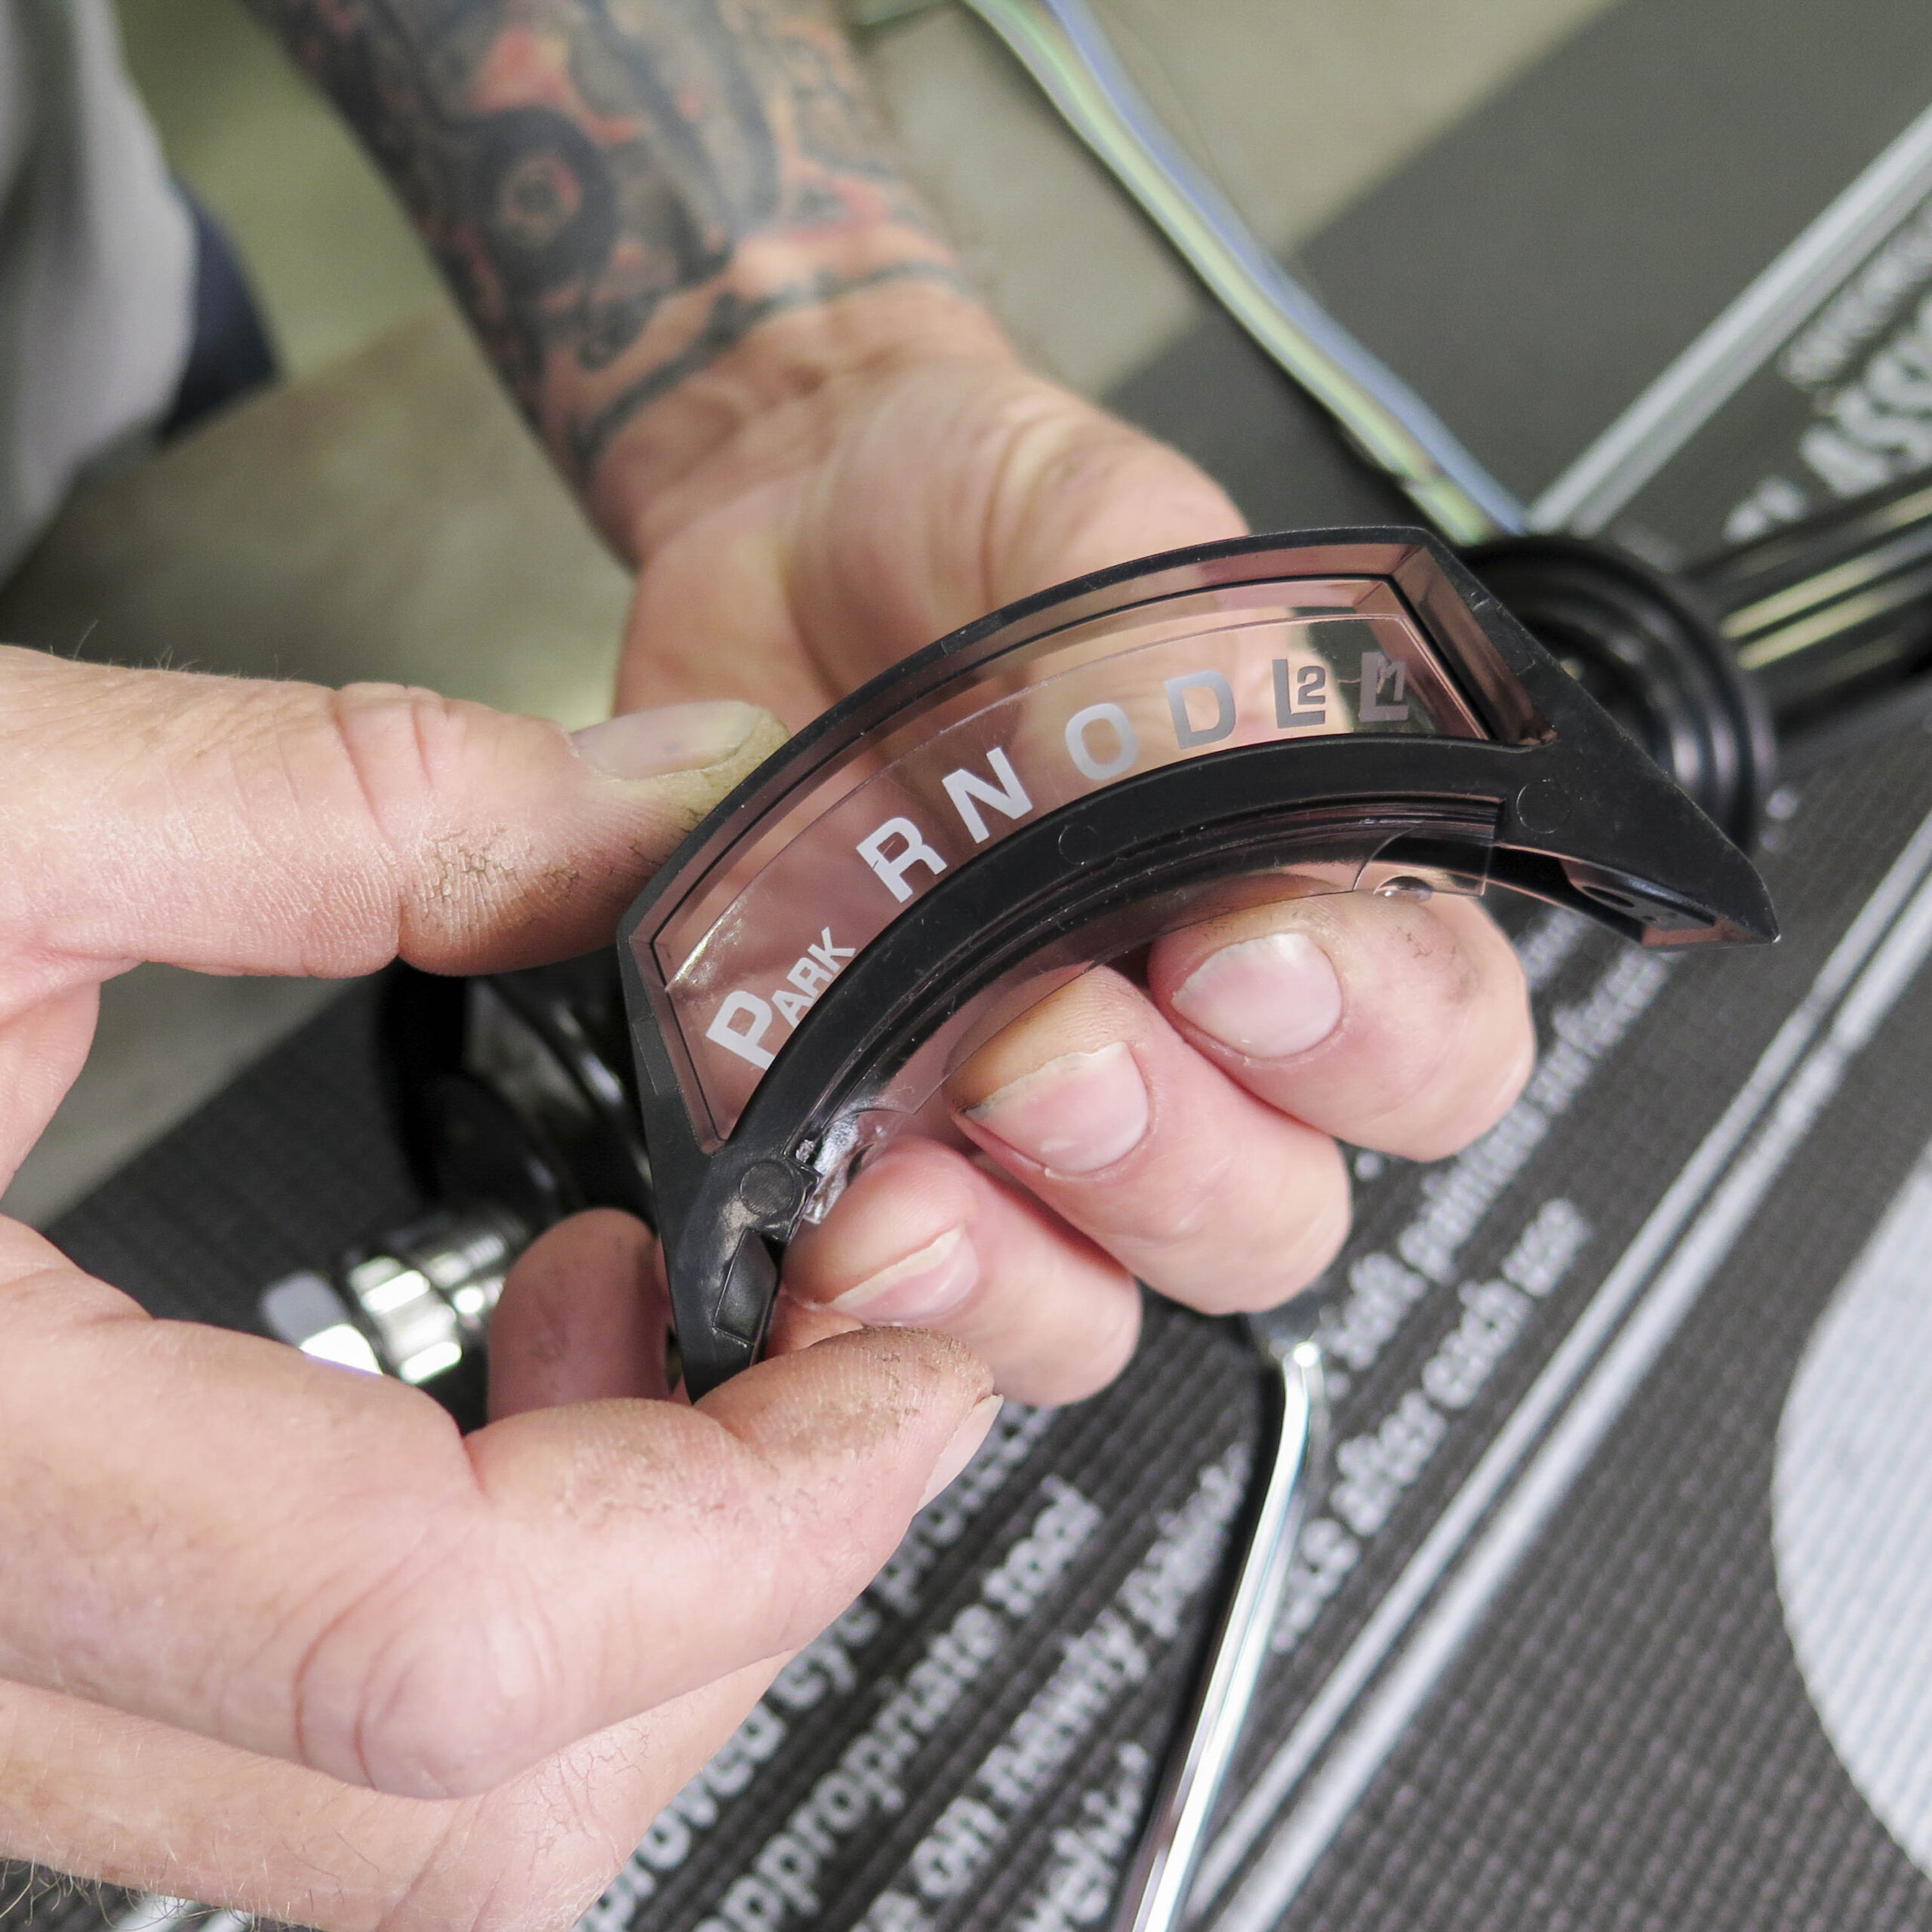
Choose between the supplied three-speed and overdrive indicators and install into the bezel.
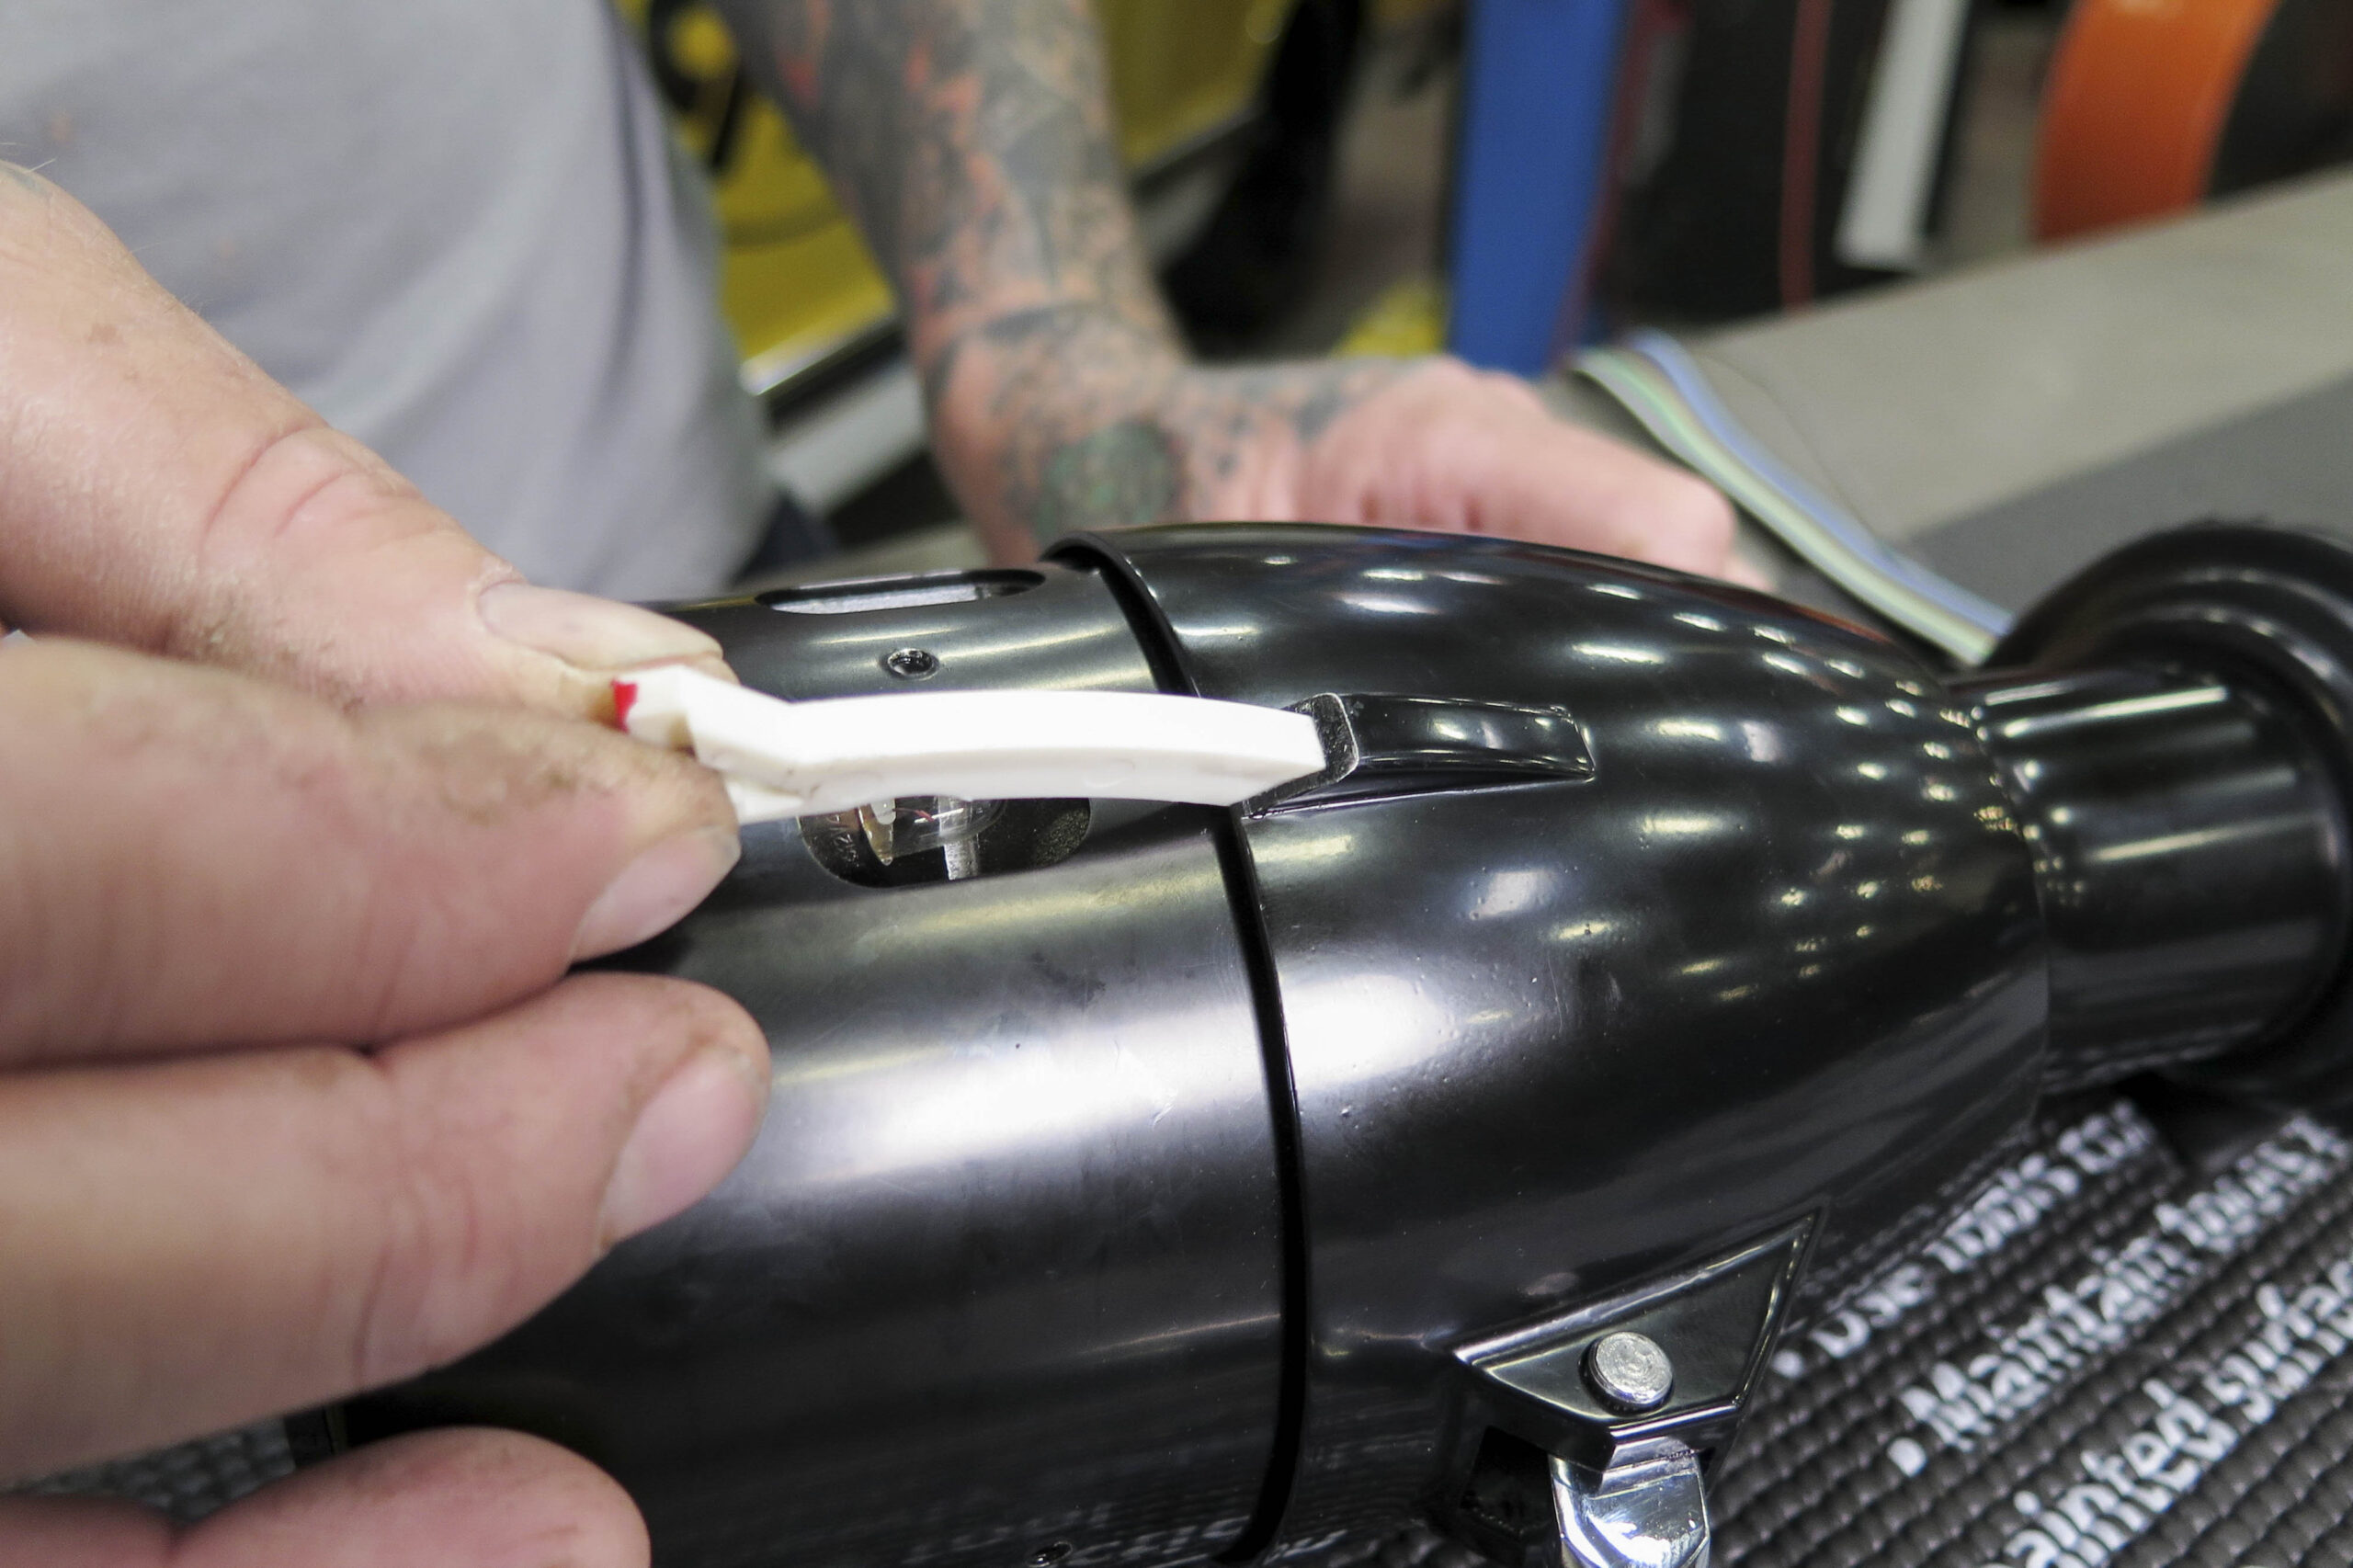
Before installing the bezel, slide the indicator pin into the head of the steering column.

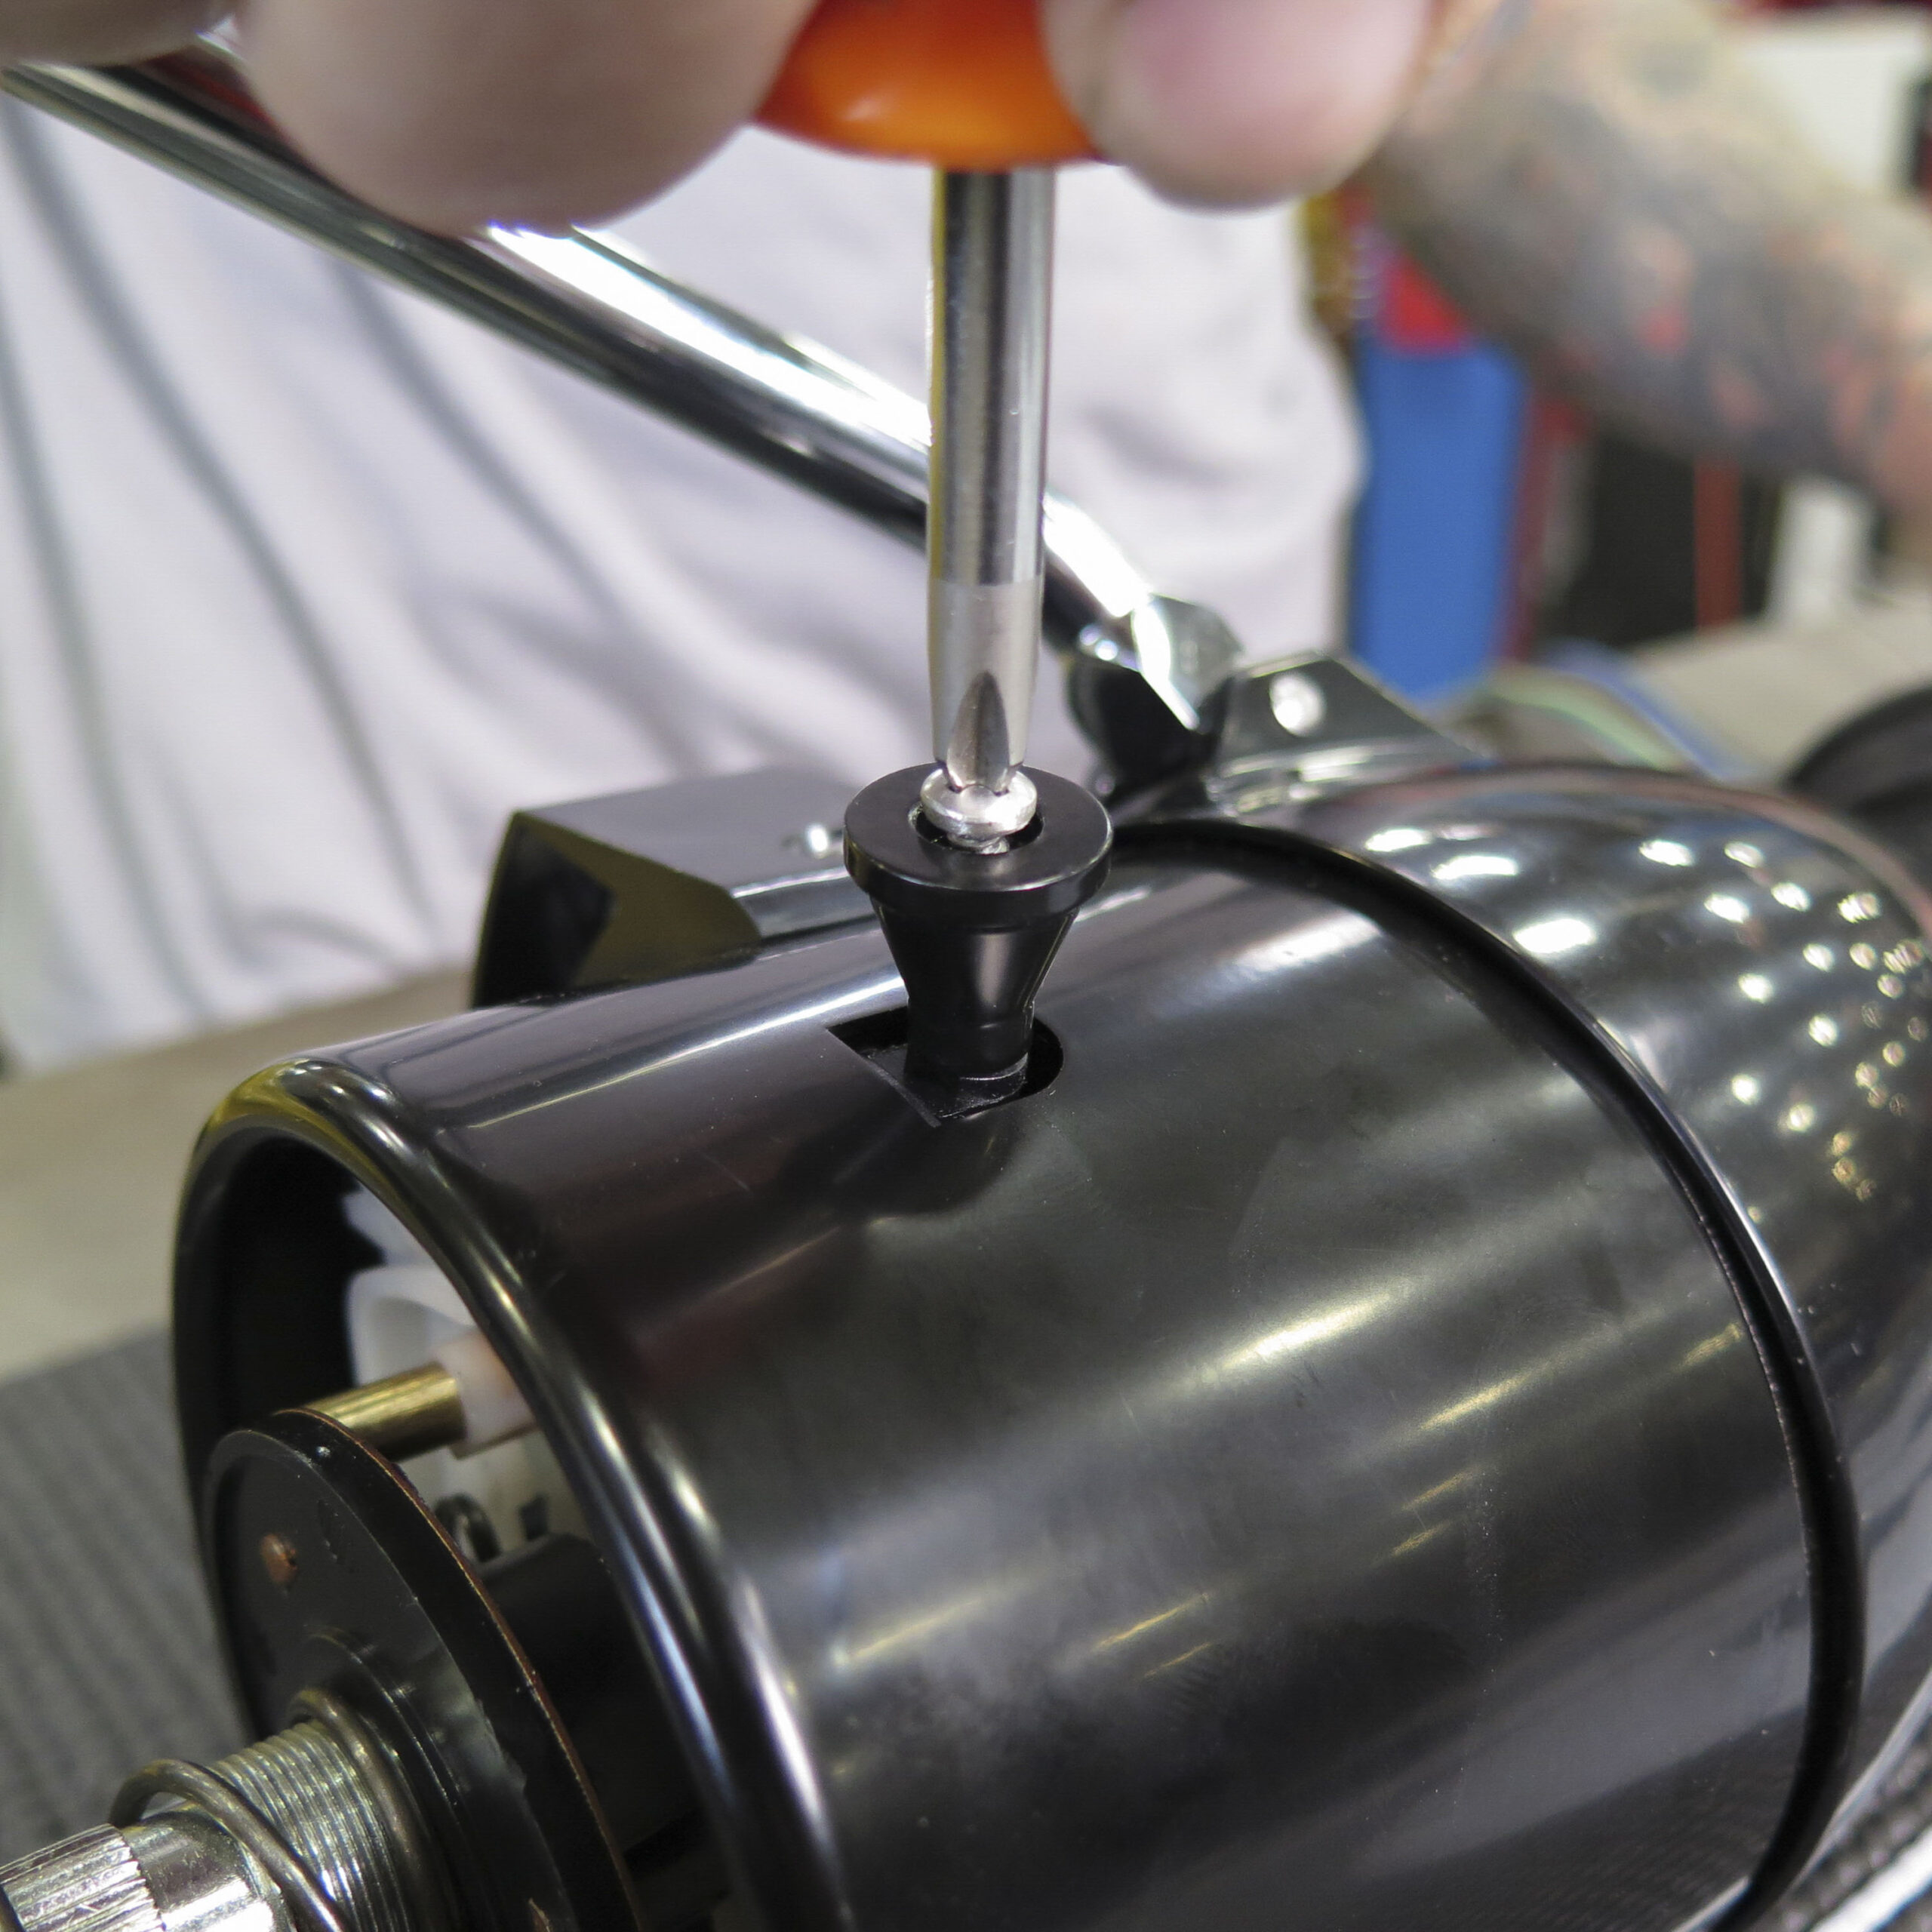
Fasten the shift position indicator bezel to the column using the supplied screws.
Installation Note: If you happen to misplace the supplied screws for the indicator bezel or neutral safety switch, make sure you use the correct length screws—too long and they may interfere with internal moving parts.
The final step before fitting the column into the truck is to install the hazard switch.
Installing the CPP Premium Tilt Steering Column
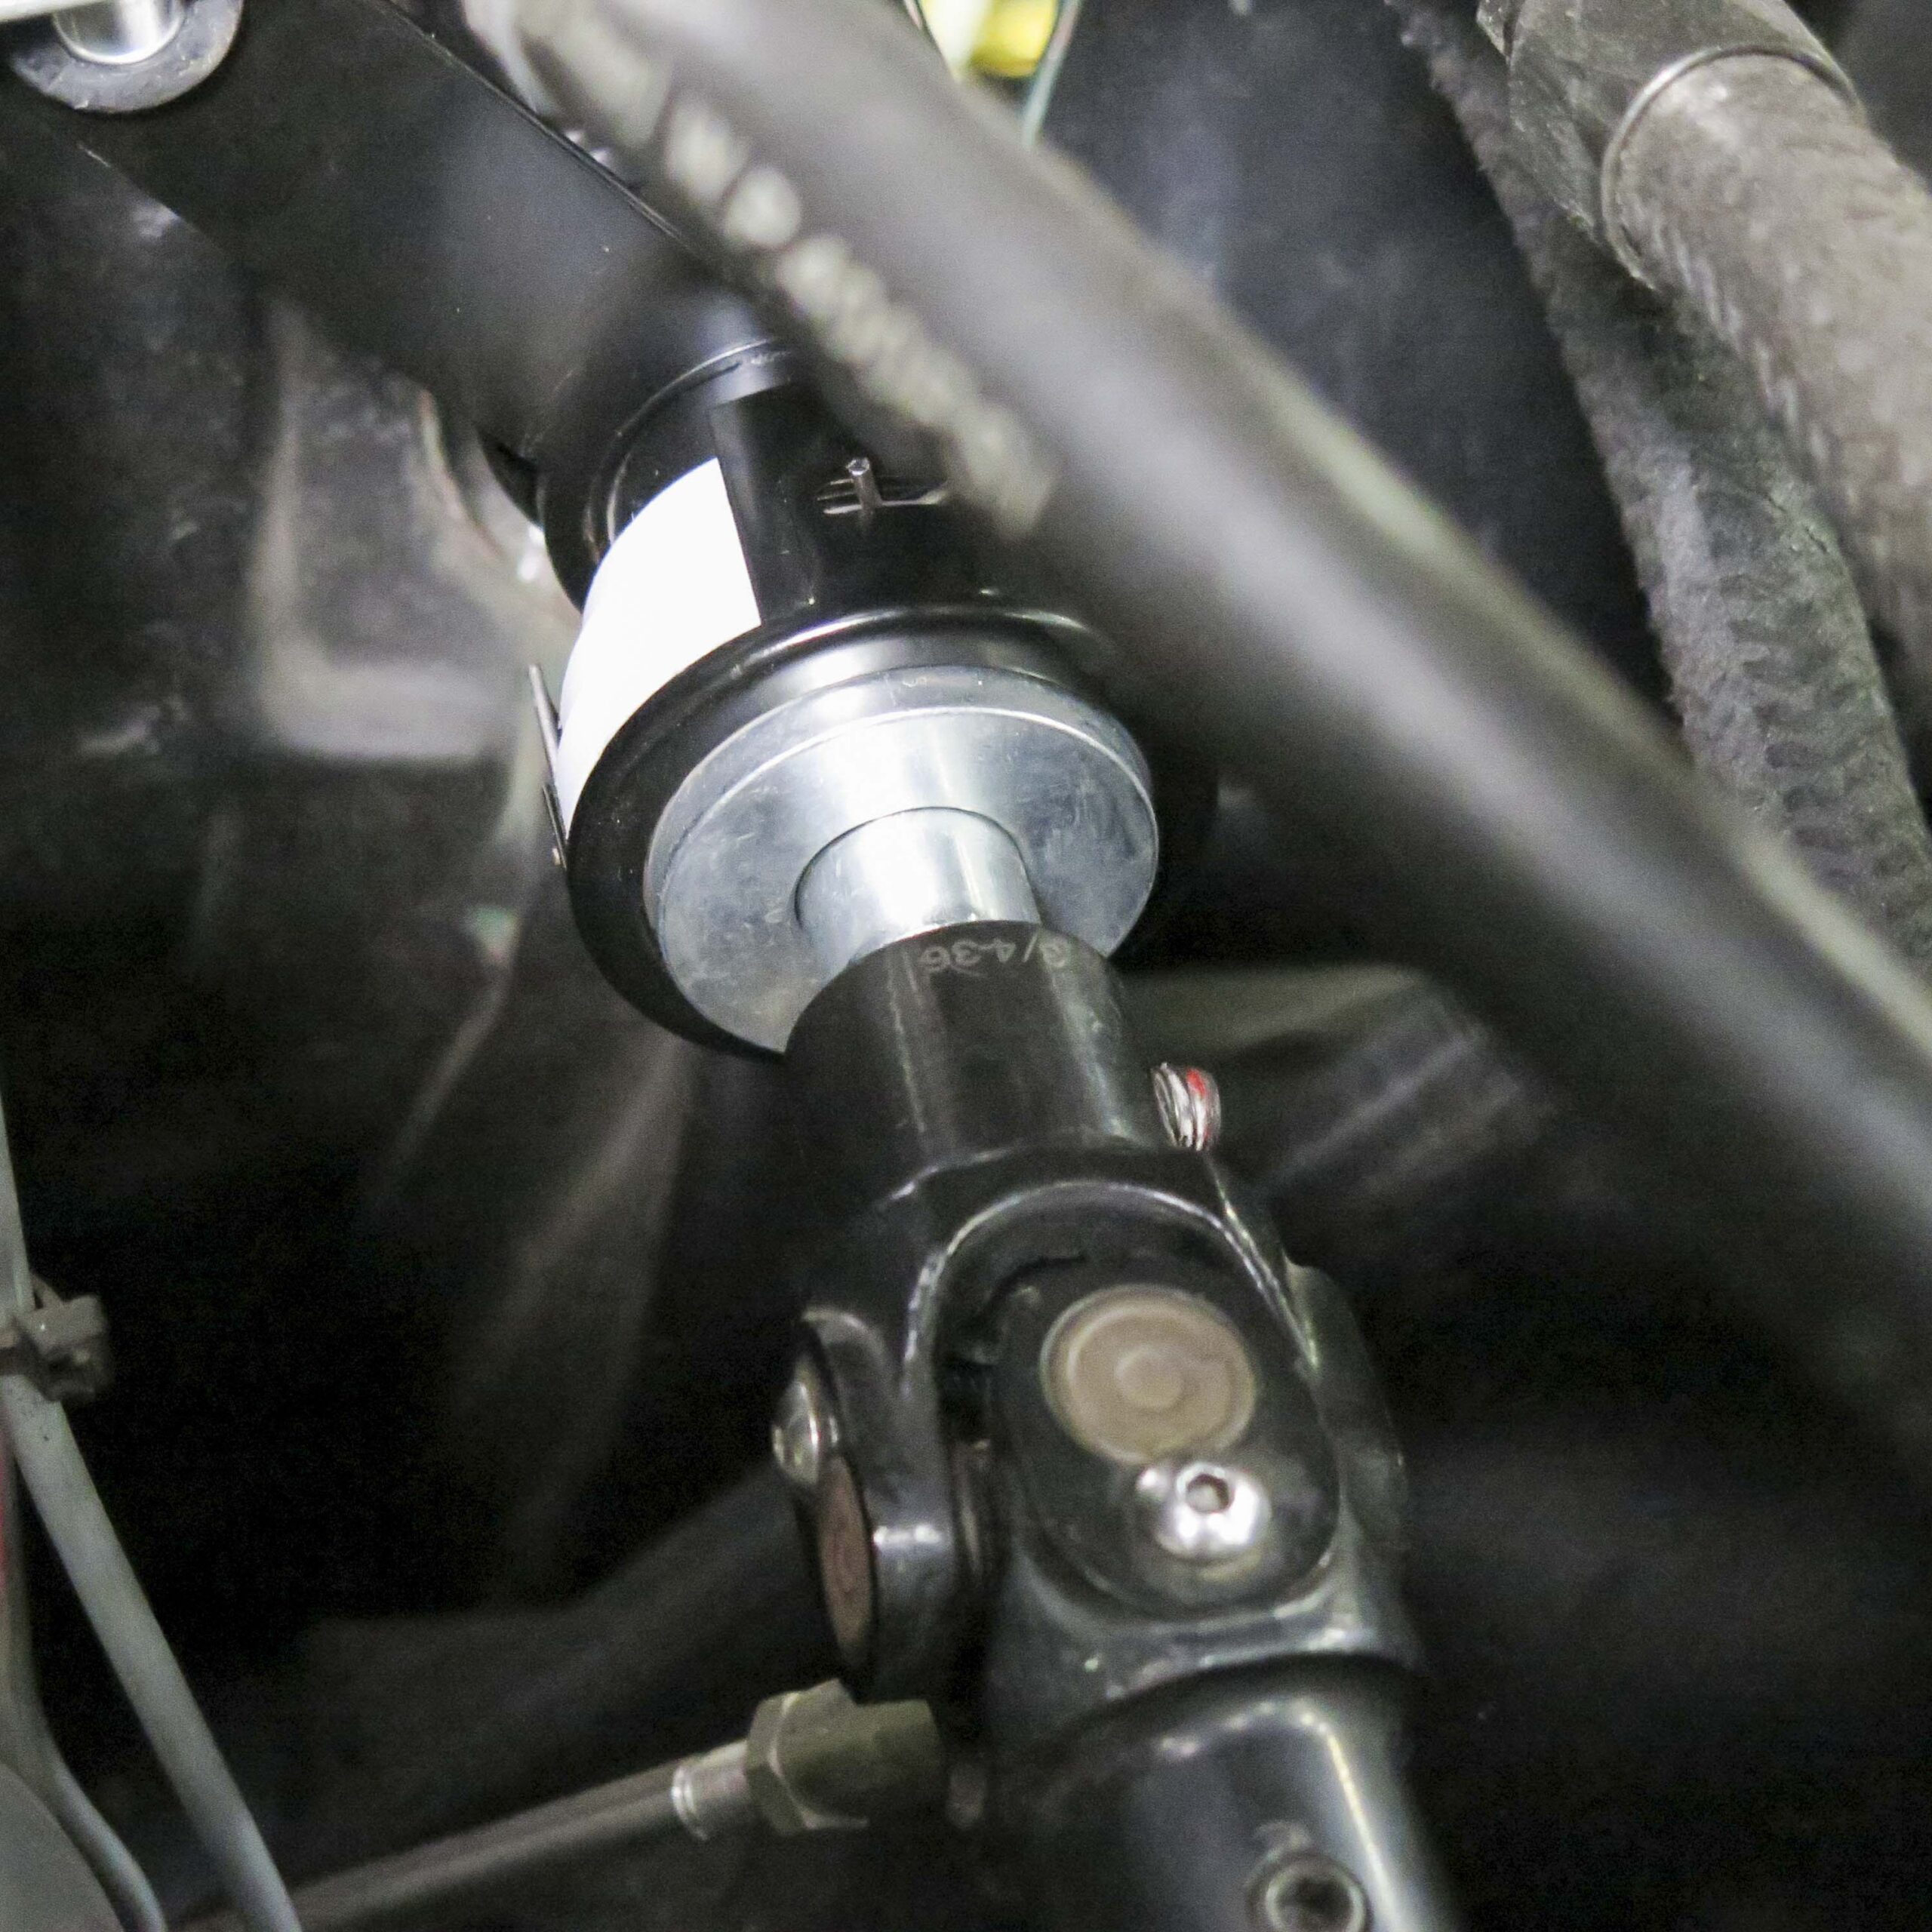
Bring the column into the cab of the truck and feed the bottom of the column and the shifter through the firewall then, from the engine bay, slide the steering shaft into the u-joint.
Then, once everything is lined up properly, go ahead and secure the column to the underside of the dash.
From inside the cab of the truck, fit the grommet to the hole in the firewall and then fasten the retaining plate to the firewall.
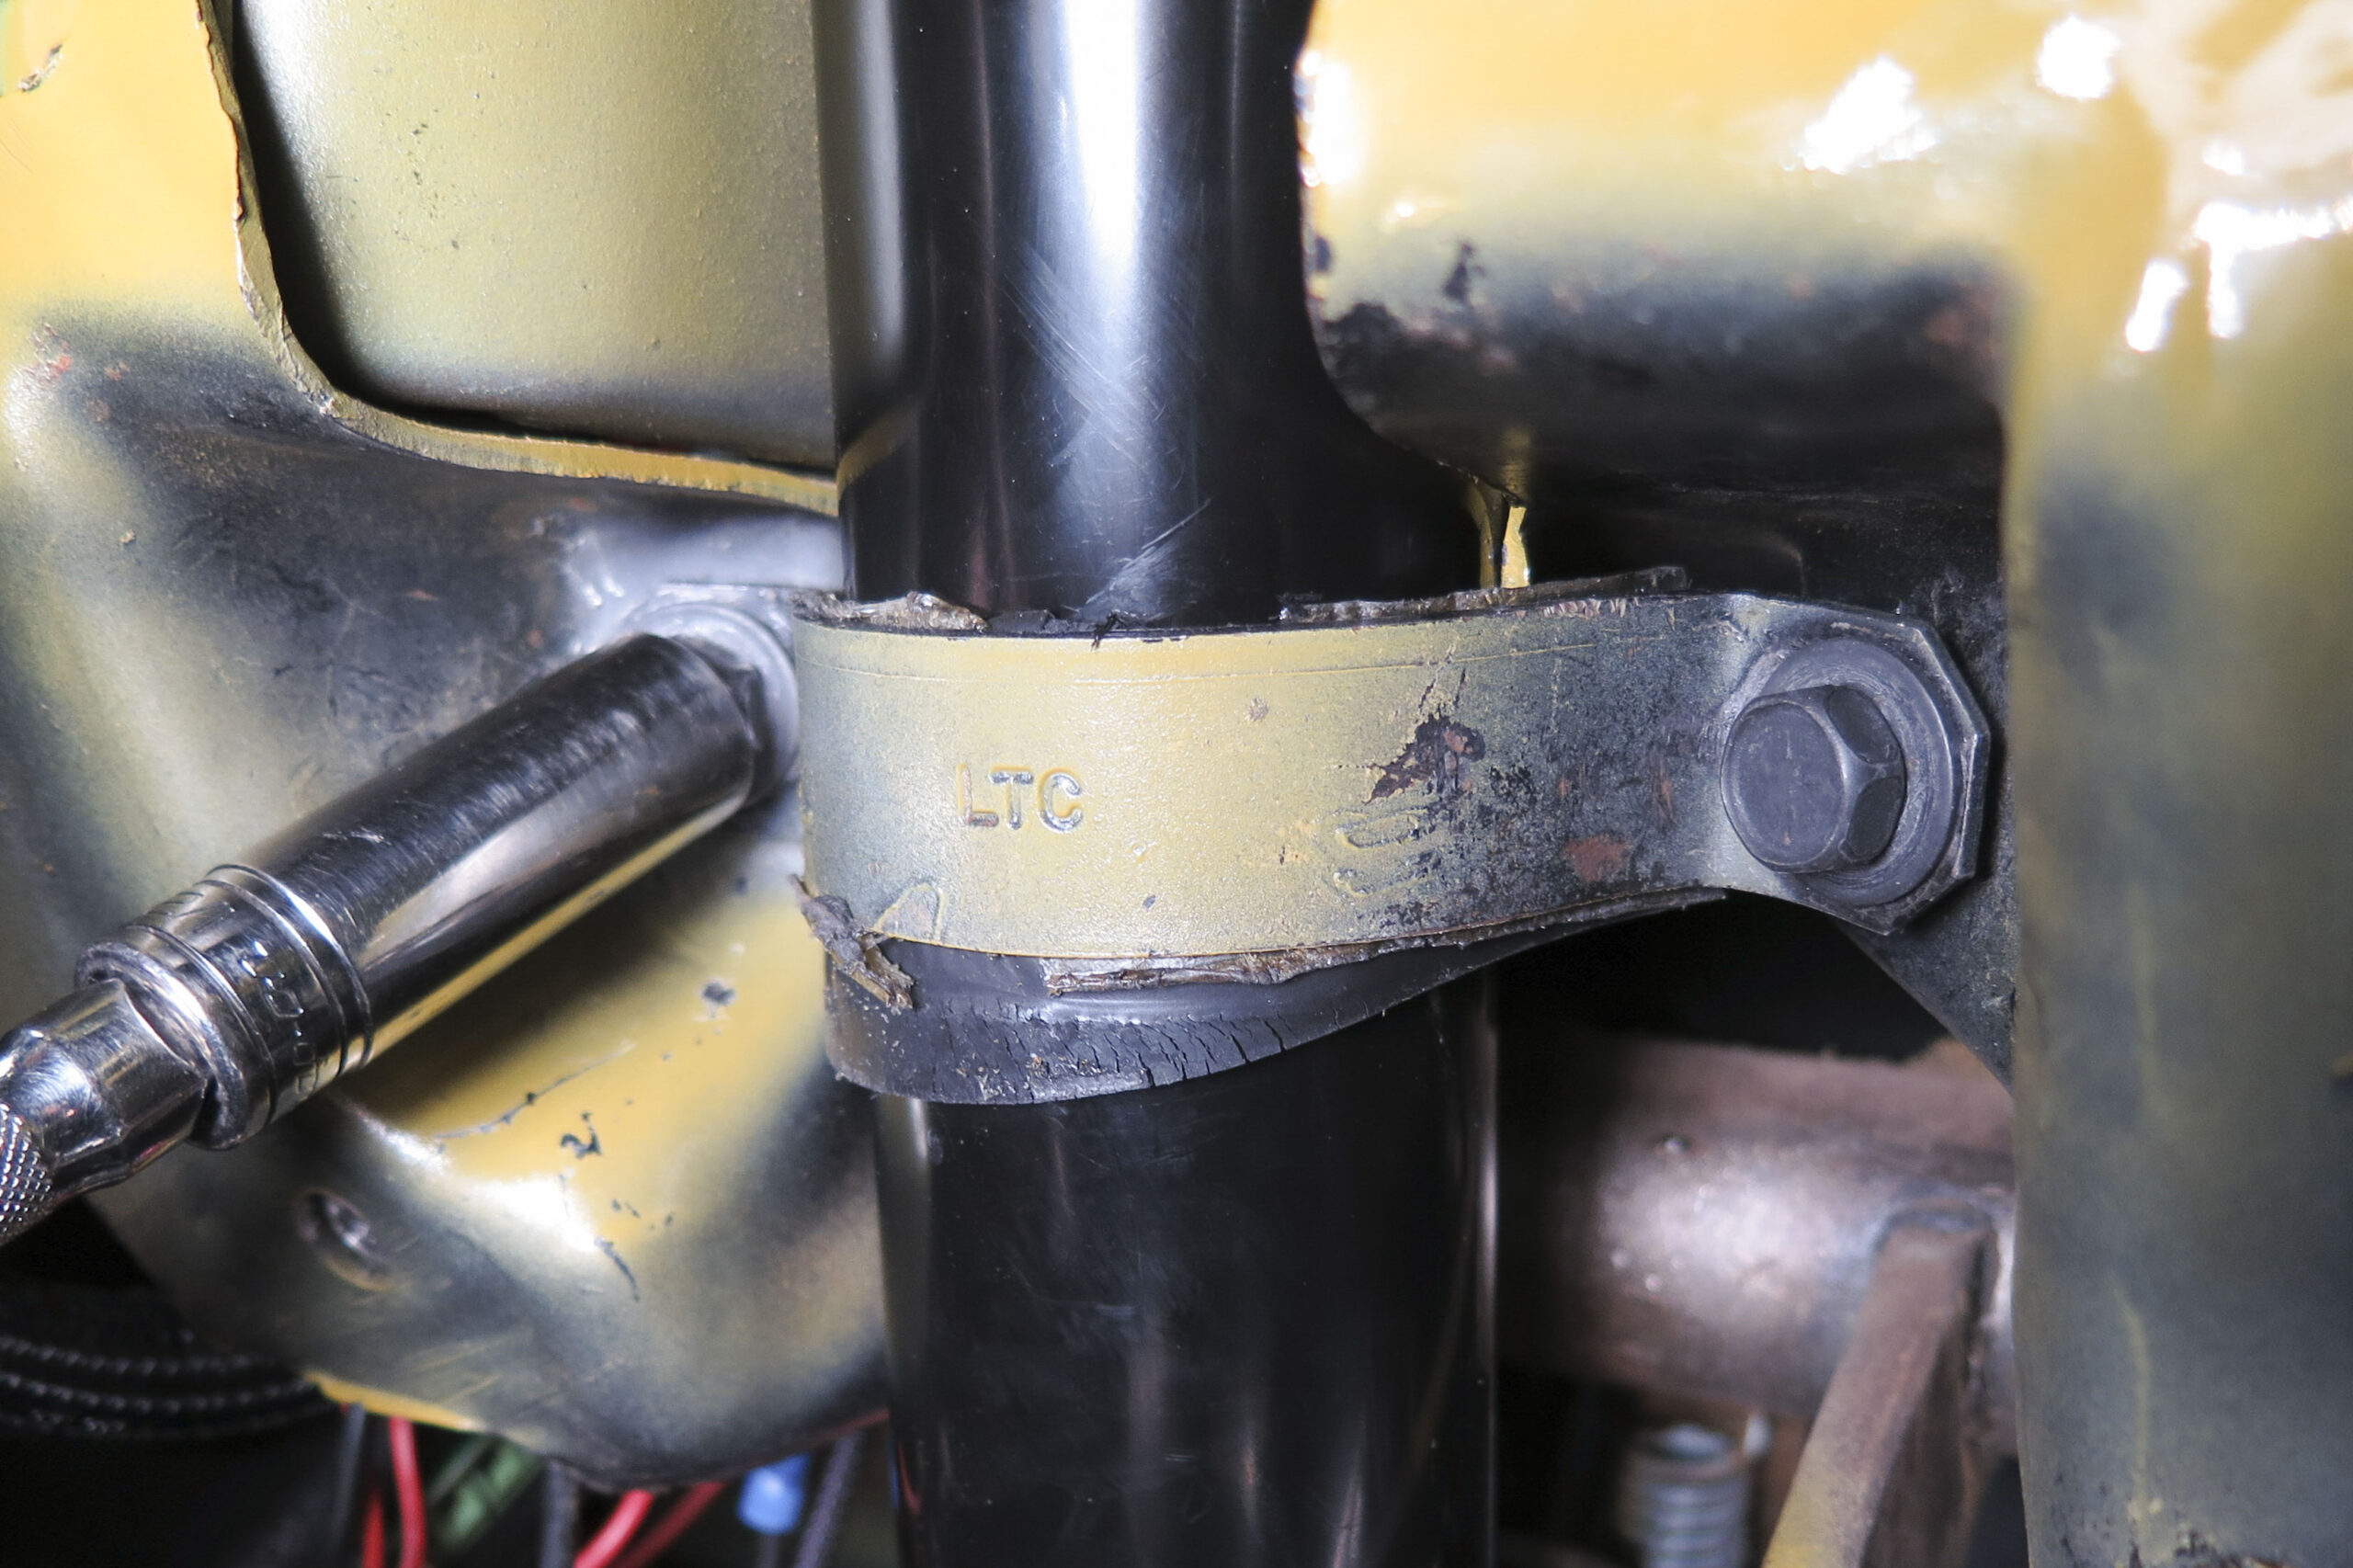
From the engine bay, secure the column to the firewall using the stock brackets.
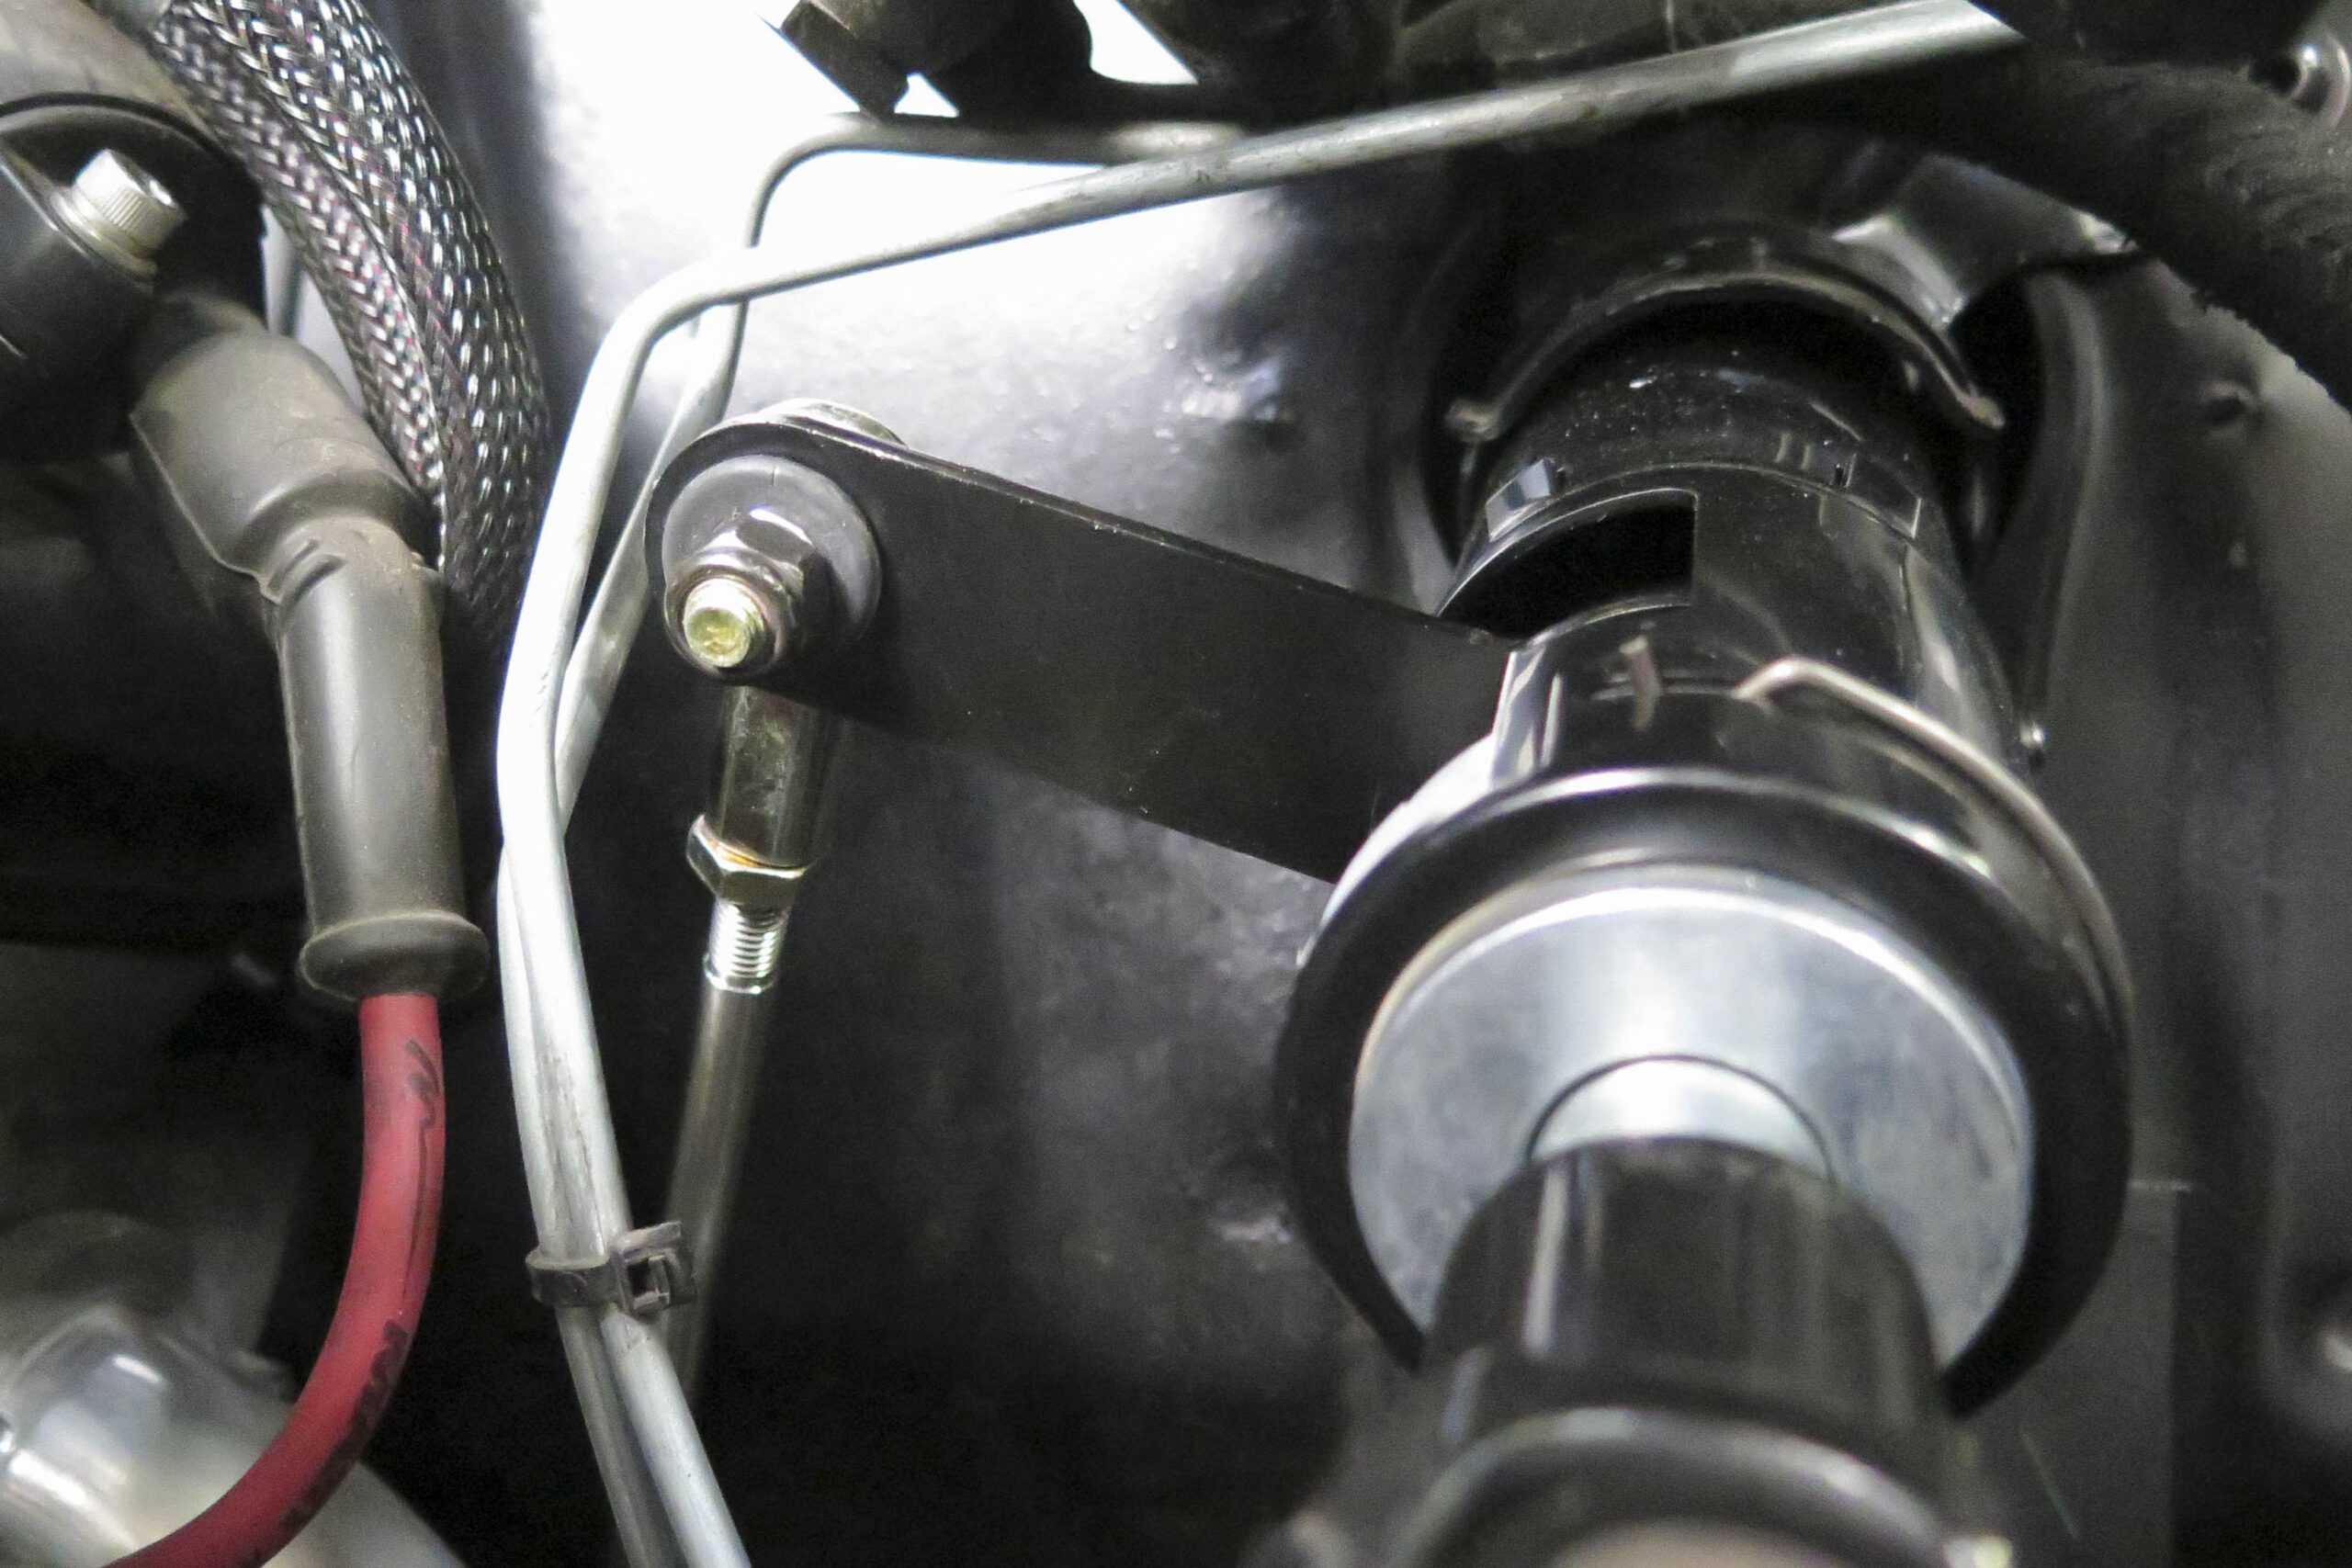
Attach your transmission linkage to the shifter on the column.
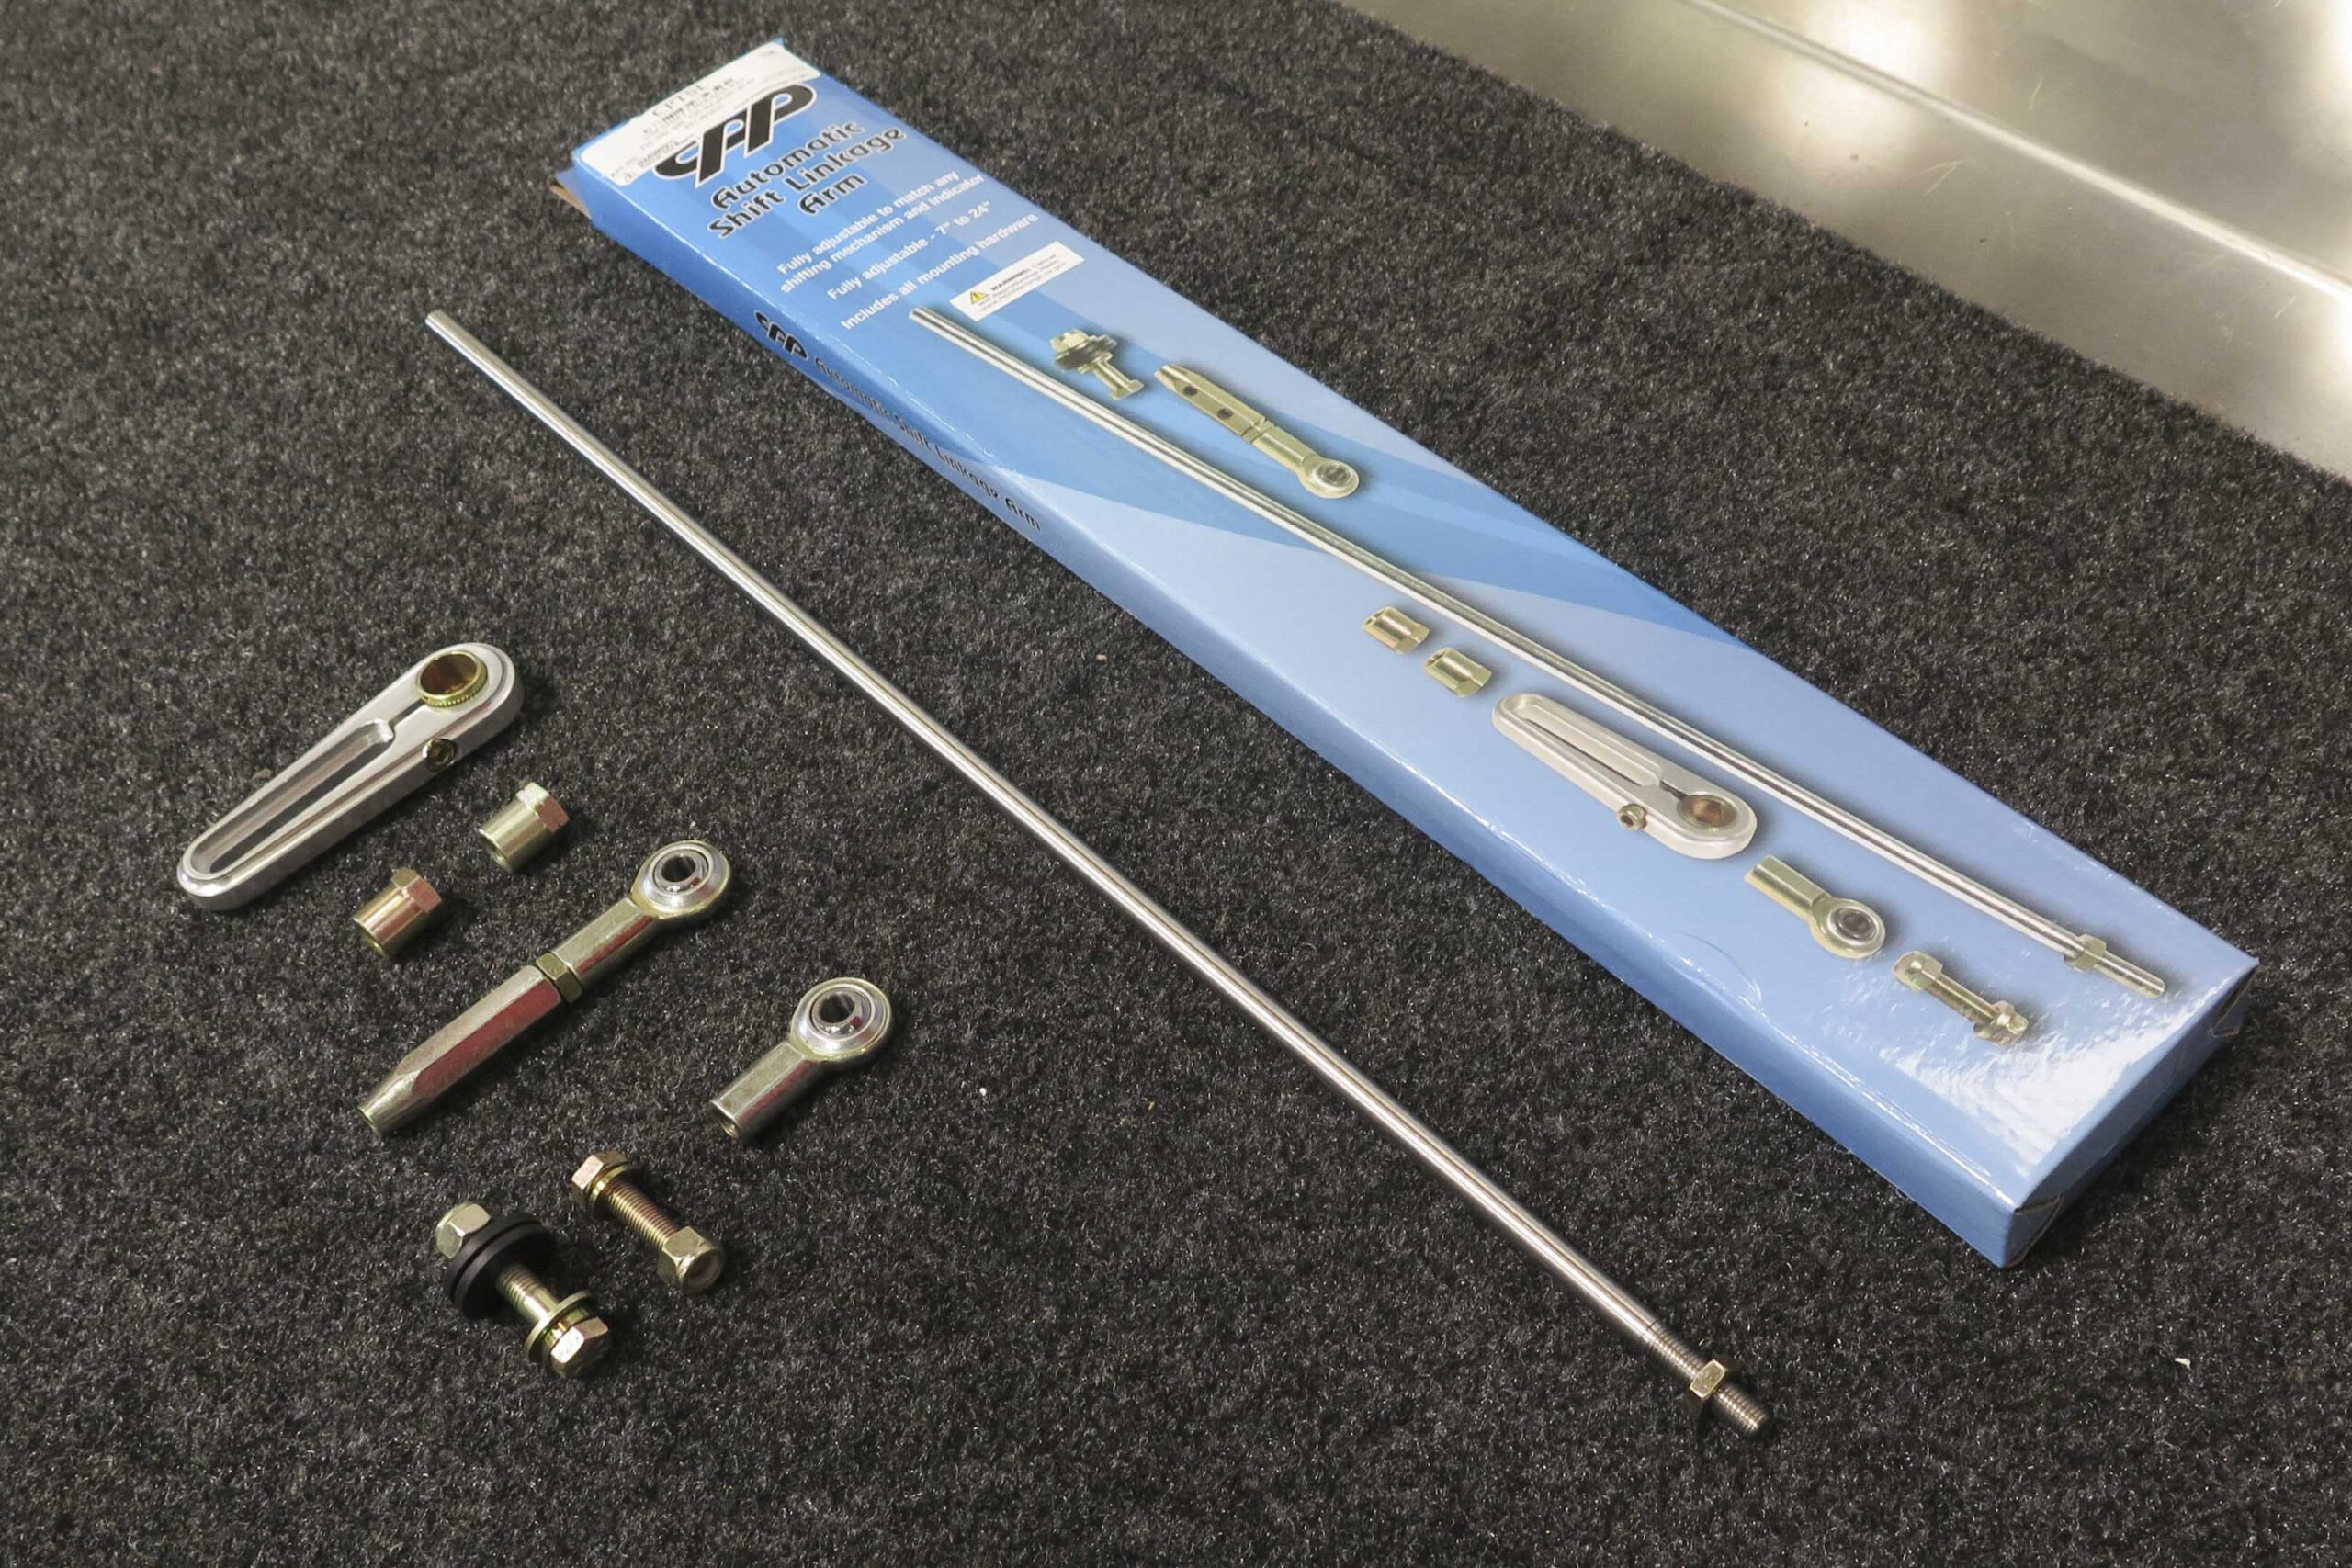
Suggested Product: CPP’s shift linkage kit #CPTSL is designed to connect your new steering column to GM automatic transmissions with built-in adjustability at both ends.
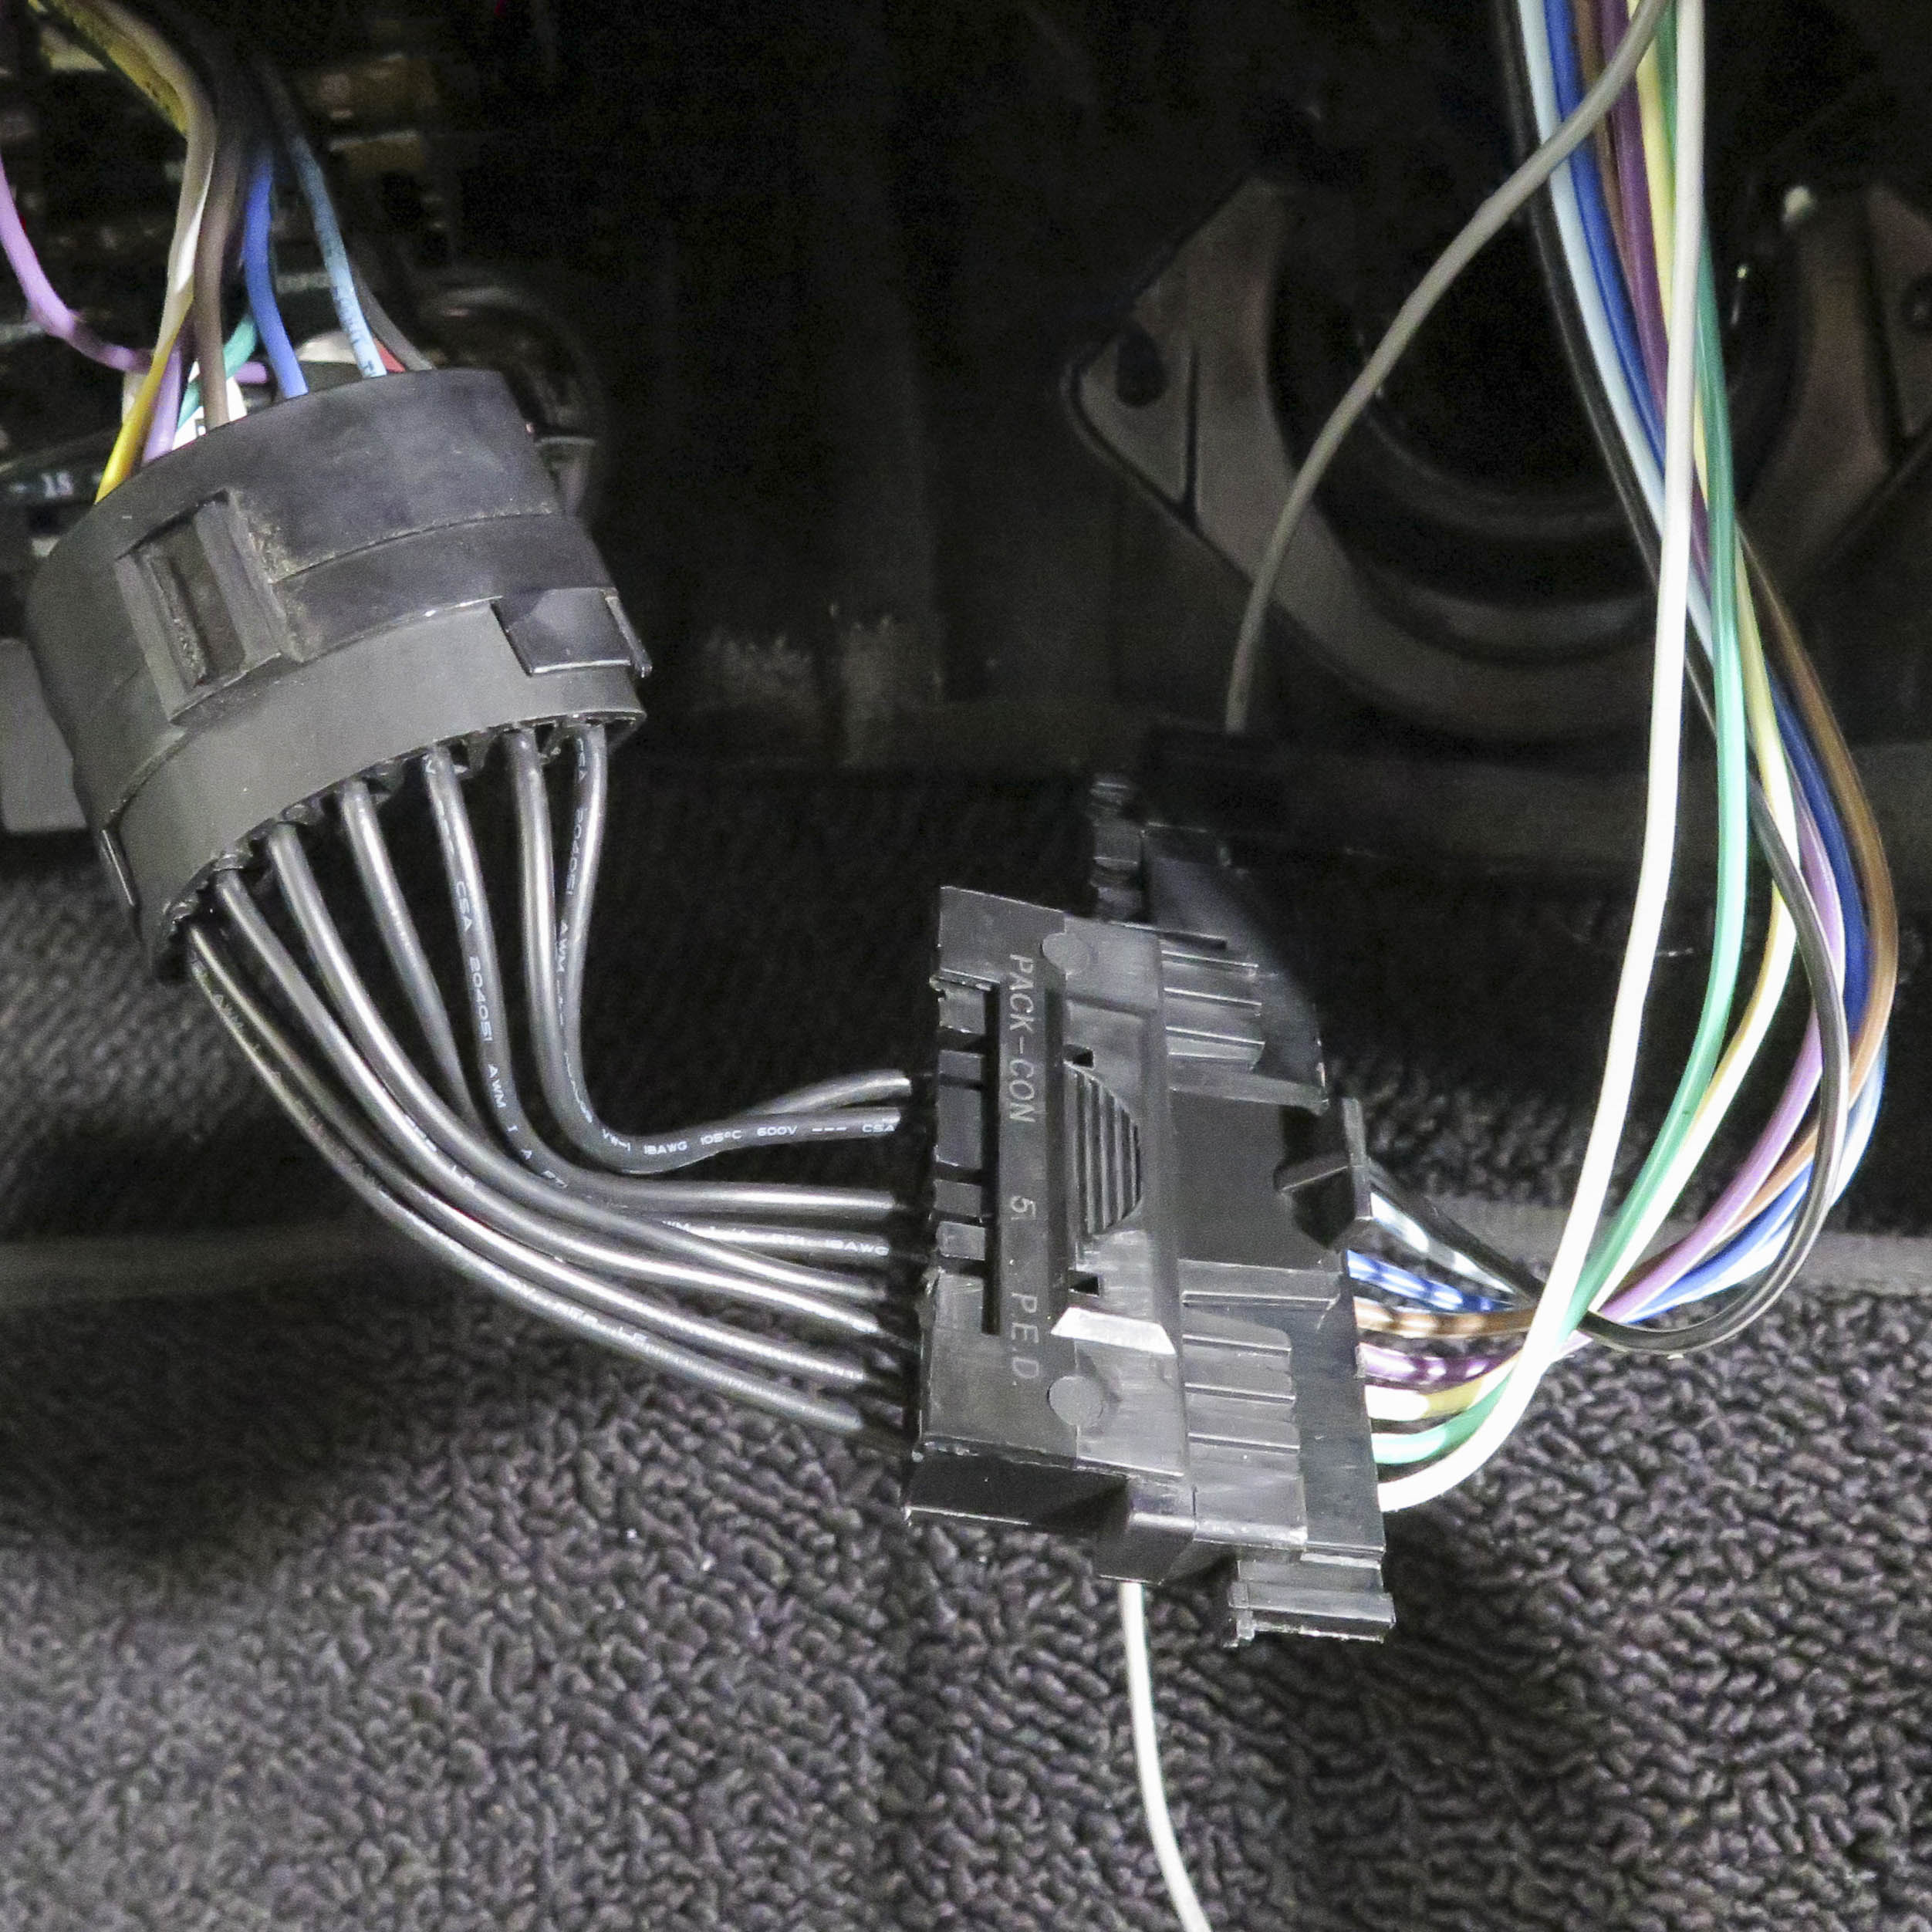
Next, use the supplied adapter to connect the column wiring harness to the factory wiring harness under the dash.

Connect the grey wire from the column’s wiring harness to a keyed power source. To make the best use of the light-up gear position indicator, tap into the factory dimmer switch in the dash.

Position the upper steering column grommet and then re-install the under-dash plate.
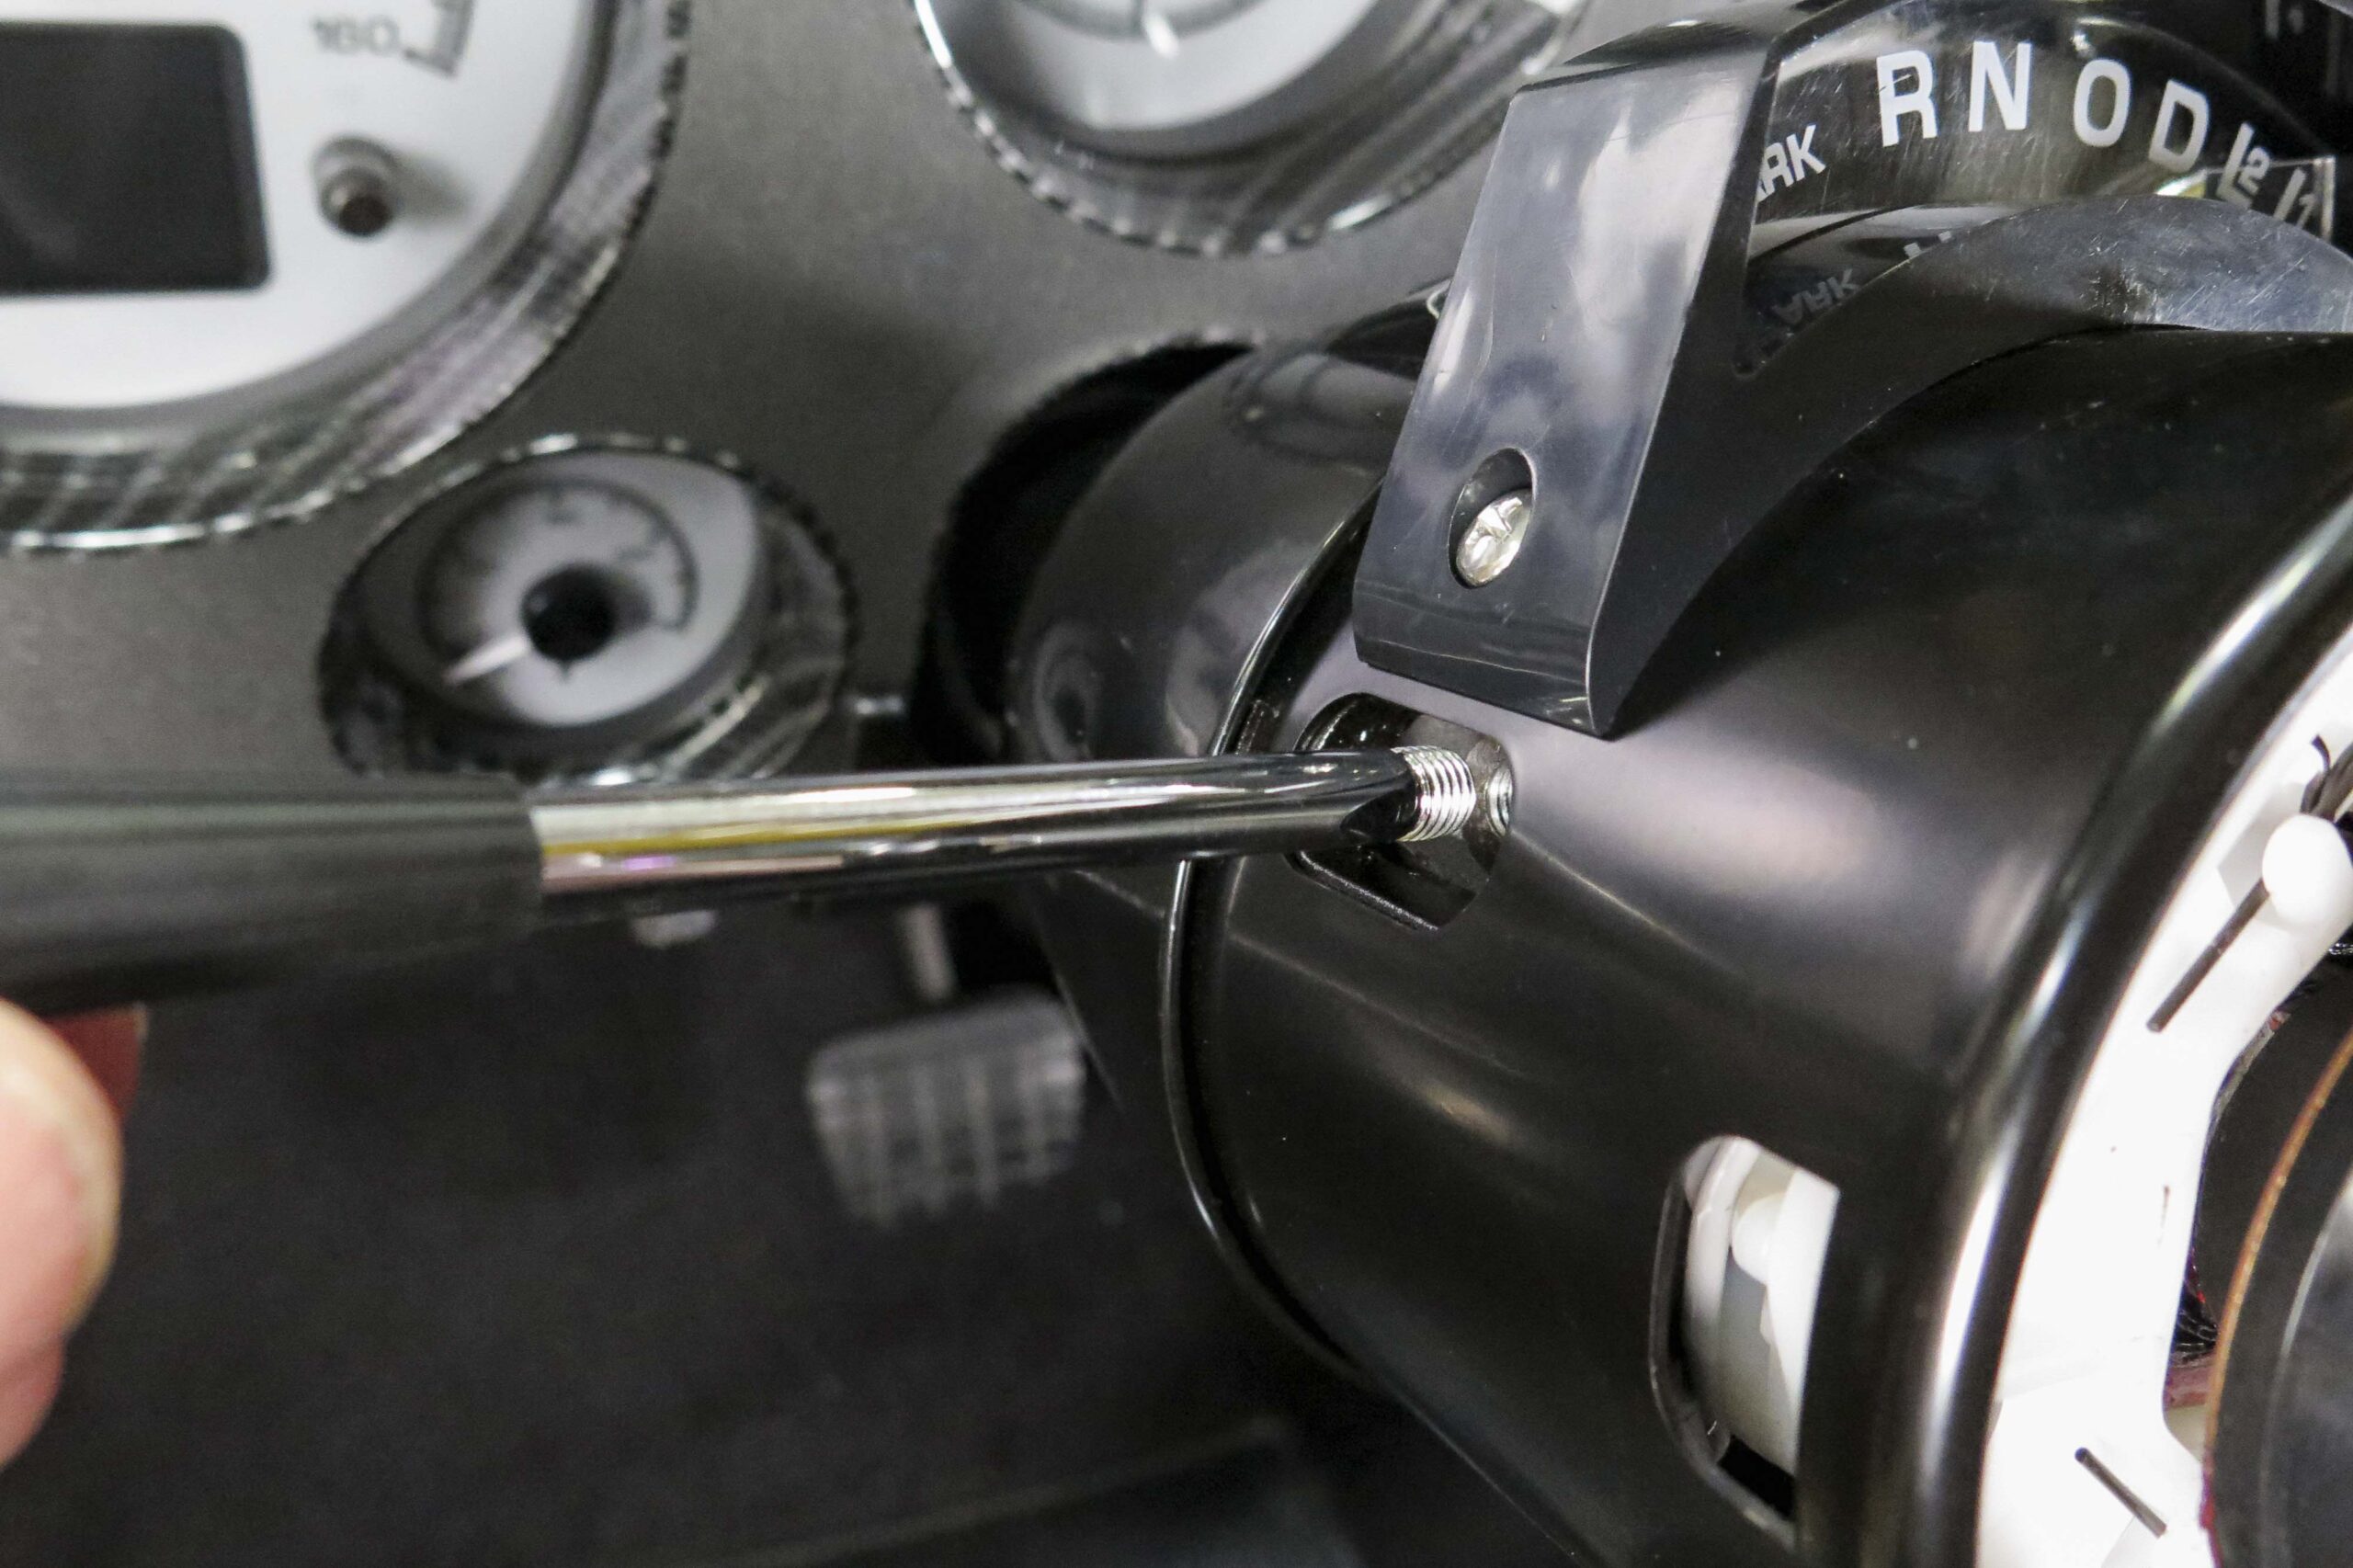
Screw the tilt lever into the steering column head.
Then use the supplied sheet metal screw to attach the blinker lever to the face of the steering column.
Finally, if you are using a factory-style steering wheel, install the horn ring followed by the spring. Aftermarket steering wheels and adapters are also available through CPP.