As seen in the January 2021 Issue of Classic Truck Performance magazine!
Text by Ryan Manson, Photos by Rob Fortier
It’s hard to argue the visual benefits gained by lowering a classic truck. Getting that vintage hauler sitting right is one of the most important aspects of any build and can make or break the way the truck looks. But achieving that killer stance isn’t as simple as cutting the coils or installing lowering blocks, if you want things to still function as originally intended. And for the 1963-1972 Chevy C10 trucks equipped with a two-piece driveshaft, the upgrades shouldn’t end with the suspension components. Thankfully, not only does Classic Performance Products (CPP) have all the suspension components to sort out that lowering job, they also carry a full line of driveshaft-related parts necessary to make everything work together cohesively.
See more from Classic Truck Performance here!
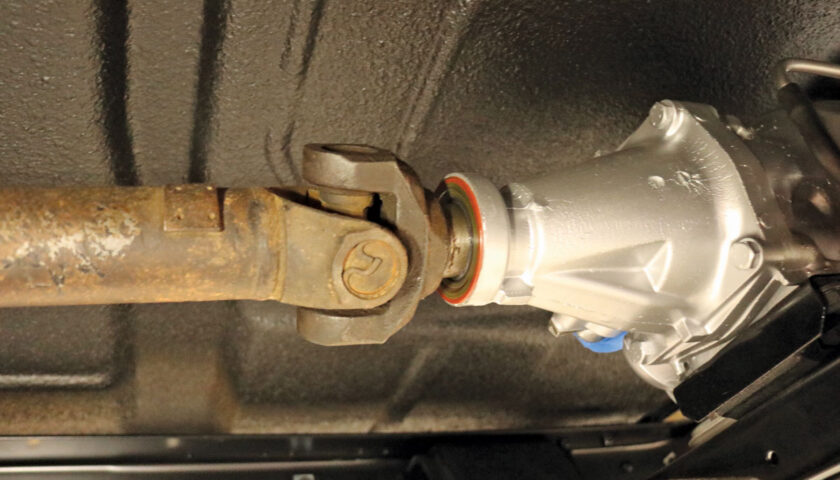
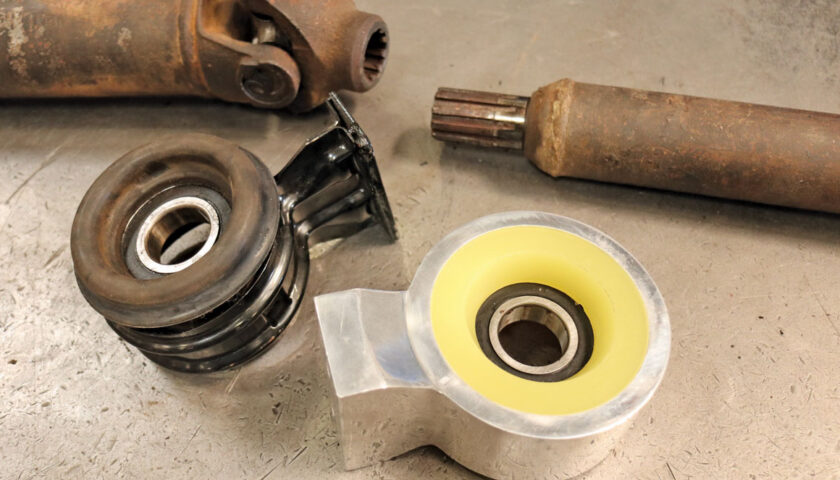
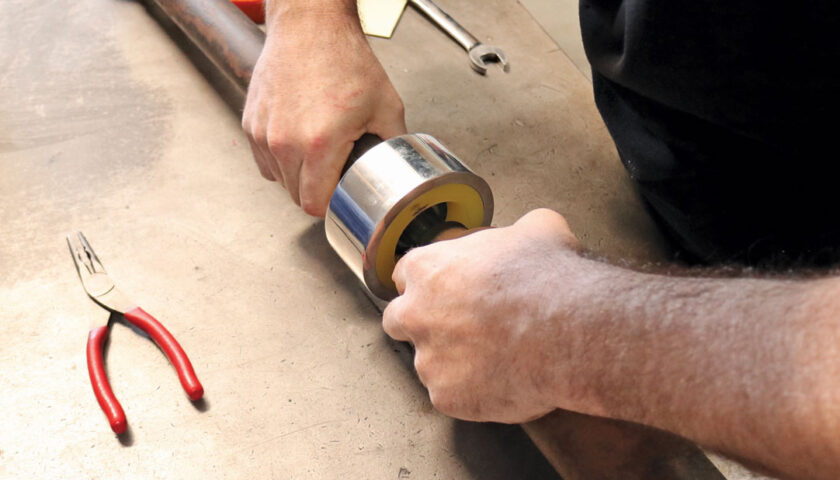
Originally, the 1963-1972 C10s equipped with a two-piece driveshaft utilized a carrier bearing encased in rubber to support the driveshaft due to its length and the fact that it had more than two universal joints. When the rear suspension is modified to lower the truck, the resulting change in driveshaft angle puts increased pressure on that rubber carrier bearing, causing premature failure. The solution to this is to upgrade to a carrier bearing encased in polyurethane and set in a billet aluminum housing. This new carrier bearing is much tougher and can better handle the added stress.
Another factor to consider when a two-piece driveshaft-equipped truck is lowered is the fact that the overall length of the second portion of the driveshaft needs to be modified due to the change in the range of motion of the rearend. If you consider that the rearend travels in an arc as it goes through its range of motion, you’ll find that the radius changes as the rearend moves up and down. In a lowered truck, the resulting driveline angles can put additional stress on the carrier bearing and driveshaft. To solve this issue, CPP has developed a Slip Shaft Driveline that replaces the original, fixed-length two-piece driveshaft with one that can adjust between 33.75 and 36.50 inches. Once installed, the Slip Shaft Driveline simply adjusts its length in response to the rearend’s travel, preventing the carrier bearing from becoming bound or stressed, increasing the reliability and life span of the entire driveline system.
Related Story: The Epitome of Convenience: Strange Engineering’s C10 Rear Axle 9-Inch Install
Whether your lowered truck project is just getting off the ground or you’ve been fighting driveline issues since slamming that old pickup, chances are CPP carries what you need to get that old hauler sorted out and sitting right.
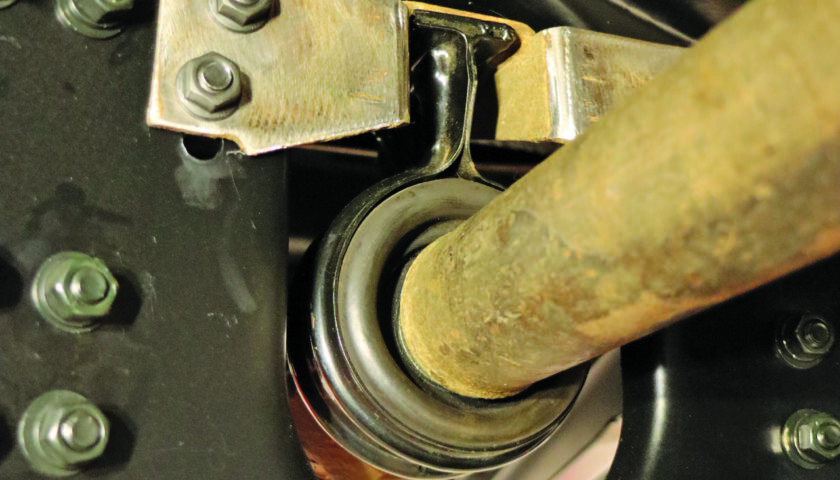
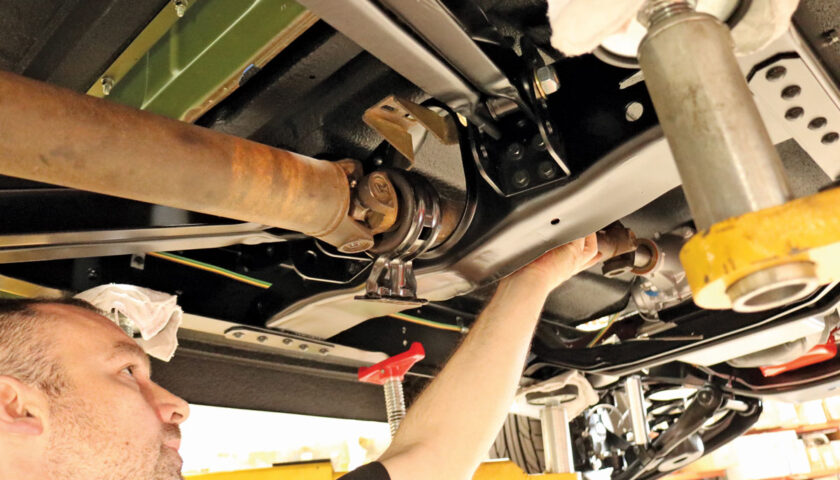
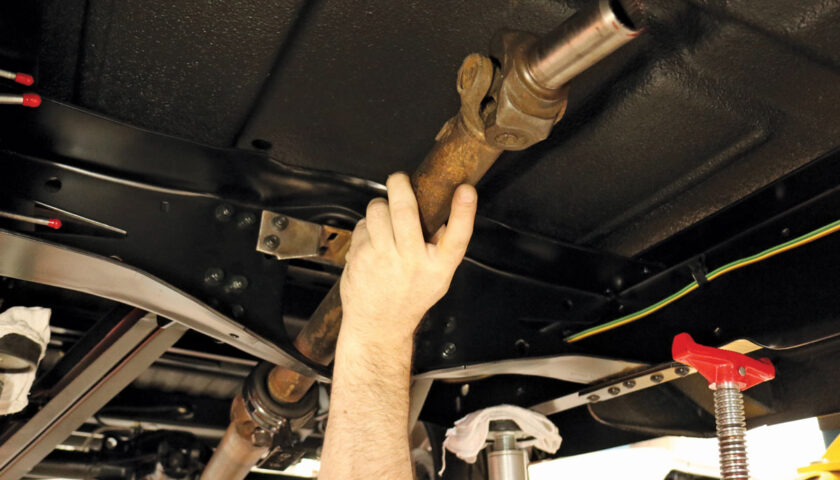
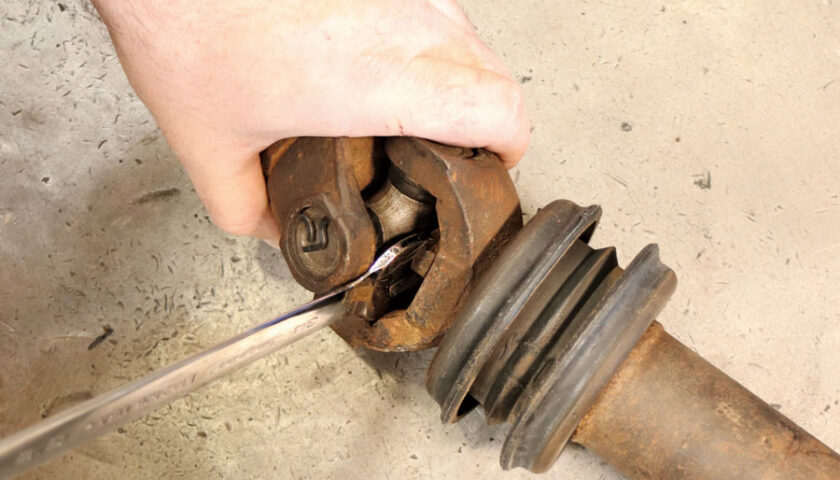
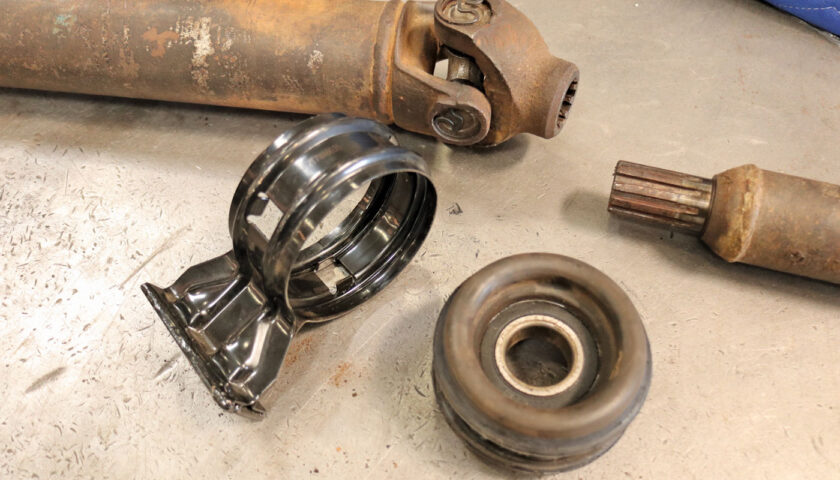
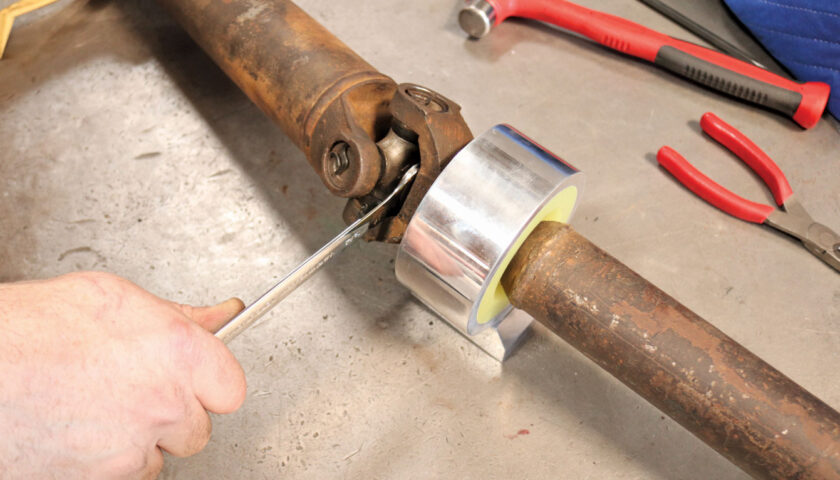
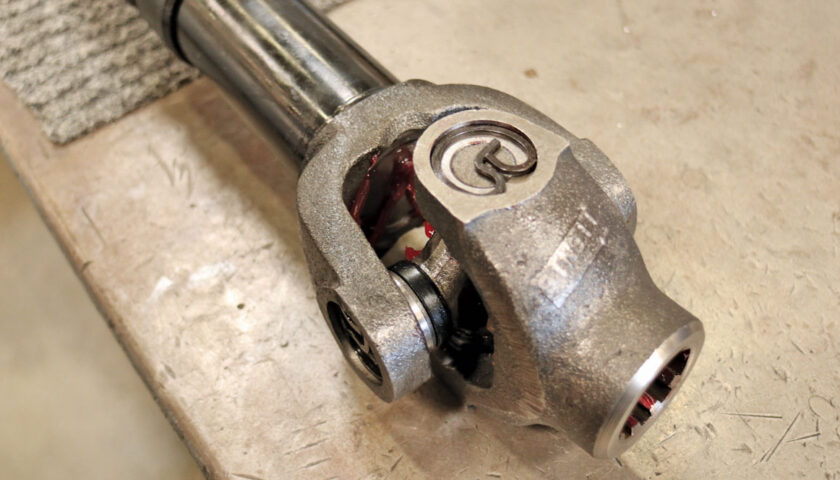
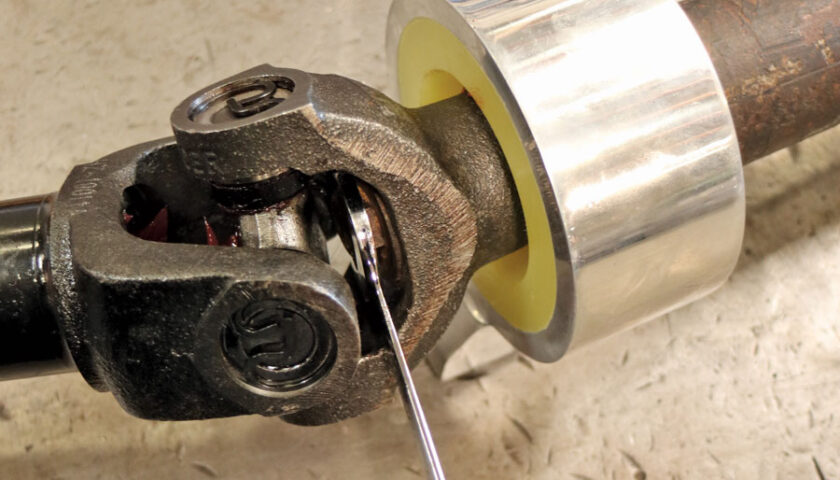
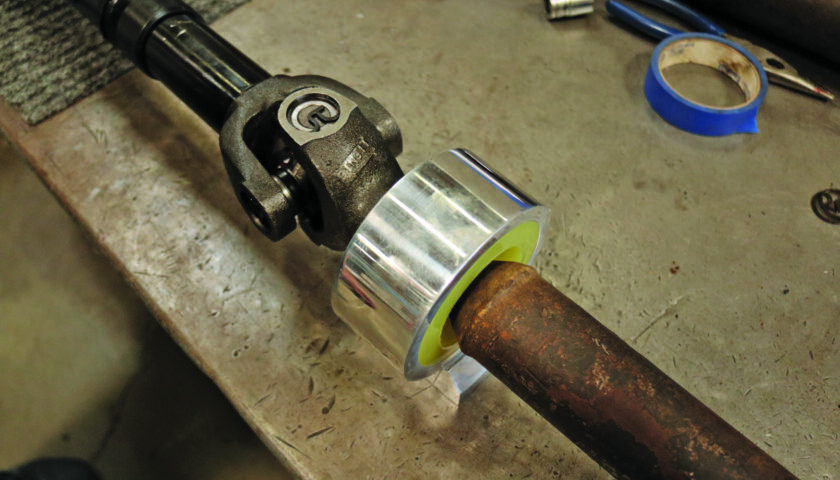
3-4. Removing a two-piece driveshaft requires separating the carrier bearing from the crossmember mount and extracting the two U-bolts on the rear universal joint. From there, the assembly drops out as a unit.
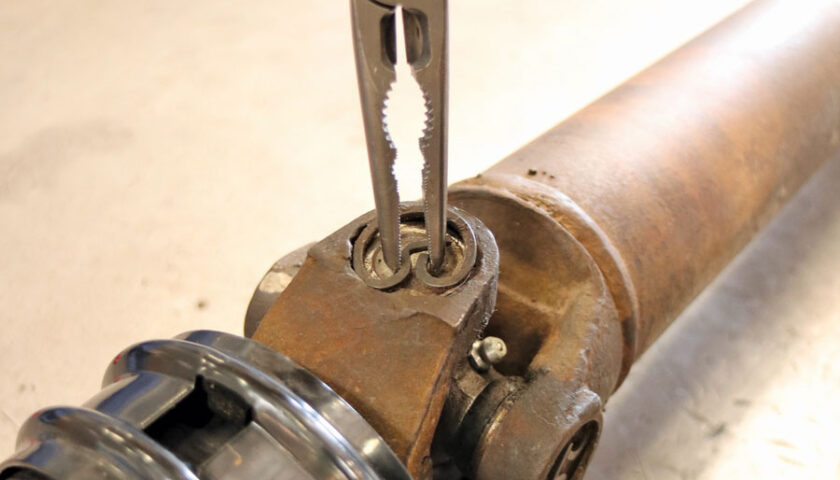

13-14. CPP’s Slip Shaft Driveline mates to the front half of a two-piece driveshaft just like the stock unit it replaces and requires no further modifications.