Installation photos and video courtesy of Classic Truck Performance magazine August 2022 Issue
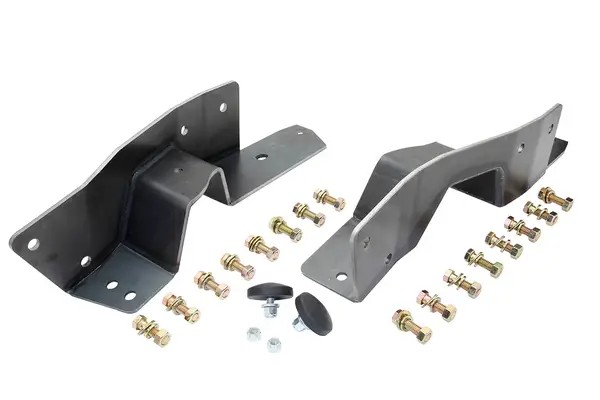
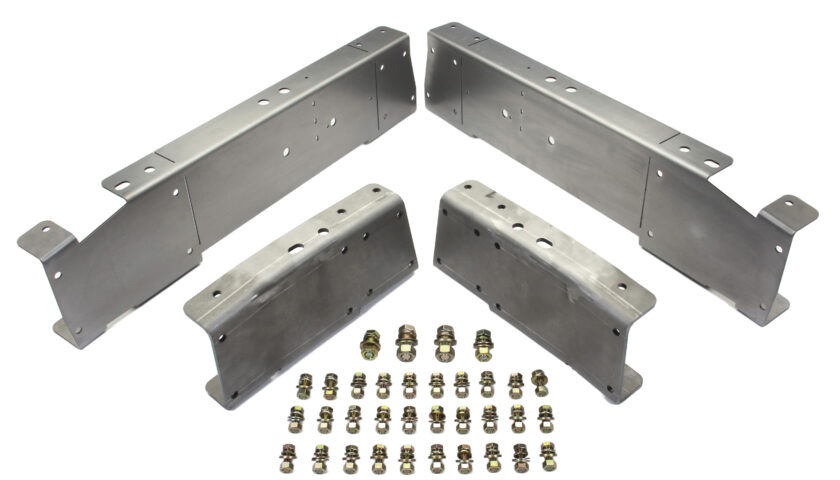
With a growing popularity in the 1967-’72 Ford F100 truck segment, CPP noticed a need for a long bed F100 frame shortening kit designed with the DIY enthusiast in mind. This new kit takes all the guesswork out of cutting and shortening a long bed F100 frame. What would normally take days can now be accomplished in an afternoon with just a drill, saw and basic hand tools. The kit comes with a simple template used for drilling and cutting the frame. The template even shows how to modify the rear of the frame for mounting a short bed bumper. Then a strong, laser-cut C-channel is provided to reattach the shortened frame. Hardware is included to bolt together the frame sections, but welding is recommended to ensure long-term structural rigidity. CPP’s 1967-’72 F100 Long Bed Shortening Kit (#6772LBFSK) comes with left and right steel templates, left and right C-channels and all the hardware needed for $339.
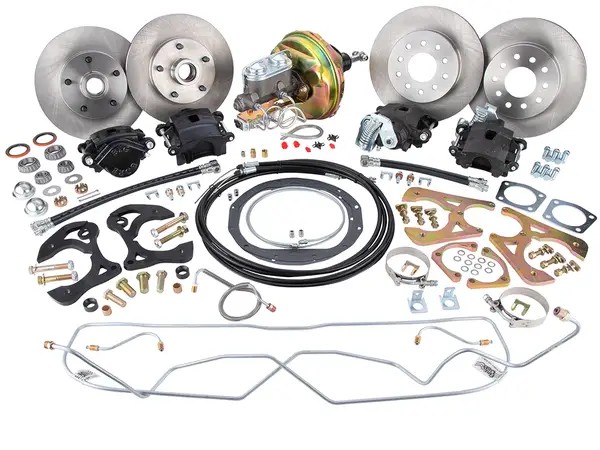
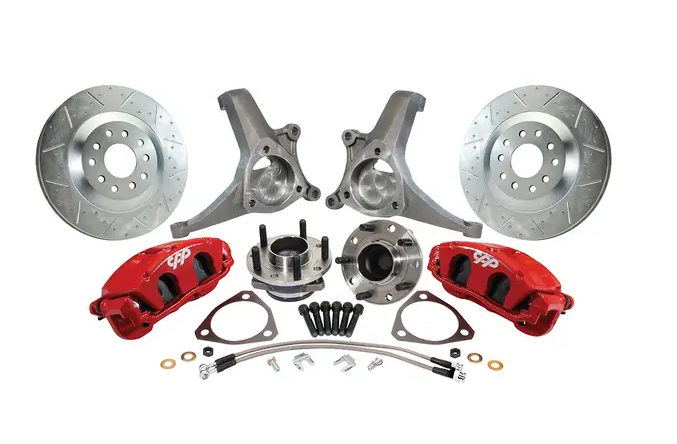
Related Story: Twin Brake Upgrade Options for Twin I-Beam F100s
Installation Instructions for F100 Frame Shortening Kit #6772LBFSK
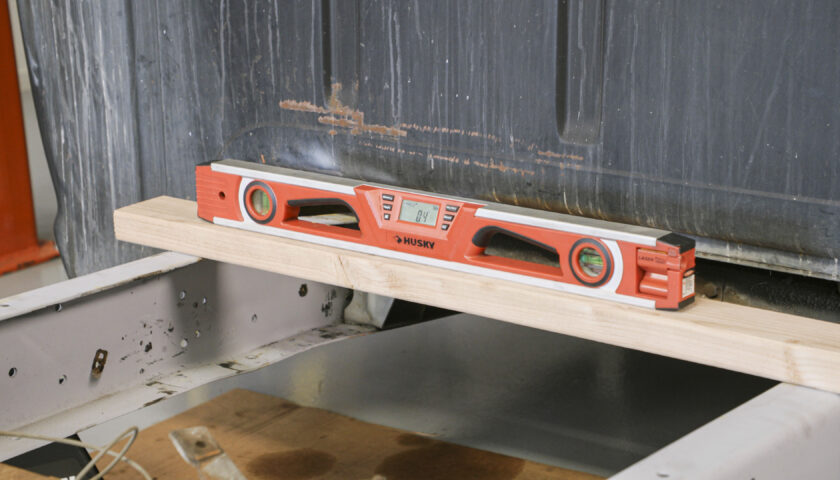
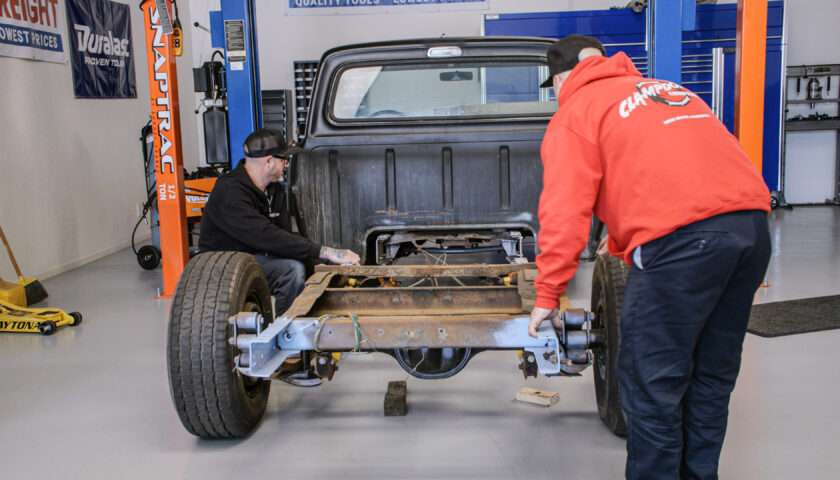
1. Support the frame with jack stands, making sure it is perfectly level before proceeding.
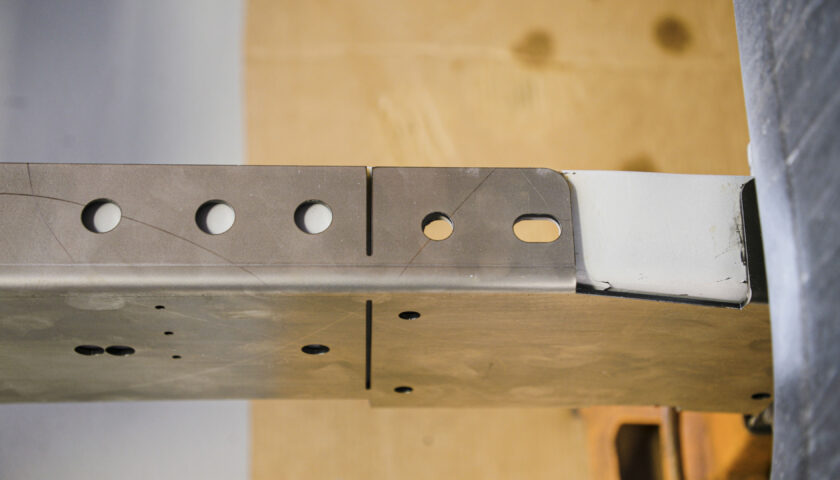
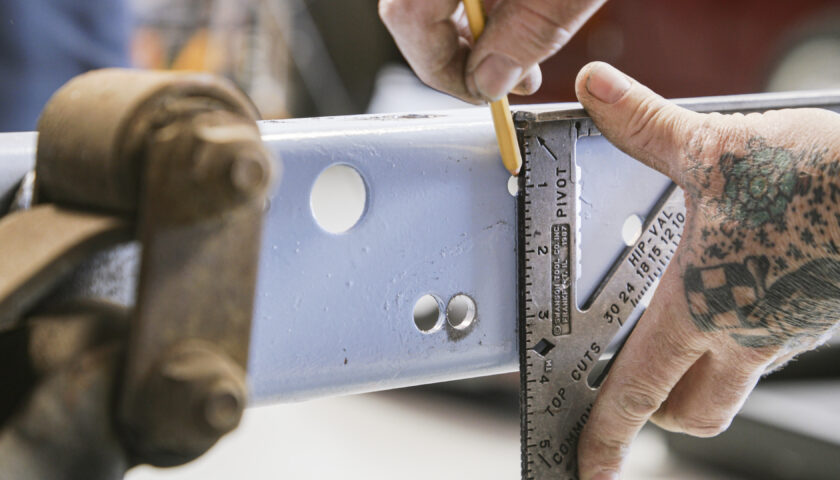
2. Place the provided sheet metal templates on the frame. A round hole and an oval hole should line up on the top of each side.
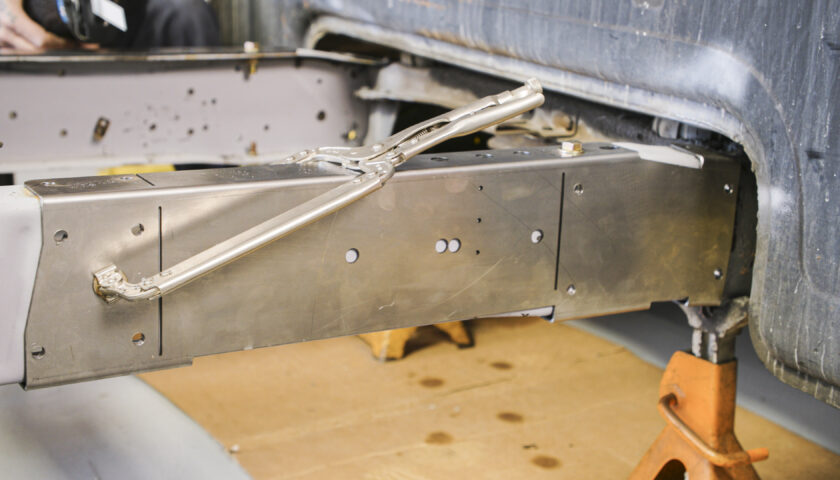
3. Bolt the templates in place on the front half then further secure the rear section with clamps.
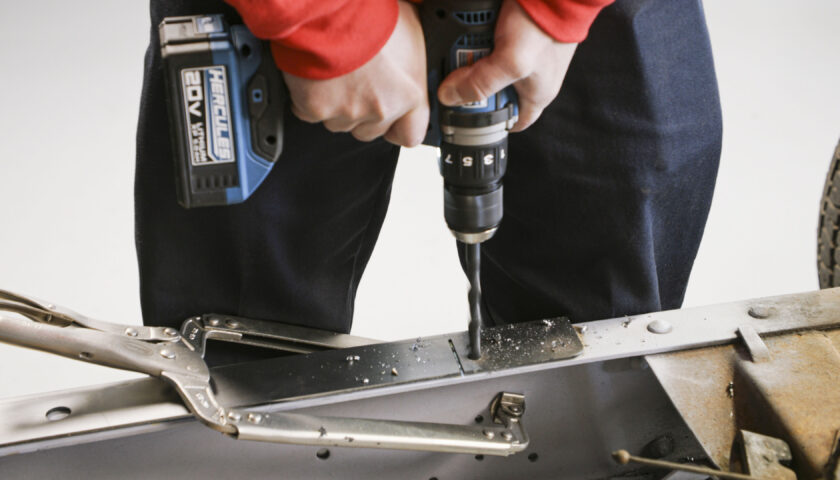
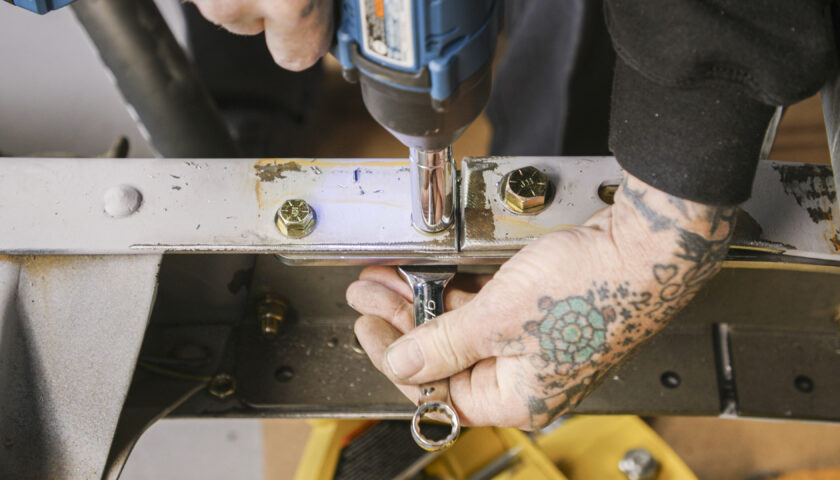
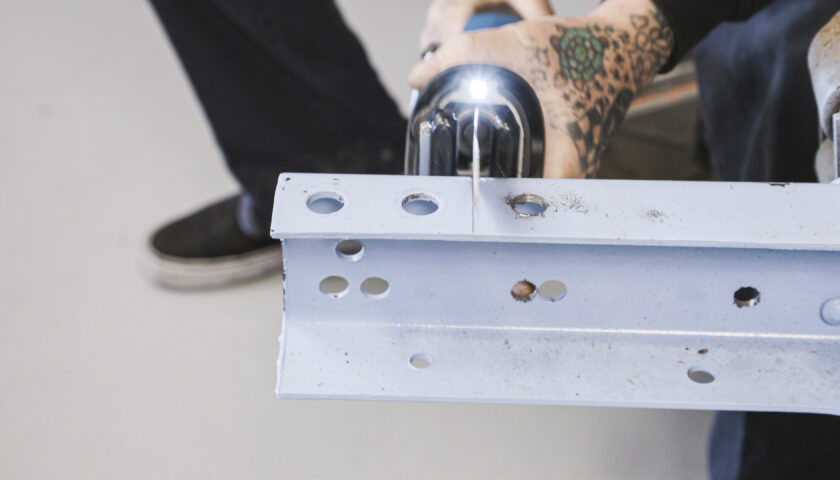
4. Drill out the holes in the front and rear sections of the template.
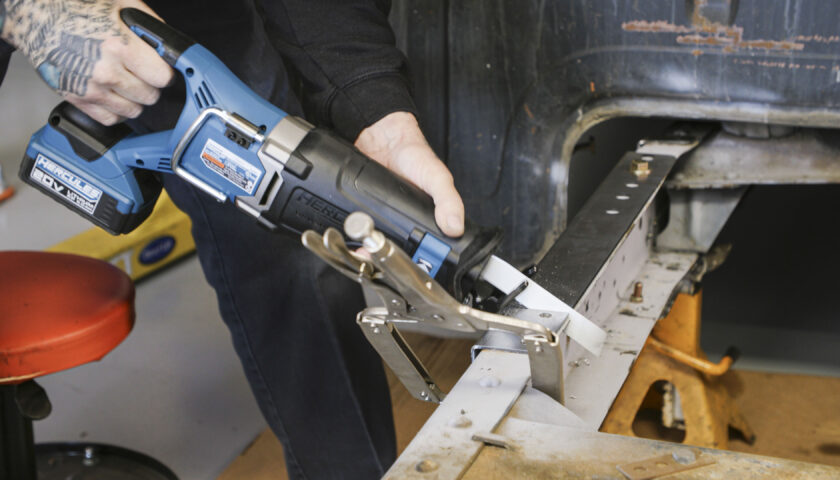
5. Use the slits in the template as a guide to cut out the section of the frame on both sides.
6. Save the center sections of the templates as they will be used to drill the rear of the frame for relocating the bumper holes.
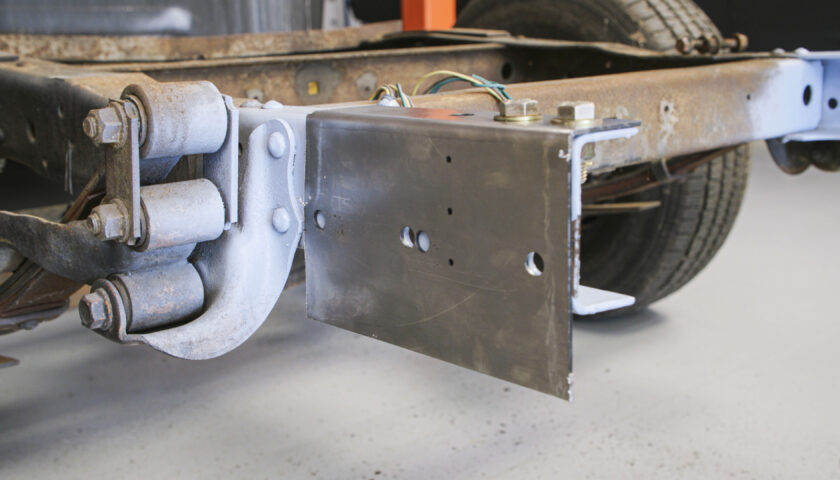
7. Slide in the new C-channel and bolt it to the front half of the frame.
8. Bring in the rear half of the frame and slide it over the extending sections of C-channel.
9. Bolt the rear section of the C-channel to the rear half of the frame rails.
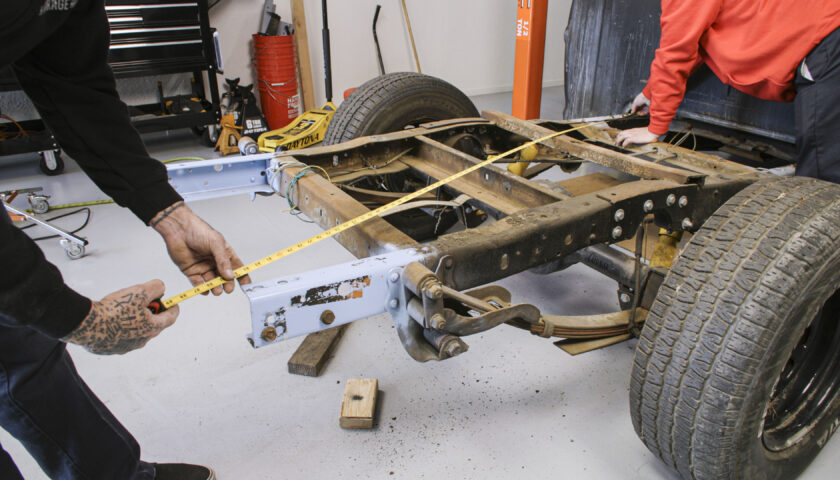
10. Measure across the frame from below the cab to the opposite end of the frame rail on both sides to verify that the frame is square.
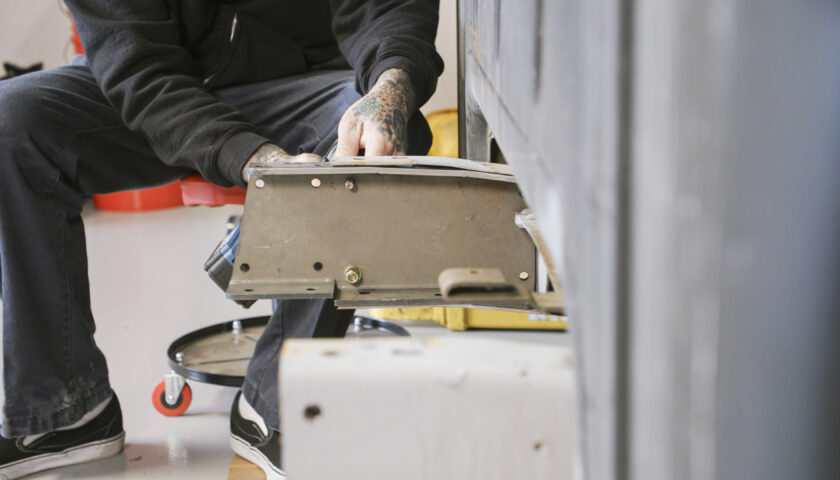
11. Bolt the center section of the provided templates to the rear of the frame rails and drill out the new holes in the frame.
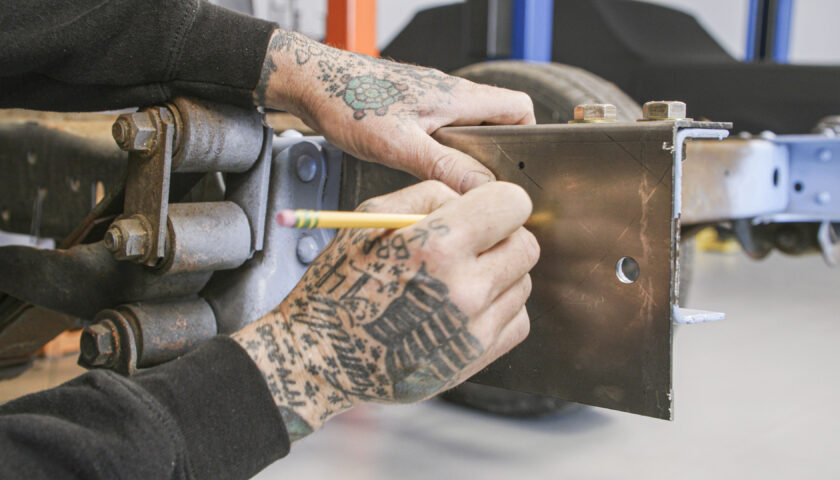
12. With the template still bolted to the frame, mark the small holes as a reference for where to cut.
13. Remove the template and use a straight edge to draw a line where the small holes were marked.
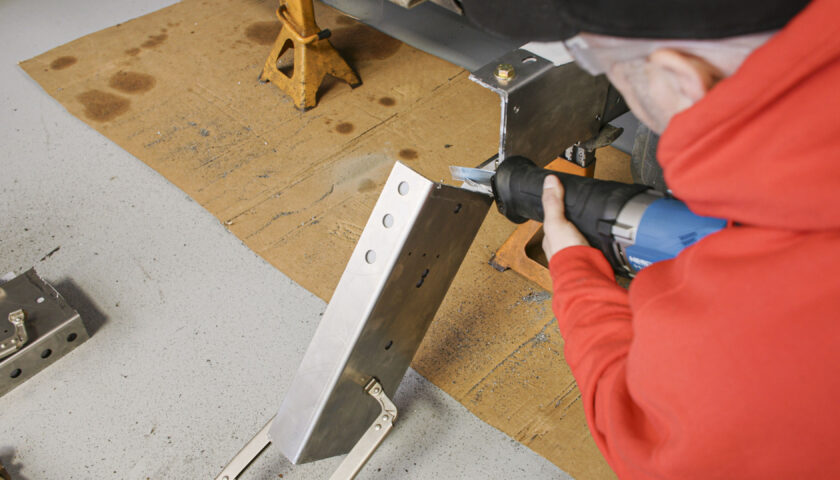
14. Cut along the marked line on each end of the frame.
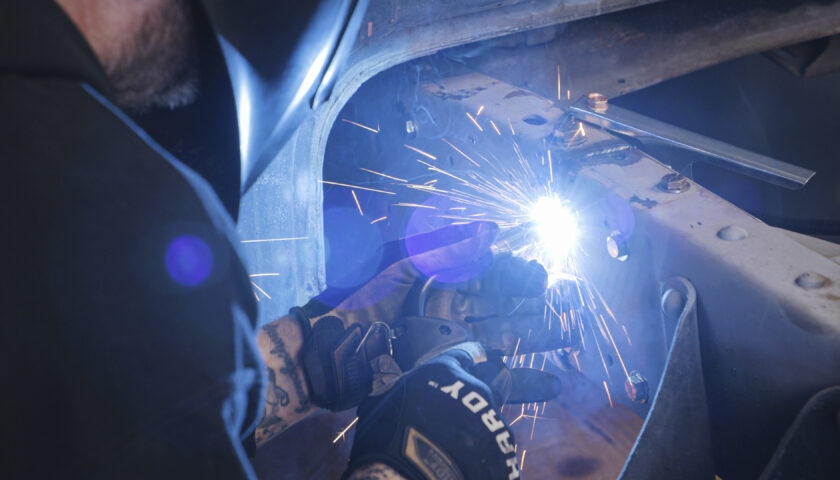
15. Although this is a bolt-on kit, we do recommend welding the seams on the shortened frame for added structural integrity.